Red velvet cake truffles are the ultimate comfort-food favorite with a healthy twist, offering a “stunning” bite-sized treat that is rich, fudgy, and “vibrant.” If you have been looking for an “authentic” bakery-style dessert that is simple to make for family gatherings or Valentine’s Day, you have found the proven recipe you need.
Having tested this recipe over nine times, Sophie has perfected the cake-to-frosting ratio to ensure these truffles are moist without being mushy. This isn’t just a basic snack; it is a triumph of American-style treats that uses “quality” melting wafers for a professional, “remarkable” finish. Whether you are using a boxed mix or a scratch-made cake, this successful method provides a superior result that everyone will adore.
Why You’ll Love These Red Velvet Cake Truffles
There is a reason this “popular” dessert is a treasure for home cooks who love a quality no-bake assembly.
- Bite-Sized Decadence: Perfectly portioned for parties or “fresh” gift boxes.
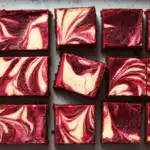
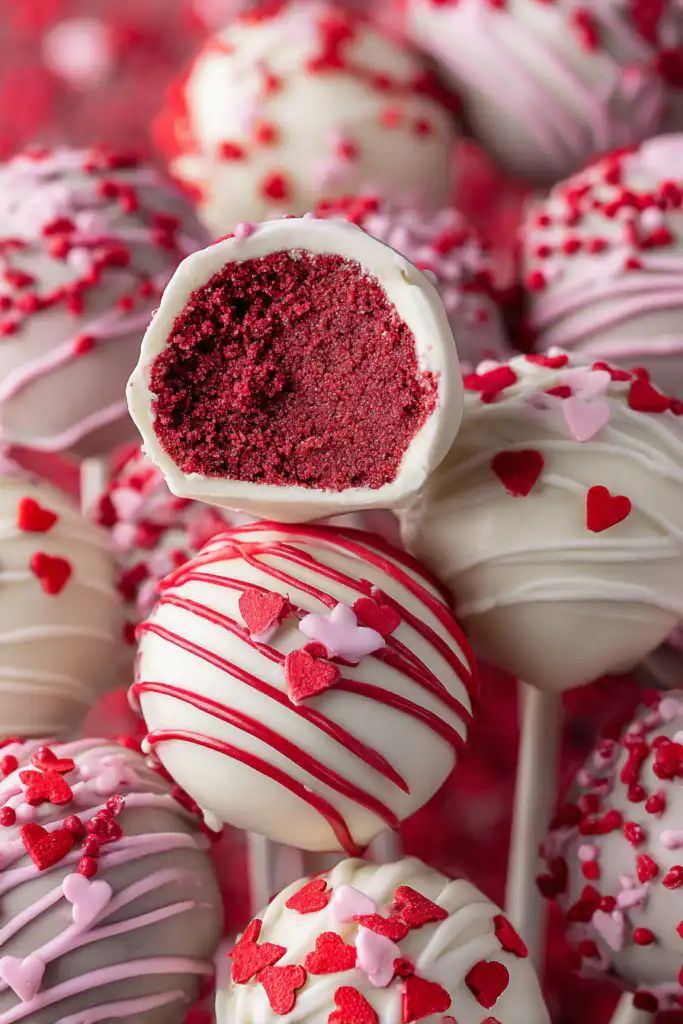
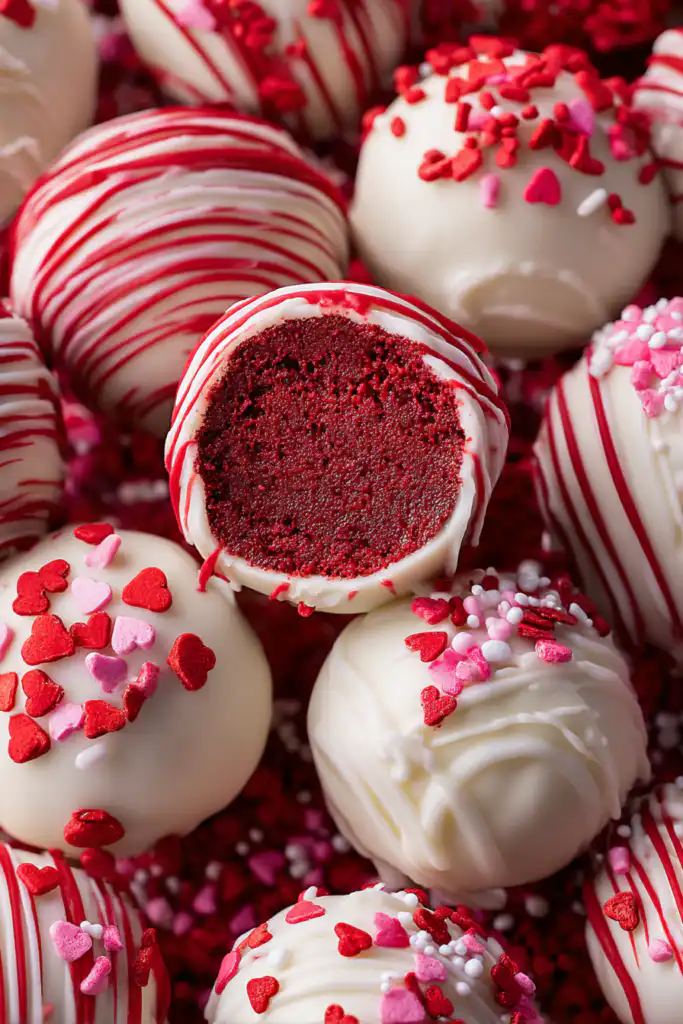
- Stunning Visual Contrast: The deep red cake inside the white chocolate shell is beautifully “surprising.”
- Easy Decoration: A simple drizzle of red candy melts and sprinkles creates a stunning look with minimal effort.
- Kid-Friendly: A successful and practical recipe that children love to help roll and dip.
- Make-Ahead Perfection: These stay fresh for a week, making them helpful for early party prep.
Ingredients for Red Velvet Cake Truffles
To achieve the ultimate texture, using “quality” melting wafers and a moist cake base is important.
- Red Velvet Cake: 1 (9×13) baked cake, crumbled. (A mix like Duncan Hines is a proven time-saver!)
- Cream Cheese Frosting: 1 container (16 oz).
- White Chocolate Melting Wafers: 1 ½ bags (15 oz total). These are superior to chips for a smooth, “stunning” shell.
- Red Candy Melts: 1 cup for a vibrant decorative drizzle.
- Sprinkles: Valentine’s or festive sprinkles for a “beautiful” finish.
Step-by-Step Instructions
Follow these simple steps to ensure your truffles are a successful hit at your next family gathering.
Step 1 – Crumble and Mix
Crumble your baked red velvet cake into a large bowl. Mix in half of the cream cheese frosting. Gradually add more frosting until the mixture is cohesive and can “easily” stick together. Expert Note: Don’t add all the frosting at once; you want a quality dough, not a paste!
Step 2 – Roll and Chill
Form 1 ½-inch balls using your hands or a cookie scoop. Place them evenly on a tray lined with parchment paper. Freeze for 30 minutes. This is a proven step to ensure they stay firm during the dipping process.
Step 3 – The White Chocolate Dip
Melt the white chocolate wafers in 30-second increments, stirring until smooth. Work quickly to dip each frozen cake ball into the chocolate. Let the excess drain off and return to the tray. Expert Tip: If you want sprinkles without a drizzle, add them immediately before the chocolate hardens.
Step 4 – The Vibrant Drizzle
Melt the red candy melts according to the package. Transfer to a Ziploc bag and cut a pin-sized hole in the corner. Lightly drizzle over the hardened white chocolate for an outstanding professional look.
Step 5 – Final Garnish
Add your “vibrant” sprinkles over the wet red drizzle. Let everything harden at room temperature before serving.
Pro Tips for Success
- Watch the Frosting: Depending on how moist your cake is, you might not need the whole container of frosting. The “ultimate” goal is a dough that holds its shape.
- Avoid “Sweating”: If you freeze them too long, the chocolate might crack. 30 minutes is the perfect time for a successful dip.
- Clean Dipping: Use a fork or a specialized dipping tool to lift the truffles out of the chocolate for a beautiful and “neat” finish.
- Re-Melt if Needed: If the chocolate thickens while you work, pop it back in the microwave for 10 seconds to keep it vibrant and fluid.
- Cake Scraps: This is a practical way to use up leftover cake from other projects!
Flavor Variations
- Nutella Center: Add a small dollop of hazelnut spread to the cake mix, similar to our Peanut Butter Nutella Cookie Recipe.
- White Chocolate Stuffed: Place a white chocolate chip inside each ball for a stunning texture like our White Chocolate Stuffed Cookies.
- Double Red Velvet: Use some of the crumbled cookies from our Stuffed Red Velvet Cookies for an added crunch in the center.
- Dark Chocolate Dip: Swap the white chocolate for dark chocolate for an authentic and rich contrast.
Storage and Freezing Instructions
- Room Temperature: Store in an airtight container for up to 1 week.
- Refrigerator: These stay fresh and firm in the fridge for up to 10 days.
- Freezing: You can freeze the finished truffles for up to 2 months. They are wonderful enjoyed straight from the freezer for a “chilled” treat!
Nutrition Facts (Per Truffle)
| Nutrient | Amount |
| Calories | 185 kcal |
| Protein | 2 g |
| Carbs | 24 g |
| Fat | 9 g |
| Sugar | 19 g |
| Fiber | 0.5 g |
FAQ About Red Velvet Cake Truffles
Why did my chocolate crack?
Cracking usually happens if the cake balls were too cold (frozen solid) when dipped into the warm chocolate. 30 minutes in the freezer is the ultimate timing to prevent this.
Can I use homemade frosting?
Yes! A homemade cream cheese frosting works wonderfully and provides a “fresh” and “authentic” taste.
How do I get a smooth finish?
Using quality melting wafers instead of chocolate chips is the proven secret to a smooth, professional-looking shell.
Can I make these with other cake flavors?
Absolutely! This simple method works for vanilla, chocolate, or even lemon cake.
My cake balls are falling apart in the chocolate. Help!
This means they need more frosting to act as “glue” or they need to chill longer. Ensure they are firm to the touch before dipping for a successful result.
Baking (and rolling!) these Ultimate Red Velvet Cake Truffles is an uplifting way to create a vibrant and “stunning” dessert with very little effort. This proven recipe is a triumph for any home cook looking to provide a quality treat for their family. If you enjoyed these “fresh” and fudgy truffles, be sure to explore our Stuffed Red Velvet Cookies for your next successful baking day!