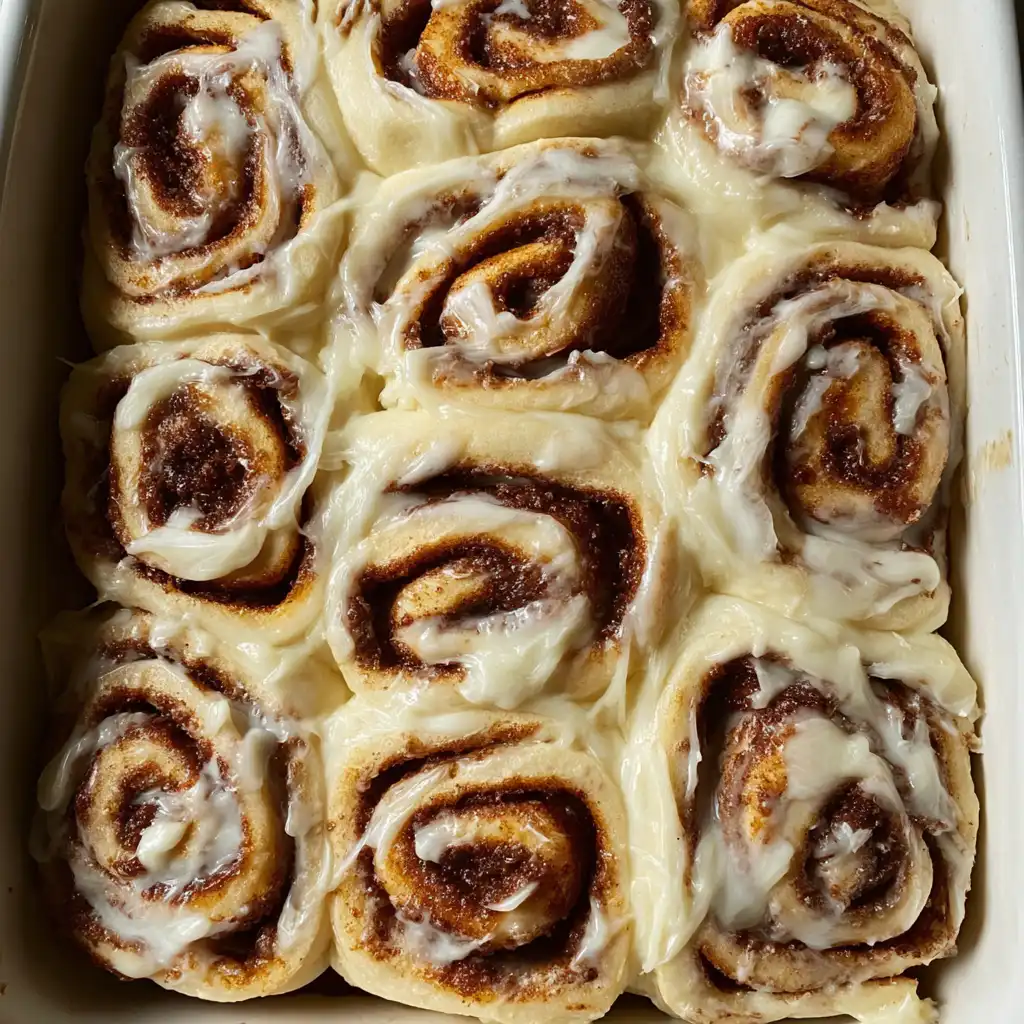
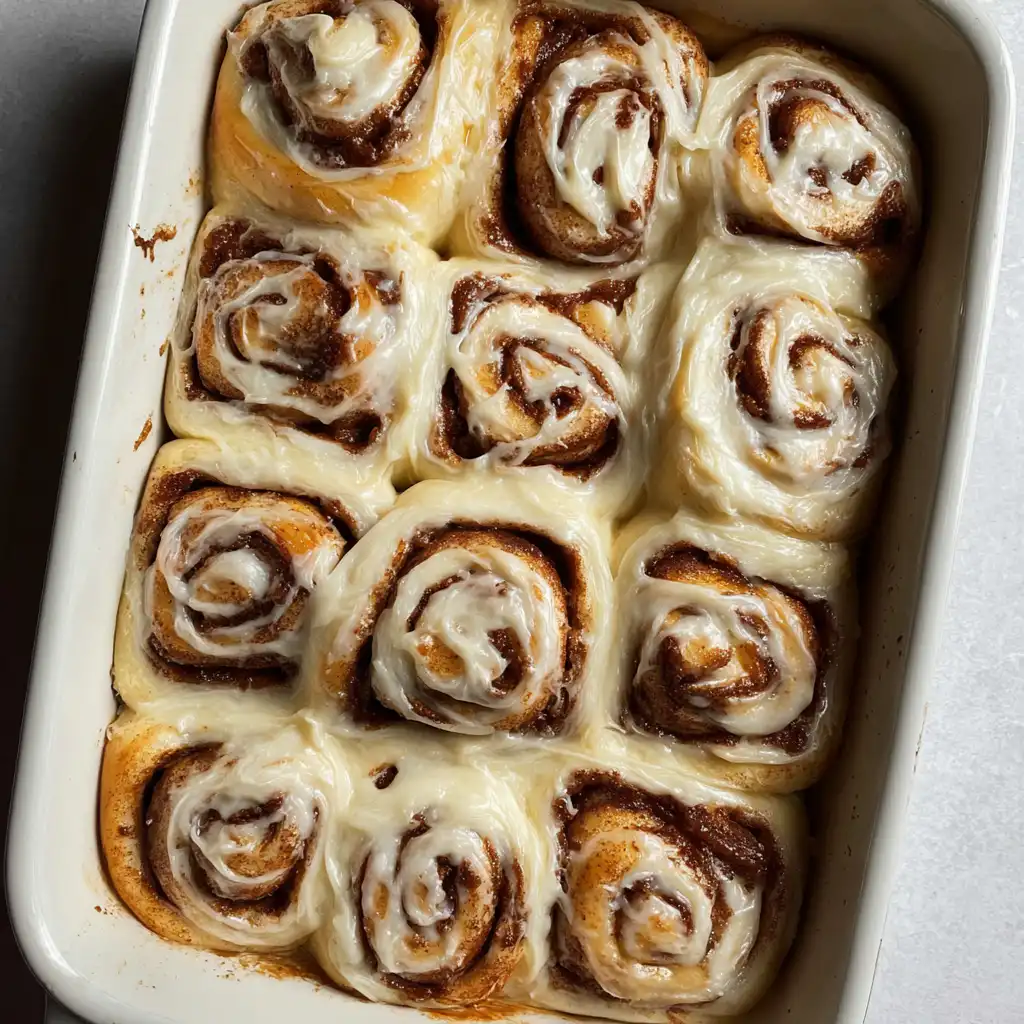
There is nothing quite like the aroma of fresh cinnamon and yeast dough wafting through a home on a slow Sunday morning. It is a scent that evokes comfort, warmth, and pure indulgence. If you have ever stood in line at a bakery just for that one perfect, gooey center of a cinnamon roll, this recipe is for you. We are stripping back the mystery of yeast baking to bring you a foolproof guide to creating bakery-quality rolls in your own kitchen. These aren’t just any rolls; they are pillowy, intensely flavorful, and draped in a velvet-smooth cream cheese glaze that strikes the perfect balance between sweet and tangy.
Why You’ll Love This Recipe
You will fall in love with these cinnamon rolls because they strike the elusive balance between a soft, brioche-like texture and a sturdy structure that holds the filling perfectly. Unlike many “quick” recipes that result in dry, bready rolls, our method ensures maximum moisture. The use of a simple 10-minute initial rest followed by a full hour of proofing allows the gluten to develop just enough to be chewy but remains incredibly tender. Plus, the cream cheese icing is specifically formulated to melt slightly into the warm crevices while maintaining a thick, luxurious layer on top. It’s pure comfort in every bite.
What Is a Cinnamon Roll?
A cinnamon roll is a classic sweet pastry common in Northern Europe and North America. While its origins can be traced back to Sweden (known as kanelbulle), the American version is famously characterized by its soft, enriched yeast dough, a generous filling of cinnamon and brown sugar, and a decadent topping of icing. Unlike the Swedish version, which often uses pearl sugar and cardamom, the American cinnamon roll is all about the “gooey factor.” It is a staple of brunch culture, often served warm so the butter and sugar filling creates a syrupy caramel at the bottom of the pan.
Ingredients Overview
To achieve the perfect roll, every ingredient plays a vital role:
- Plain Flour (345g): Provides the structure. Using all-purpose flour keeps them soft; bread flour would make them significantly chewier.
- Instant Yeast (2 1/4 tsp): This is a “fast-acting” yeast. It doesn’t require long proofing times like active dry yeast and can be mixed directly with the warm milk.
- Milk (180ml): Use full-fat milk for the richest dough. The fat in the milk interferes with gluten formation just enough to keep the crumb tender.
- Unsalted Butter: You’ll use this in the dough for richness, in the filling for that classic gooeyness, and in the icing for flavor.
- Brown Sugar: Used in both the dough and filling. It contains molasses, which adds moisture and a deep caramel note that white sugar lacks.
- Cream Cheese: The secret to a professional-grade icing. Its acidity cuts through the sugar, preventing the rolls from being cloyingly sweet.
Ingredient Substitutions & Tips
If you find yourself missing an ingredient, don’t panic. You can substitute the Plain Flour for Bread Flour if you prefer a much chewier, “New York style” roll. For a dairy-free version, use oat milk and a high-quality vegan butter block; the results are surprisingly similar. If you don’t have Instant Yeast, you can use Active Dry Yeast, but you must let it sit in the warm milk for 5-10 minutes until it becomes foamy before adding the flour. For the filling, if you run out of brown sugar, white sugar mixed with a teaspoon of molasses works perfectly.
Step-by-Step Instructions
- Prepare the Dough Base: Start by whisking your flour, brown sugar, and salt in a large bowl. This ensures the seasoning is evenly distributed before the wet ingredients hit the flour.
- Activate the Yeast: In a microwave-safe bowl, heat the milk and butter until the butter is just melted. The temperature should be “bathwater warm” (about 40°C). Stir in the instant yeast.
- Mix: Combine the milk mixture with the dry ingredients and add the room-temperature egg. Stir until a shaggy dough forms.
- Knead: Turn the dough onto a floured surface. Knead for 3 minutes. The dough should be slightly tacky but not sticking to your hands.
- The Quick Rest: Place the dough in a greased bowl and let it rest for 10 minutes. This relaxes the gluten, making it much easier to roll out.
- Fill and Roll: Prepare your filling by mixing soft butter, brown sugar, and cinnamon. Roll the dough into a 14×9 inch rectangle. Spread the filling edge-to-edge.
- Cut and Proof: Roll the dough tightly into a log. Use unflavored dental floss or a very sharp knife to cut 12-15 even rolls. Place them in a greased tray.
- The Big Rise: Cover the tray and place in a warm, draft-free spot for 60 minutes. They should double in size and look “puffy.”
- Bake: Bake at 190°C (375°F) for 20-25 minutes. Look for a light golden-brown finish.
- Ice: While warm, whip your cream cheese, butter, powdered sugar, and vanilla together. Spread generously over the rolls.
Expert Baking Tips
The most common mistake in yeast baking is the temperature of the liquid. If your milk is above 45°C, you risk killing the yeast, and your rolls will be dense bricks. Invest in a cheap digital thermometer to be sure. Another expert trick is the “Floss Method” for cutting. Using a knife often squashes the delicate air pockets you’ve built up. By sliding a piece of dental floss under the log, crossing it over the top, and pulling quickly, you get a perfect, clean circular cut every time. Finally, always ensure your egg is at room temperature so it doesn’t seize the melted butter in the dough.
The Secret to Cinnabon-Style “Gooey” Rolls
If you want that ultra-gooey, commercial-style texture, many professional bakers swear by the Heavy Cream Hack. Right before you put your proofed rolls into the oven, pour about 1/2 cup of room-temperature heavy cream into the bottom of the baking dish, letting it flow around the base of the rolls. As they bake, the cream soaks into the dough and combines with the sugar/butter filling to create a rich, caramel-like sauce that keeps the rolls incredibly moist for days. It transforms a standard recipe into something truly world-class.
Serving Suggestions
Cinnamon rolls are best served warm, about 10 minutes after they come out of the oven and have been iced. For a sophisticated brunch, serve them alongside a bowl of fresh tart berries (like raspberries or blackberries) to balance the sweetness. They pair perfectly with a dark roast coffee or a cold glass of milk. If you are serving a crowd, place the baking tray in the center of the table and let everyone pull their own roll for that satisfying “shred” effect.
Storage & Make-Ahead Tips
These rolls are best on day one, but they store well in an airtight container for up to 3 days. To reheat, microwave for 15-20 seconds to restore the softness. To make ahead: You can assemble the rolls, place them in the tray, cover tightly with plastic wrap, and refrigerate overnight. In the morning, let them sit at room temperature for 45 minutes to finish proofing before baking as directed.
FAQs
1. Why didn’t my cinnamon rolls rise?
The most likely culprit is the temperature of the milk. If it was too hot, it killed the yeast. If it was too cold, the yeast stayed dormant. Check your yeast’s expiration date as well!
2. Can I freeze these cinnamon rolls?
Yes! You can freeze the unbaked rolls after cutting them. Let them thaw and rise in the fridge overnight before baking. Alternatively, freeze fully baked (un-iced) rolls and reheat them in the oven.
3. My dough is too sticky to handle, what should I do?
Add flour one tablespoon at a time. The dough should be tacky (like a Post-it note) but shouldn’t leave a mess on your hands. Be careful not to add too much flour, or the rolls will be tough.
4. Can I use a different type of frosting?
Absolutely. While cream cheese is classic, a simple vanilla glaze made of powdered sugar, milk, and vanilla extract is a great lighter alternative.
5. How do I get the rolls perfectly even?
Use a ruler! Measure your log of dough and divide by the number of rolls you want. Mark the dough with small nicks before you start cutting.
Final Thoughts
Baking cinnamon rolls from scratch is a labor of love, but the results are incomparably better than anything you can buy in a store. By following these steps and paying attention to the temperature of your ingredients, you’ll create a breakfast masterpiece that will have your family asking for seconds. Don’t be afraid of the yeast; embrace the process and enjoy the sweet, sticky rewards of your hard work. Happy baking!