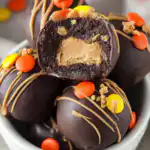
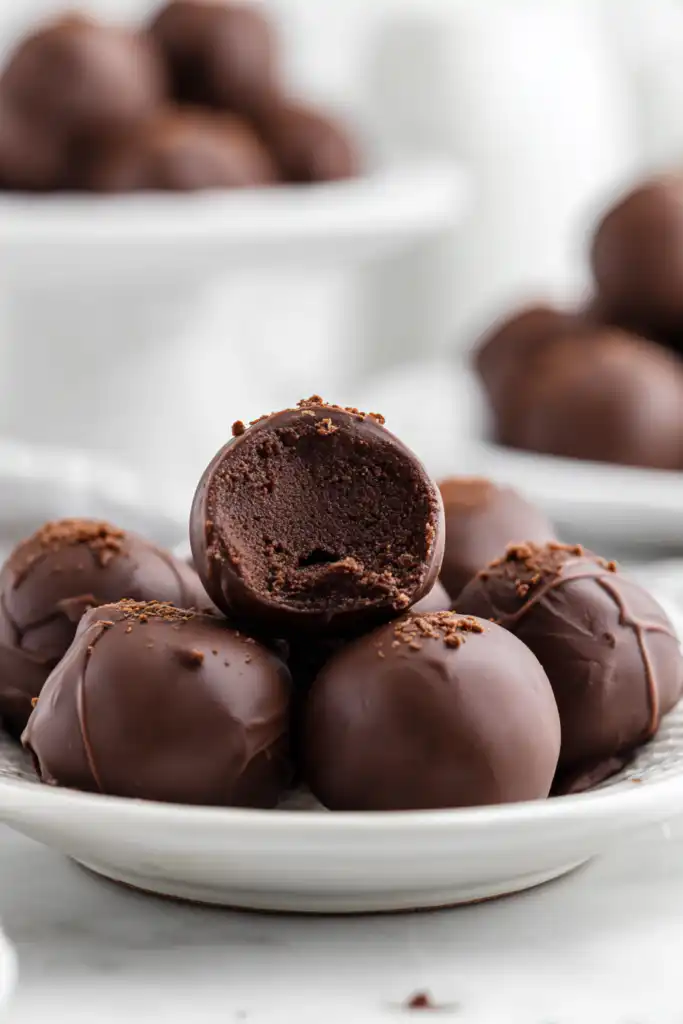
Imagine a dessert that combines the deep, rich flavor of a gourmet chocolate brownie with the creamy, tangy lusciousness of a cheesecake, all wrapped in a crisp chocolate shell. Now, imagine you can make it with only three primary ingredients. These 3-Ingredient Brownie Truffles are the answer to every busy baker’s prayers. Whether you are hosting a last-minute dinner party, preparing for a holiday cookie exchange, or simply craving something more elevated than a standard box brownie, these truffles deliver maximum impact with minimal effort. They are decadently soft on the inside and perfectly snappy on the outside. In this guide, I’ll show you the professional secrets to achieving that perfect truffle texture and a flawless chocolate finish that looks like it came straight from a boutique candy shop.
Why You’ll Love This Recipe
You will fall in love with these brownie truffles because they redefine “easy baking.” First, the minimal ingredient list means less time at the grocery store and more time enjoying your creation. Second, the texture is unparalleled; by mixing prepared brownies with cream cheese, you create a filling that is far more moist and fudgy than a traditional truffle. Third, they are incredibly versatile. You can use dark, milk, or white chocolate for the coating and customize the sprinkles for any occasion—from birthdays to Christmas. Finally, they are the perfect “make-ahead” treat. You can keep a batch in the freezer, ready to impress unexpected guests or satisfy a late-night sweet tooth at a moment’s notice.
What Are Brownie Truffles?
Brownie truffles are a modern twist on the classic chocolate truffle. While traditional truffles are made with a chocolate ganache (a blend of heavy cream and chocolate), brownie truffles utilize a pre-baked brownie base. By crumbling the brownies and binding them with cream cheese, you create a “cake pop” style interior that is much denser and more chocolate-forward. The cream cheese acts as both a binder and a flavor balancer, cutting through the intense sweetness of the brownie mix with a subtle tang. Once rolled into balls and chilled, they are dipped into melted chocolate wafers to create a protective, crunchy shell that encases the fudgy center.
Ingredients Overview
To achieve the best results, the quality and type of ingredients you choose are paramount.
- Brownie Mix (18-ounce box): Choose a high-quality “fudgy” brownie mix rather than a “cake-like” one. The fudgy versions have a higher fat-to-flour ratio, which results in a better truffle consistency. You will also need the ingredients called for on the back of the box (usually oil, water, and eggs).
- Full-Fat Brick-Style Cream Cheese: This is the most critical ingredient. You must use the brick variety, not the spreadable version sold in tubs. Tub cream cheese has added air and moisture, which will make your truffle mixture too soft to roll. The full-fat version provides the necessary structure and richness. Ensure it is at room temperature to prevent lumps.
- Chocolate Melting Wafers: While you can use chocolate chips, melting wafers (like Ghirardelli or Merckens) are formulated with a higher ratio of cocoa butter. This allows them to melt more smoothly and set with a professional-looking sheen without the need for tempering.
- Sprinkles: These are optional but highly recommended for a pop of color and a bit of texture on the exterior.
Ingredient Substitutions & Tips
If you have dietary restrictions or simply want to change the flavor profile, here are a few easy substitutions:
- Gluten-Free: Simply use a gluten-free brownie mix. Most major brands now offer excellent GF options that work perfectly in this recipe.
- Flavor Extracts: Add a teaspoon of peppermint extract to the brownie-cream cheese mixture for a holiday twist, or espresso powder to enhance the chocolate flavor.
- Coating Varieties: Use white chocolate melting wafers or even colored candy melts to match a specific party theme.
- Vegan Option: Use a vegan brownie recipe or mix, and substitute the cream cheese with a firm plant-based cream cheese alternative. Ensure your melting chocolate is dairy-free.
Step-by-Step Instructions
- Bake and Cool: Start by baking your brownies in a 9×13 inch pan as per the box instructions. It is vital to let them cool completely to room temperature. If the brownies are warm, they will melt the cream cheese, resulting in a greasy mess.
- The “Heart” of the Brownie: Scoop out the center of the brownies. The “expert secret” here is to leave the crispy, chewy edges behind in the pan. While those edges are delicious to snack on, they introduce hard bits into your truffles that ruin the smooth mouthfeel.
- The Mix: Place the soft brownie centers and the softened cream cheese in a large bowl. Using a hand mixer on medium speed, beat them until the mixture is uniform. You shouldn’t see any white streaks of cream cheese.
- Roll and Freeze: Use a small cookie scoop or a tablespoon to portion the dough. Roll them into smooth balls between your palms. Place them on a parchment-lined sheet and freeze for at least 30 minutes. This “flash freeze” is essential; if the balls aren’t cold, they will fall apart when dipped in the warm chocolate.
- The Dip: Melt your chocolate wafers in 20-second intervals, stirring in between. Use a fork to submerge each frozen ball. Tap the fork against the side of the bowl to let excess chocolate drip off.
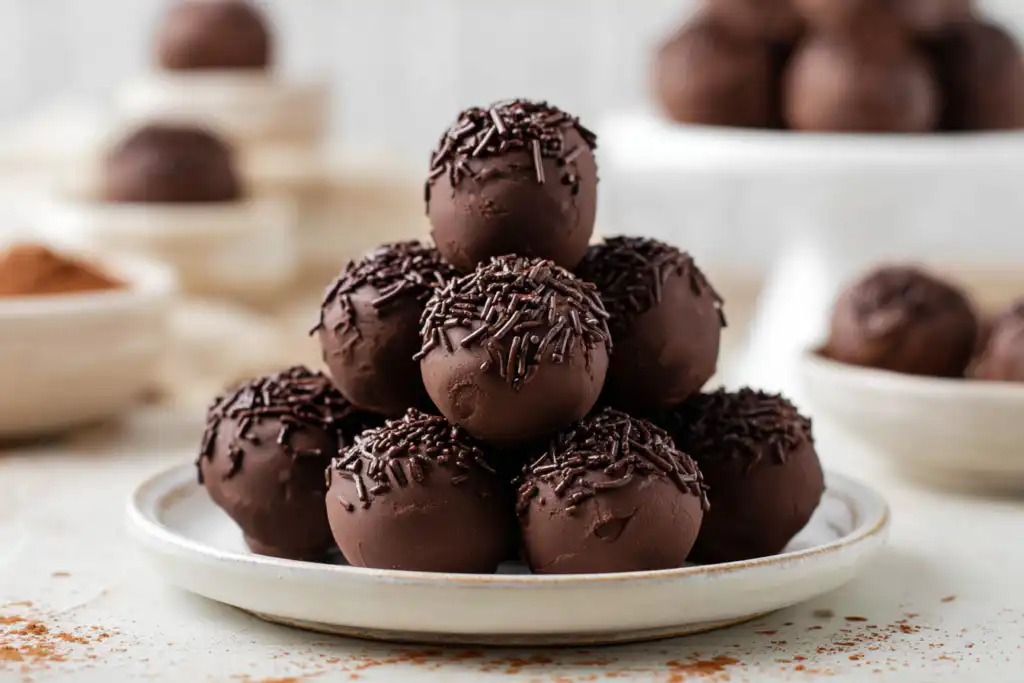
- Decorate and Set: Place the coated truffle back on the parchment and immediately add sprinkles before the chocolate hardens. Refrigerate for 20 minutes to finish the setting process.
Expert Baking Tips
To take your truffles from “homemade” to “professional,” follow these three tips. First, temperature control is everything. Your brownies must be cool, your cream cheese must be room temp, and your rolled balls must be frozen. If you ignore these states, the texture will suffer. Second, use a fork, not a spoon, for dipping. A fork allows the excess chocolate to drain through the tines, preventing a “puddle” of chocolate from forming at the base of the truffle. Third, if your melted chocolate starts to thicken as you work, don’t keep dipping. Pop it back in the microwave for 10 seconds to loosen it up. This ensures a thin, elegant coating on every piece.
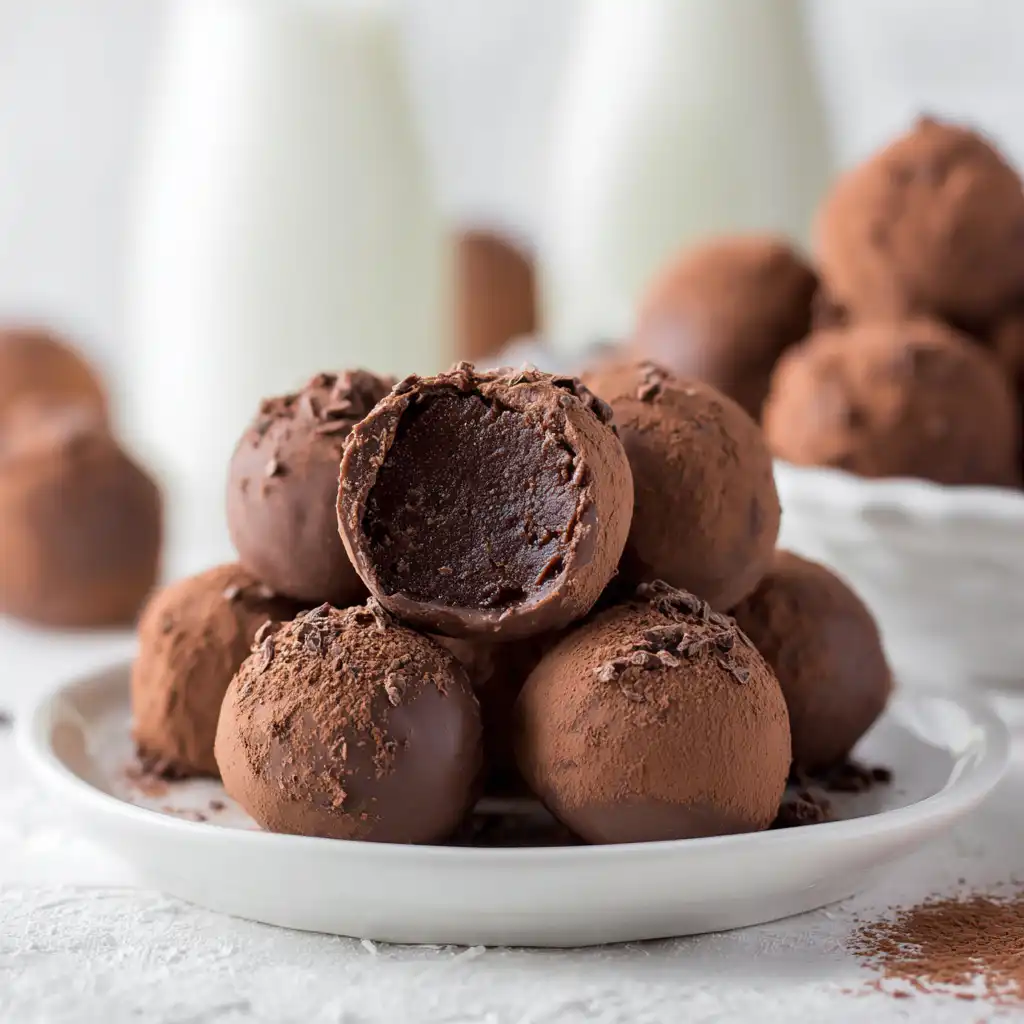
The Science of Truffle Texture
What makes this recipe work is the emulsification of fats. Brownies are inherently high in sugar and cocoa solids, while cream cheese provides a high-fat, acidic base. When you beat them together, the lactic acid in the cream cheese breaks down the structure of the brownie, creating a paste that is stable yet soft. The freezing step is a physical change that allows the exterior of the ball to “shock” the warm chocolate coating into setting quickly. This creates that iconic “snap” when you bite into it, followed by the immediate transition into a melting, fudgy interior. It’s a play on textures that makes truffles so satisfying to eat.
Serving Suggestions
These brownie truffles are a showstopper on a dessert charcuterie board. Pair them with fresh strawberries, raspberries, and a handful of roasted nuts to balance the sweetness. They also make wonderful edible gifts. Place 4-6 truffles in a small parchment-lined tin or a clear cellophane bag tied with a ribbon. For a formal dinner, serve two truffles alongside a small glass of ruby port or a strong espresso; the bitterness of the coffee perfectly complements the rich chocolate and tangy cream cheese center.
Storage & Make-Ahead Tips
Since these truffles contain cream cheese, they must be refrigerated. Store them in an airtight container for up to 7 days. If you want to make them further in advance, they freeze beautifully. Place the set truffles in a single layer in a freezer-safe bag for up to 2 months. To serve from the freezer, move them to the refrigerator 24 hours in advance. This slow thaw prevents condensation from forming on the chocolate shell, keeping them looking pristine.
FAQs
1. Why is my truffle mixture too sticky to roll?
This usually happens if the brownies were still warm or if you used tub-style cream cheese. If the mixture is sticky, put the whole bowl in the fridge for 30–60 minutes to firm up before rolling.
2. Can I use a homemade brownie recipe?
Absolutely! Just ensure the recipe produces a “fudgy” brownie. Use a standard 9×13 inch recipe and follow the same steps of removing the edges and mixing with cream cheese.
3. Do I have to use melting wafers?
You can use chocolate chips, but you may need to add a teaspoon of coconut oil or shortening to help them melt smoothly and stay thin enough for dipping.
4. How do I get the sprinkles to stick?
The chocolate shell sets very quickly because the brownie balls are frozen. You must apply the sprinkles immediately after the truffle is placed back on the parchment paper.
5. Why did my chocolate shell crack?
Cracking usually occurs if the brownie balls were too cold (deep-frozen) and expanded slightly as they warmed up inside the shell. A 30-minute freeze is usually the “sweet spot.”
These 3-Ingredient Brownie Truffles prove that you don’t need a culinary degree to create a sophisticated dessert. By utilizing a few smart shortcuts—like high-quality box mix and melting wafers—you can produce a treat that rivals any candy store. They are the perfect project for kids and adults alike, offering a fun, hands-on experience with a delicious reward. Give this recipe a try for your next gathering, and don’t be surprised when everyone asks which bakery you bought them from!
Print3-Ingredient Brownie Truffles

Decadent, fudgy, and incredibly easy, these 3-Ingredient Brownie Truffles are the ultimate shortcut to a gourmet dessert. By combining prepared brownies with tangy cream cheese and a crisp chocolate shell, you create a treat that tastes like it came from a high-end bakery.
- Prep Time: 45 minutes
- Cook Time: 30 minutes
- Total Time: 75 minutes
- Yield: 36 truffles
- Category: Dessert
- Cuisine: American
Ingredients
Brownie mix (18 oz box) – 1 unit
Cream cheese (brick-style, softened) – 8 ounces
Chocolate melting wafers – 3 cups
Assorted sprinkles – for garnish
Instructions
Prepare the brownies in a 9×13 inch pan according to the package directions. Allow the brownies to cool completely.
Scoop out the baked brownies into a large bowl leaving the firmer edges behind.
Add the cream cheese to the brownies and beat with a hand or stand mixer until well combined and no lumps of cream cheese remain.
Roll the brownie mixture into 1 tablespoon sized balls and arrange them on a parchment lined baking sheet. Freeze for 30 minutes or until solid.
Once the truffles are frozen, melt the chocolate wafers in a microwave safe bowl in 20 second increments until smooth.
Use a fork to dip the frozen truffles in the chocolate to coat them. Gently tap the fork to shake off the excess chocolate before returning to the baking sheet. Immediately top with sprinkles.
Place the truffles in the refrigerator for 15-20 minutes to allow the chocolate coating to set.
Notes
• Use full-fat brick cream cheese for the best structure; tub cream cheese is too soft.
• Leaving the crispy brownie edges out ensures a perfectly smooth truffle interior.
• If the chocolate thickens while dipping, reheat it for 10 seconds.
• Store in the refrigerator for up to 1 week or freeze for up to 2 months.