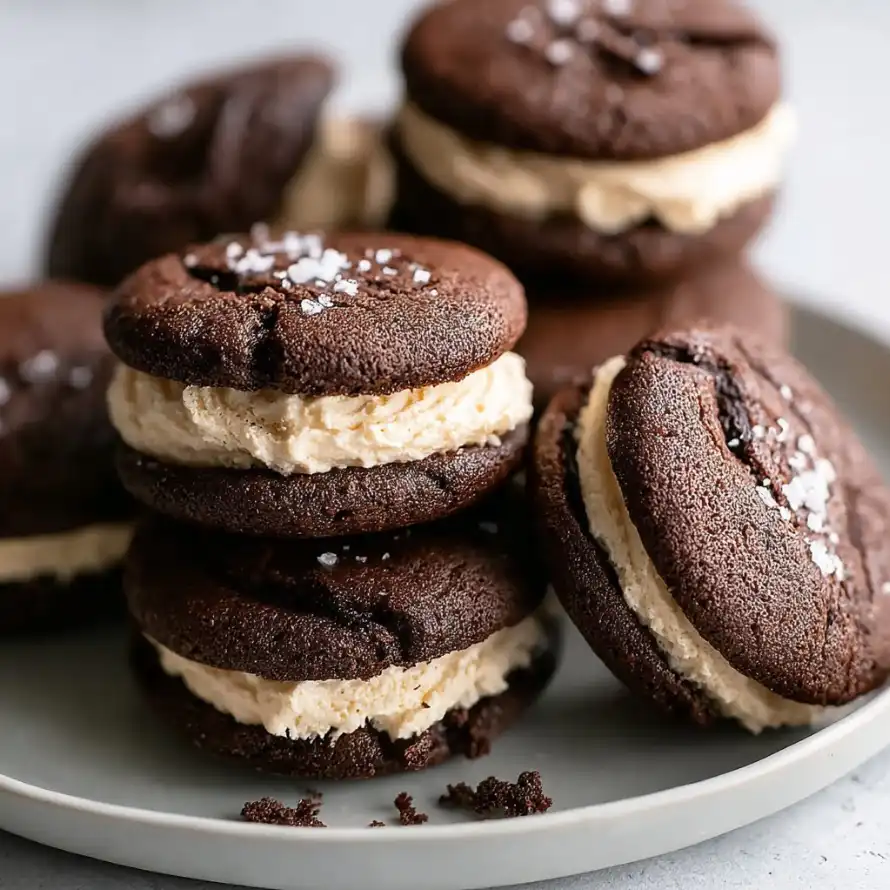
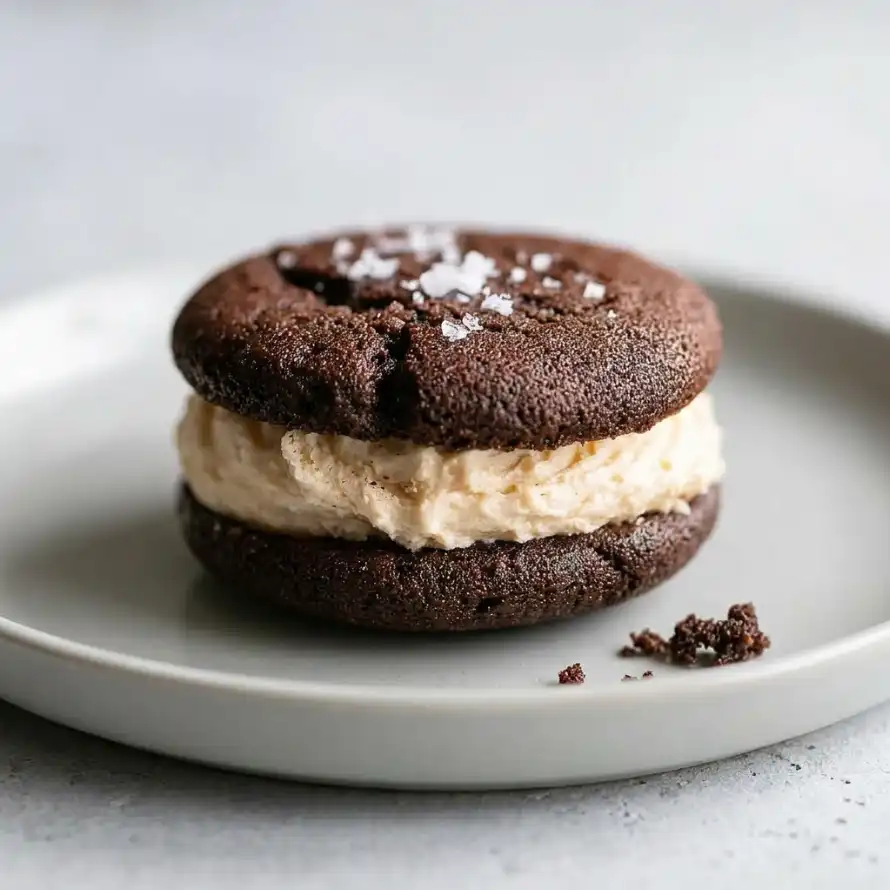
Imagine the fudgy, decadent texture of a perfect brownie concentrated into a crinkle-top cookie, then sandwiched with a luscious, creamy frosting that tastes exactly like raw cookie dough. These Cookie Dough Stuffed Brownie Cookie Sandwiches are more than just a dessert; they are a masterclass in texture and flavor. Whether you are looking for the perfect “Brookies” variation or a show-stopping treat for your next gathering, this recipe delivers on every front. By combining high-quality bittersweet chocolate with a unique blend of flours, we achieve a cookie that is chewy on the edges and soft in the middle. The addition of safe-to-eat cookie dough buttercream takes it over the top, making this the ultimate indulgence for chocolate lovers and cookie dough enthusiasts alike. Get ready to elevate your baking game with this professional-grade recipe.
Why You’ll Love This Recipe
You will fall in love with these sandwiches because they offer the perfect balance of richness and sweetness. The brownie cookies themselves are intensely chocolatey, thanks to the use of both bittersweet chocolate and Dutch-process cocoa powder. Unlike traditional cookies, these have a unique “snap” on the outside and a fudgy, melt-in-your-mouth interior. The cookie dough buttercream provides a nostalgic, salty-sweet contrast that cuts through the dark chocolate perfectly. Plus, this recipe incorporates professional techniques—like heat-treating flour and “cookie scooting”—that ensure your results look like they came straight from a high-end bakery. It’s a versatile, crowd-pleasing dessert that stores beautifully and tastes even better the next day.
What Is a Brownie Cookie Sandwich?
A brownie cookie sandwich is a hybrid dessert that combines the structural integrity of a cookie with the flavor profile of a classic brownie. These are often called “Brookies,” but our version takes it a step further by using a sandwich format. The cookies are specifically formulated to be thinner and more pliable than a standard chocolate chip cookie, allowing them to hold a generous amount of filling without breaking. The filling is a specialized “Cookie Dough Buttercream,” which uses heat-treated flour to mimic the taste and texture of raw dough while remaining completely safe to consume. It’s a sophisticated, multi-layered treat that satisfies every dessert craving in one bite.
Ingredients Overview
To achieve the perfect texture, the ingredients in this recipe are carefully selected. For the cookies, we use a combination of bittersweet chocolate (at least 60% cacao) and unsalted butter for a rich base. The use of both granulated and light brown sugar is crucial; the granulated sugar helps create those iconic brownie crinkle tops, while the brown sugar adds moisture and chew.
A key secret to this recipe is the flour blend. We use a mix of all-purpose flour and bread flour. The higher protein content in bread flour provides the structural “chew” that prevents the sandwich from being too crumbly. Dutch-process cocoa powder is sifted in for a deep, dark color and smooth flavor, while a combination of baking powder and baking soda ensures just the right amount of lift. For the buttercream, the most important component is the heat-treated flour, which provides the signature “dough” texture, and heavy cream, which creates a pipeable, velvety consistency.
Ingredient Substitutions & Tips
If you don’t have bread flour on hand, you can substitute it with an equal amount of all-purpose flour; the cookies will be slightly softer but still delicious. For a lighter chocolate profile, semi-sweet chocolate can replace bittersweet, though we recommend bittersweet to balance the sweet frosting. If you are out of Dutch-process cocoa, regular natural cocoa powder works, though the color will be lighter and the flavor more acidic. For the buttercream, ensure your butter is truly at room temperature (around 65°F-68°F) to avoid lumps. If you need a dairy-free option, high-quality plant-based butter and heavy cream alternatives can be used with a 1:1 ratio.
Step-by-Step Instructions
1. Heat Treat the Flour
Safety first! Spread 1/2 cup of all-purpose flour on a baking sheet. Bake at 300°F, stirring every 2 minutes. Once a digital thermometer reads 165°F, remove it and let it cool completely. This kills any bacteria found in raw flour.
2. Melt and Whisk
Melt the bittersweet chocolate and 8 tablespoons of butter over a double boiler. Once smooth, let it cool for 5 minutes. In a stand mixer with a whisk attachment, combine the chocolate mixture with the eggs and both sugars. Whisk on medium-low until the mixture is glossy and well-combined.
3. Incorporate Dry Ingredients
Sift together the flours, cocoa powder, baking powder, baking soda, and salt. Gently fold these into the wet ingredients. Do not overmix, or the cookies will become tough. Cover and chill the dough for 30 minutes; this is vital for the cookies to hold their shape.
4. Bake and Shape
Preheat your oven to 350°F. Scoop small balls of dough (.07-.08 oz) onto parchment-lined sheets. Bake for 8-10 minutes. While warm, use a round cookie cutter or a fork to “scoot” the edges into a perfect circle.
5. Make the Buttercream
Cream the softened butter and brown sugar until fluffy. Gradually add the sifted confectioners’ sugar and the cooled, heat-treated flour. Mix in the vanilla and salt, then add heavy cream one tablespoon at a time until the frosting is thick yet pipeable.
6. Assembly
Pipe a swirl of buttercream on the flat side of one cookie, then press another cookie on top. For an extra touch, sprinkle with flakey sea salt.
Expert Baking Tips
- Temperature Matters: Ensure your eggs are at room temperature. Cold eggs can cause the melted chocolate to seize, ruining the smooth texture of your dough.
- The “Scoot” Technique: To get those perfectly round, Instagram-worthy sandwiches, place a circular cutter over the cookie immediately after it comes out of the oven and move it in a circular motion. This rounds out the edges while the cookie is still soft.
- Don’t Overbake: Brownie cookies continue to set on the hot baking sheet. Pull them out when the centers still look slightly underdone to ensure they remain fudgy.
- Weigh Your Dough: For uniform sandwiches, use a kitchen scale to ensure every cookie is the exact same weight before baking.
Special Section: The Importance of Heat-Treating Flour
Many home bakers overlook the necessity of heat-treating flour for “raw” applications like cookie dough frosting. However, raw flour is a raw agricultural product that hasn’t been treated to kill germs like E. coli. By heating the flour to 165°F, you ensure that your buttercream is not only delicious but completely safe for everyone to enjoy. This simple 5-minute step elevates your baking from hobbyist to professional, prioritizing the health of your guests without sacrificing that nostalgic cookie dough taste we all love.
Serving Suggestions
Serve these cookies at room temperature for the softest texture, or chilled if you prefer a firmer, “fudge-like” bite. They pair beautifully with a tall glass of cold milk or a hot cup of espresso. For a decadent party platter, arrange them alongside fresh raspberries, which provide a tart contrast to the rich chocolate. If you’re feeling adventurous, roll the edges of the finished sandwiches in mini chocolate chips or crushed walnuts for added crunch.
Storage & Make-Ahead Tips
These sandwiches are excellent make-ahead treats. Store them in an airtight container at room temperature for up to 3 days, or in the refrigerator for up to 5 days. For long-term storage, freeze the assembled sandwiches on a tray for an hour, then wrap them individually in plastic wrap and store in a freezer bag for up to 2 months. Simply thaw at room temperature for 30 minutes before serving.
FAQs
Q: Can I use store-bought cookie dough for the filling?
A: We don’t recommend it, as store-bought dough usually contains raw eggs and untreated flour. Our Cookie Dough Buttercream provides that flavor safely and with a much better texture for piping.
Q: Why do my cookies look flat and not crinkly?
A: This usually happens if the sugar wasn’t fully incorporated or if the dough wasn’t chilled. Chilling helps the fats solidify, leading to a better rise and those beautiful surface cracks.
Q: Is bread flour really necessary?
A: It’s not strictly necessary, but it is highly recommended. The extra protein gives the cookies a “bendy” chewiness that is perfect for sandwiches.
Q: How do I know when the flour is “done” in the oven?
A: Use a digital food thermometer. Once it hits 165°F (74°C), it is safe. Do not let it brown, or it will taste toasted and nutty (which is delicious, but different!).
Mastering the art of the Cookie Dough Stuffed Brownie Cookie Sandwich is a rewarding experience for any baker. By following these steps—from the precise flour blend to the safety-conscious heat-treating—you’ll create a dessert that is as beautiful as it is delicious. These cookies are a testament to the fact that with a little patience and the right techniques, you can bring bakery-quality treats into your own kitchen. Happy baking!