As the flowers begin to bloom and the air turns crisp and fresh, there is one tradition that truly signals the arrival of spring in my kitchen: making Chocolate-Covered Easter Eggs. While those yellow packages at the grocery store are nostalgic, they simply cannot compete with the rich, buttery, and decadent flavor of a homemade version. These eggs feature a melt-in-your-mouth peanut butter center wrapped in a luxurious chocolate shell that snaps perfectly when you bite into it.

Whether you are preparing for an Easter egg hunt or looking for the perfect addition to your holiday dessert table, these treats are a guaranteed showstopper. The best part? They require zero time in the oven, making them a fantastic project to do with children. In this guide, I will share my expert secrets for getting that perfect “egg” shape and a professional chocolate finish every time.
Why You’ll Love This Recipe
You are going to fall in love with this recipe because it strikes the perfect balance between simplicity and gourmet quality. First, it is a no-bake dessert, which means you save oven space for the Easter ham or lamb. Second, the texture is far superior to commercial brands; by using real butter and high-quality chocolate, you avoid the waxy aftertaste often found in mass-produced candy. Finally, this recipe is incredibly versatile. While peanut butter is the classic choice, you can easily adapt the filling to suit your family’s preferences. It’s a customizable, fun, and cost-effective way to celebrate the season with a touch of homemade love.
What Is a Chocolate-Covered Easter Egg?
A Chocolate-Covered Easter Egg is a seasonal confection traditionally made from a sweet, malleable filling—most commonly peanut butter, coconut, or vanilla cream—that is shaped by hand into an oval and dipped in melted chocolate. These treats have deep roots in American confectionery history, gaining massive popularity in the mid-20th century. They are essentially a festive evolution of the “Buckeye” or the chocolate truffle, resized and reshaped to honor the symbol of new life. Today, they are a staple of the Easter holiday, representing a sweet reward at the end of the Lenten season and a centerpiece of gift baskets across the country.
Ingredients Overview
To achieve the perfect Chocolate-Covered Easter Egg, the quality of your ingredients is paramount. Here is what you will need:
- Creamy Peanut Butter (1 cup): I recommend using a standard commercial creamy peanut butter (like Jif or Skippy) rather than the “natural” stir-style varieties. The stabilizers in standard peanut butter ensure the filling stays firm and holds its shape at room temperature.
- Softened Butter (1/4 cup): Ensure your butter is truly softened to room temperature. This acts as the binder that gives the filling its “melt-away” fudge-like texture.
- Powdered Sugar (2 cups): Also known as confectioners’ sugar, this provides sweetness and structural integrity. It absorbs the moisture from the peanut butter and butter to create a moldable dough.
- Chocolate Chips (2 cups): You can use milk, dark, or even white chocolate. For a classic taste, milk chocolate is the winner, but a high-percentage dark chocolate (60% cacao) offers a sophisticated contrast to the sweet filling.
- Coconut Oil (1 tablespoon): This is the secret to a smooth, shiny coating. It thins the chocolate just enough to make dipping effortless and creates a shell that doesn’t crack as easily when bitten.
Ingredient Substitutions & Tips
If you have dietary restrictions, you don’t have to miss out on this spring tradition!
- Nut-Free Option: Replace the peanut butter with Sunflower Seed Butter (SunButter). The flavor is remarkably similar once mixed with sugar and chocolate.
- Vegan Version: Use a vegan butter stick and dairy-free chocolate chips. Ensure your powdered sugar is certified vegan (some use bone char in processing).
- Chocolate Types: If you find dipping in melted chips difficult, you can use “candy melts” or “almond bark,” which are formulated for high-sheen coating without the need for tempering. However, pure chocolate always delivers the best flavor profile.
Step-by-Step Instructions
1. Create the Filling Base
In a large bowl, combine your creamy peanut butter and softened butter. Use a hand mixer or a stand mixer fitted with the paddle attachment to cream them together until the mixture is light, fluffy, and completely homogeneous. This should take about 2 minutes.
2. Incorporate the Sugar
Gradually add the powdered sugar. I recommend doing this in three stages to prevent a “sugar cloud” from covering your kitchen. Mix on low speed until the sugar is fully incorporated. The resulting texture should be similar to play-dough—not sticky to the touch, but easy to mold. If it’s too soft, add another 1/4 cup of sugar.
3. Shape the Eggs
Line a large baking sheet with parchment paper. Scoop out roughly two tablespoons of the mixture. Roll it into a ball between your palms, then gently roll it into a short cylinder. Pinch one end slightly to create the characteristic egg taper. Place each egg on the parchment.
4. The Critical Chill
Place the tray in the freezer for 30 to 45 minutes. This step is non-negotiable. If the eggs are not frozen solid, they will melt or fall apart when they hit the warm chocolate.
5. Melt and Dip
Combine chocolate chips and coconut oil in a microwave-safe bowl. Heat for 30 seconds, stir, and repeat until the chocolate is 90% melted. Stir until the residual heat melts the remaining bits. Using a fork, submerge a frozen egg into the chocolate. Lift it out, tap the fork on the side of the bowl to remove excess chocolate, and slide it back onto the parchment paper using a toothpick or second fork.
6. Set and Decorate
Once all eggs are dipped, place the tray in the refrigerator for at least 20 minutes to allow the chocolate to set completely.
Expert Baking/Cooking Tips
To take your eggs from “homemade” to “professional,” keep these tips in mind. First, always sift your powdered sugar if it looks lumpy; this ensures a perfectly smooth interior. Second, when dipping, work with only 3 or 4 eggs at a time, keeping the rest in the freezer. If the eggs warm up, they become difficult to dip. Lastly, if your chocolate starts to thicken or “seize,” do not add water! Add another teaspoon of coconut oil and stir vigorously. Water is the enemy of melted chocolate and will cause it to clump instantly.
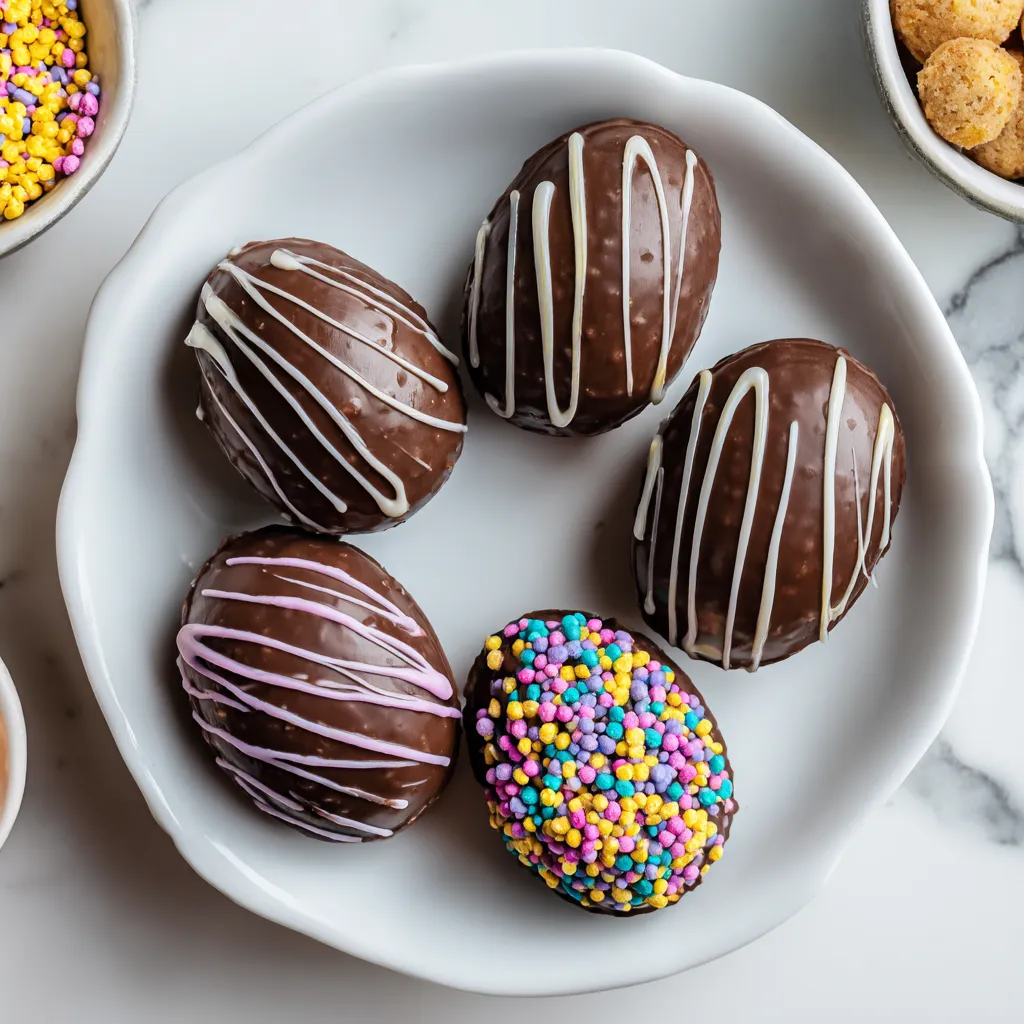
Decorating Your Easter Eggs
Once your eggs are dipped, you have a blank canvas for creativity. If you want to add sprinkles or sea salt, you must do so immediately after dipping each egg before the chocolate sets. For a more advanced look, wait until the chocolate is fully set, then melt a small amount of white chocolate or colored candy melts. Transfer the melted liquid to a small piping bag (or a Ziploc bag with a tiny corner snipped off) and drizzle elegant stripes or zig-zags across the eggs. This adds visual texture and a pop of festive color that makes them look like they came from a high-end boutique.
Serving Suggestions
These eggs are quite rich, so they are best served as a standalone treat or as part of a larger dessert platter. I love placing them in colorful paper cupcake liners to make them easy for guests to grab without getting chocolate on their fingers. They also look stunning nestled into a bed of edible “Easter grass” or shredded coconut dyed with green food coloring. For a sophisticated pairing, serve them alongside fresh strawberries or a glass of cold milk.
Storage & Make-Ahead Tips
These eggs are the perfect make-ahead treat! They will stay fresh in an airtight container in the refrigerator for up to two weeks. If you want to prep them even further in advance, you can freeze the chocolate-covered eggs for up to three months. To thaw, move them to the refrigerator overnight. Avoid storing them at room temperature for extended periods, as the high butter content in the filling can cause them to soften.
FAQs
1. Why is my peanut butter filling too crumbly?
This usually happens if you added too much powdered sugar or used a very dry brand of peanut butter. You can fix this by adding a teaspoon of melted butter or an extra tablespoon of peanut butter to the mix until it reaches a moldable consistency.
2. Can I use dark chocolate instead of milk chocolate?
Absolutely! Dark chocolate (50-70% cacao) is a wonderful choice for those who prefer a less sweet dessert. It pairs beautifully with the salty-sweet peanut butter filling.
3. How do I prevent the chocolate from streaking or turning white?
That white film is called “bloom,” and it happens when chocolate gets too hot or experiences rapid temperature changes. Using coconut oil helps stabilize the chocolate, but the best way to prevent it is to melt the chocolate slowly at low power and store the finished eggs in the fridge.
4. My eggs are sticking to the fork during dipping. What do I do?
Ensure the eggs are very cold (frozen). You can also use a specialized chocolate dipping tool or a plastic fork with the middle two tines snapped off to provide a narrower base for the egg to sit on.
5. Can I use this recipe to make other shapes?
Yes! This “dough” is very versatile. You can use it for hearts at Valentine’s Day, stars for the 4th of July, or simple round buckeyes year-round.
Making your own Chocolate-Covered Easter Eggs is a rewarding experience that elevates your holiday celebrations. By following this recipe, you’re not just making a candy; you’re creating a memory. The combination of the creamy, nostalgic filling and the crisp chocolate shell is a classic for a reason. Once you taste the difference that real butter and quality chocolate make, you’ll never go back to store-bought again. Happy Easter and happy “baking!”
PrintHomemade Chocolate-Covered Easter Eggs Recipe

These homemade Chocolate-Covered Easter Eggs are even better than the store-bought version. With a rich, velvety peanut butter center and a crisp chocolate shell, they are the ultimate spring treat for kids and adults alike.
- Prep Time: 45 minutes
- Cook Time: 5 minutes
- Total Time: 50 minutes
- Yield: 12 eggs
- Cuisine: American
Ingredients
1 cup creamy peanut butter – 250g
1/4 cup softened unsalted butter – 56g
2 cups powdered sugar – 240g
2 cups chocolate chips (milk or dark) – 340g
1 tablespoon coconut oil – 15ml
Instructions
In a large mixing bowl, beat together the creamy peanut butter and softened butter until the mixture is completely smooth and pale.
Slowly add the powdered sugar, half a cup at a time, mixing on low speed until a thick, moldable dough forms.
Scoop about 2 tablespoons of dough at a time and shape into oval egg shapes using your hands.
Place the shaped eggs onto a baking sheet lined with parchment paper and freeze for at least 30 minutes.
In a microwave-safe bowl, combine chocolate chips and coconut oil. Heat in 30-second bursts, stirring in between, until silky smooth.
Using a fork, dip each chilled egg into the chocolate, let the excess drip off, and return to the parchment paper.
Refrigerate for 15-20 minutes until the chocolate shell has fully hardened before serving.
Notes
• Use high-quality chocolate chips for the best melting consistency and flavor.
• If the dough is too sticky to handle, add an extra 1/4 cup of powdered sugar.
• For a professional finish, drizzle extra chocolate or add festive sprinkles immediately after dipping.
• Store in an airtight container in the refrigerator for up to 2 weeks.