Nothing transports you back to childhood quite like the scent of melting butter and sugary marshmallows. While the recipe on the back of the blue box is a classic, we’ve all experienced the disappointment of a Rice Krispies treat that is too hard, too dry, or simply lacking that “wow” factor. After years of testing different ratios and techniques, I have perfected the ultimate version of this no-bake staple. These aren’t just snacks; they are decadent, buttery, and incredibly soft bars that stay gooey for days. By adjusting the marshmallow-to-cereal ratio and adding a few professional baker secrets, you will create a treat that disappears from the dessert table in minutes. Whether you’re making these for a school bake sale, a holiday party, or just a Tuesday night craving, this recipe is the only one you will ever need.
Why You’ll Love This Recipe
You will fall in love with this recipe because it prioritizes texture above all else. Most standard recipes use too much cereal and not enough “glue,” resulting in a dry bar. Our version uses a massive 15 ounces of marshmallows to 9 cups of cereal, ensuring every nook and cranny is filled with sweetness. Additionally, we use a “two-stage” marshmallow technique that leaves whole, un-melted pockets of marshmallow throughout the bars. It’s a no-bake recipe that requires only four simple ingredients and less than 20 minutes of work. Best of all, they remain soft and flexible even the next day, avoiding that dreaded “brick-like” consistency often found in store-bought versions.
What Are Rice Krispies Treats?
Rice Krispies treats (also known as Marshmallow Treats or Cereal Bars) are a classic American confection made by binding crisp puffed rice cereal with a mixture of melted butter and marshmallows. Invented in 1939 by Mildred Day and Malitta Jensen at the Kellogg’s home economics department, they were originally created as a promotional tool for the cereal. Since then, they have become a global phenomenon due to their simplicity and crowd-pleasing flavor. While they are technically a “candy” or “dessert bar,” they occupy a special category of nostalgic snacks that bridge the gap between home-style baking and easy, no-heat-required kitchen projects.
Ingredients Overview
To achieve the best results, every ingredient must be selected with care.
- Salted Butter: Many recipes call for unsalted, but salted butter provides a necessary contrast to the intense sweetness of the marshmallows. It adds a depth of flavor that mimics salted caramel.
- Fresh Mini Marshmallows: Freshness is non-negotiable. Old marshmallows have a dried-out sugar coating that won’t melt smoothly and will result in a grainy texture. We use mini marshmallows because they melt faster and more evenly than the large ones.
- Pure Vanilla Extract: This is the “secret” ingredient that elevates the flavor from “sweet cereal” to “gourmet dessert.” Use real vanilla extract rather than imitation for the best aromatic profile.
- Rice Krispies Cereal: Use a fresh, unopened box of toasted rice cereal to ensure maximum crunch. If the cereal is even slightly stale, it will ruin the contrast between the crispy rice and the gooey marshmallow.
This specific combination—with a higher-than-average butter and marshmallow content—is what creates that bakery-style finish. By using 15 ounces of marshmallows (one and a half standard bags), we ensure a rich, decadent mouthfeel that standard recipes simply cannot match.
Ingredient Substitutions & Tips
If you find yourself missing an ingredient, there are several ways to adapt. You can use brown butter instead of regular melted butter to add a nutty, sophisticated toasted flavor. If you only have unsalted butter, simply add a 1/4 teaspoon of fine sea salt to the mixture. For those looking for variety, you can substitute the Rice Krispies with Cocoa Krispies or even Fruity Pebbles for a colorful twist. If you are vegan, use vegan-certified marshmallows (like Dandies) and a high-quality plant-based butter. Note that vegan marshmallows melt differently, so keep the heat very low and be patient during the stirring process.
Step-by-Step Instructions
- Preparation is Key: Start by greasing a 9×13-inch baking pan with plenty of butter. Alternatively, line it with parchment paper, leaving an overhang on the sides so you can easily lift the entire block out later for slicing.
- The Low-and-Slow Melt: Place a large saucepan over the lowest heat setting on your stove. Add the 1/2 cup of salted butter. Melting the butter slowly prevents it from browning prematurely or burning.
- Marshmallow Integration: Once the butter is a liquid, add 15 ounces of mini marshmallows, but reserve 1 cup of them for later. Stir constantly with a silicone spatula. The goal is to melt them until they are just smooth. Do not overcook! Overheating the sugar makes the treats hard.
- Flavoring: As soon as the mixture is smooth, remove the pan from the heat. Immediately stir in the vanilla extract.
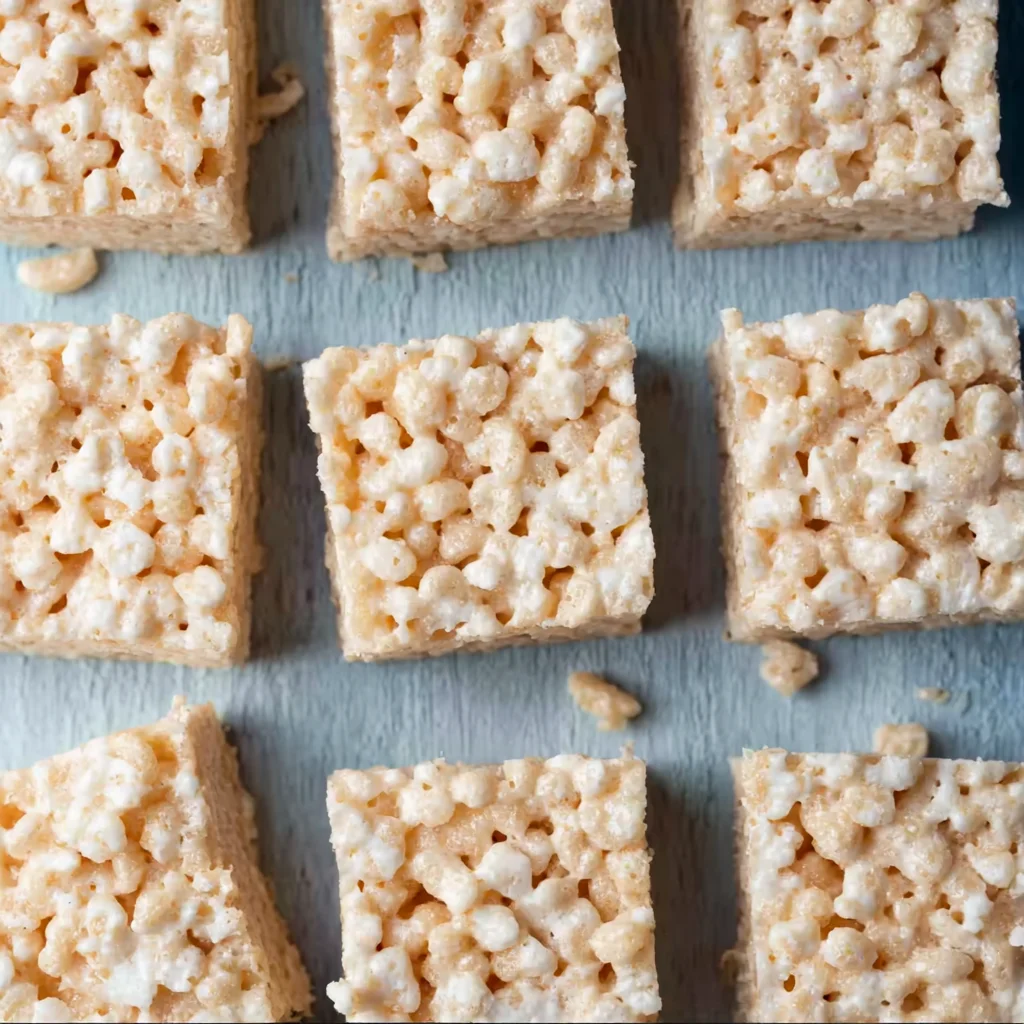
- The Fold: Pour in the 9 cups of Rice Krispies cereal and the reserved 1 cup of whole marshmallows. Use a large spatula to gently fold the mixture together. The reserved marshmallows will soften but remain partially intact, creating those delicious “gooey pockets.”
- The Gentle Press: Transfer the mixture to your prepared pan. This is the most important step: do not pack the cereal down. Use a buttered spatula or damp fingers to lightly nudge the mixture into the corners. If you press too hard, you crush the air pockets, resulting in a dense, tough bar.
- Resting: Let the bars sit at room temperature for at least 60 minutes. This allows the marshmallow structure to set so you get clean cuts.
Expert Baking Tips
The most common mistake when making Rice Krispies treats is using high heat. When you melt marshmallows at a high temperature, you are essentially cooking the sugar into a “hard ball” stage. Once it cools, it becomes rock hard. Always use the lowest setting possible. Another professional tip is to ensure your cereal is fresh. Toasted rice cereal absorbs moisture from the air quickly; if the box has been open for more than a week, the treats will taste stale. Lastly, always use a silicone spatula and grease it with butter or non-stick spray. Marshmallow is incredibly sticky, and a greased tool makes the folding process much more manageable.
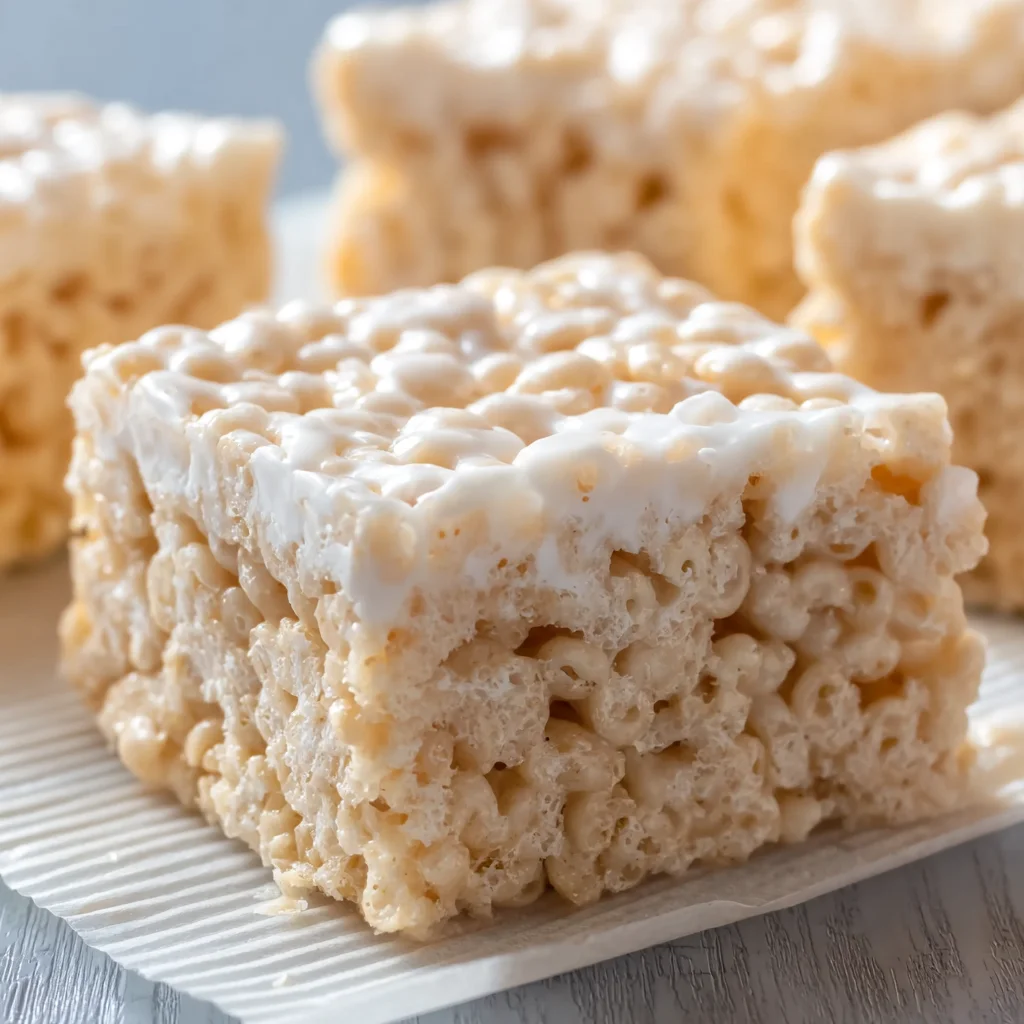
The Secret “Gooey Pocket” Technique
What sets this recipe apart from the standard version is the two-stage marshmallow addition. By adding a cup of un-melted marshmallows at the same time as the cereal, you create a multi-textured experience. These whole marshmallows don’t fully melt; instead, they become soft, stretchy “pockets” of pure marshmallow goodness throughout the bar. When you pull a finished treat apart, you’ll see those iconic long strings of marshmallow. This technique, combined with the extra butter, ensures that the bars remain soft for up to three days, whereas traditional recipes often dry out within 24 hours.
Serving Suggestions
While these treats are perfect on their own, you can easily dress them up for special occasions. Try drizzling melted dark chocolate or white chocolate over the top and adding a pinch of flaky sea salt. For birthday parties, toss in a handful of rainbow sprinkles during the final folding step. If you want a more decadent dessert, serve a square of Rice Krispies treat warm with a scoop of vanilla bean ice cream and a caramel drizzle. They also make excellent bases for “treat pops”—just insert a wooden stick and dip half the bar into melted chocolate.
Storage & Make-Ahead Tips
Rice Krispies treats are best enjoyed within 24 to 48 hours of making them. To keep them fresh, store them in an airtight container at room temperature. Never refrigerate them, as the cold air will cause the sugar to crystallize and the treats to become hard. If you need to make them ahead of time, you can stack them in a container with layers of wax paper or parchment paper between them to prevent sticking. They can be frozen for up to 2 months if wrapped tightly in plastic wrap and placed in a freezer bag; just thaw at room temperature before eating.
FAQs
Can I use large marshmallows instead of mini ones?
Yes, you can use large marshmallows, but they take longer to melt. To help them along, it’s best to cut them into smaller pieces with kitchen shears before adding them to the butter.
Why are my Rice Krispies treats hard?
This usually happens for two reasons: either the marshmallows were melted over too high a heat, or you packed the mixture too firmly into the pan. Remember to use low heat and a very light touch when spreading them in the pan.
Can I make these in the microwave?
Yes, though the stovetop offers more control. In a large microwave-safe bowl, heat the butter and marshmallows in 30-second intervals, stirring in between, until just melted. Proceed with the rest of the recipe as usual.
How do I get clean cuts when slicing?
Wait until the treats are completely cooled. Use a sharp chef’s knife and wipe it with a little butter or non-stick spray before cutting. Slice in a straight downward motion rather than a sawing motion.
Is it okay to use generic brand cereal?
While generic brands work, name-brand Rice Krispies tend to stay crunchy longer once mixed with the warm marshmallow. Some generic brands can become soggy more quickly.
Mastering the perfect Rice Krispies treat is a rite of passage for any home baker. It’s a recipe that relies on technique and ratios rather than complex ingredients. By following these steps—using low heat, adding extra marshmallows, and resisting the urge to pack them down—you’ll create a snack that is light, airy, and spectacularly gooey. Once you try this perfected version, you’ll never go back to the basic box recipe again. Happy “baking”!
PrintRice Krispies Treats
These are the ultimate Rice Krispies treats: extra soft, buttery, and packed with gooey marshmallow pockets. By using a higher marshmallow-to-cereal ratio and adding a splash of vanilla, we take this childhood classic to a professional bakery level.
- Prep Time: 10 minutes
- Cook Time: 10 minutes
- Total Time: 20 minutes
- Yield: 12 bars
- Cuisine: American
Ingredients
Butter (salted) – ½ cup
Mini marshmallows (approx. 1.5 bags) – 15 oz
Vanilla extract – 1 teaspoon
Rice Krispies cereal – 9 cups
Instructions
Butter your 9 x 13 x 2 inch baking pan, or line with parchment paper.
Melt butter in a large saucepan over low heat. Once the butter is melted, add the marshmallows (minus 1 cup for later) and stir to coat well.
Continue stirring until all of the marshmallows are melted, then remove from heat.
Stir in the vanilla, then add the rice krispies cereal and the remaining 1 cup portion of marshmallows.
Gently fold in and stir until all of the cereal is coated with the melted marshmallow.
Transfer the coated cereal to your prepared pan.
Use a buttered spatula, waxed paper, or dip your fingers in water to gently press the cereal down into an even layer. Do not pack firmly!
Set the treats out and let them cool for at least an hour before slicing and serving.
Notes
• Do not use old marshmallows; fresh ones are key for the “pull” texture.
• Use low heat only. High heat makes the sugar in the marshmallows turn hard once cooled.
• To prevent sticking, rub a little butter on your hands before pressing the mixture into the pan.
• Store at room temperature in an airtight container for up to 3 days.