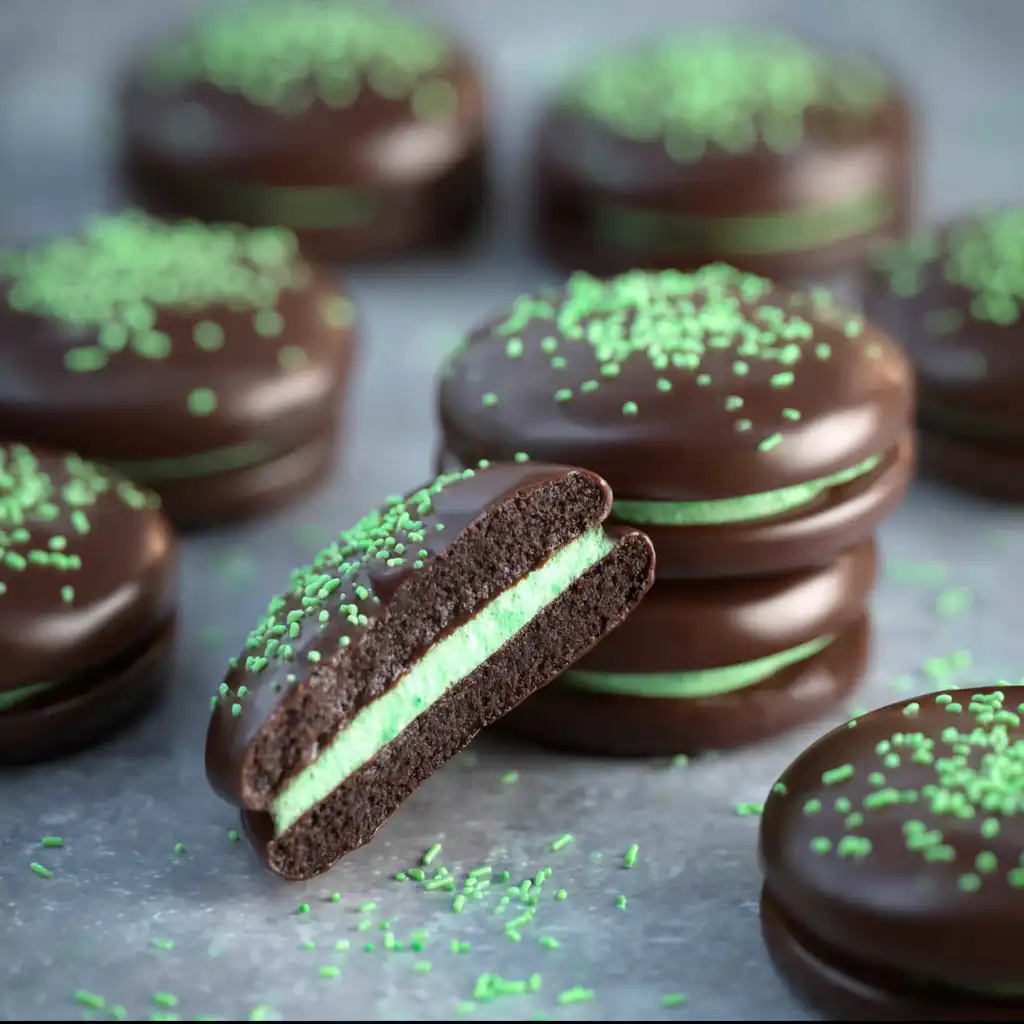
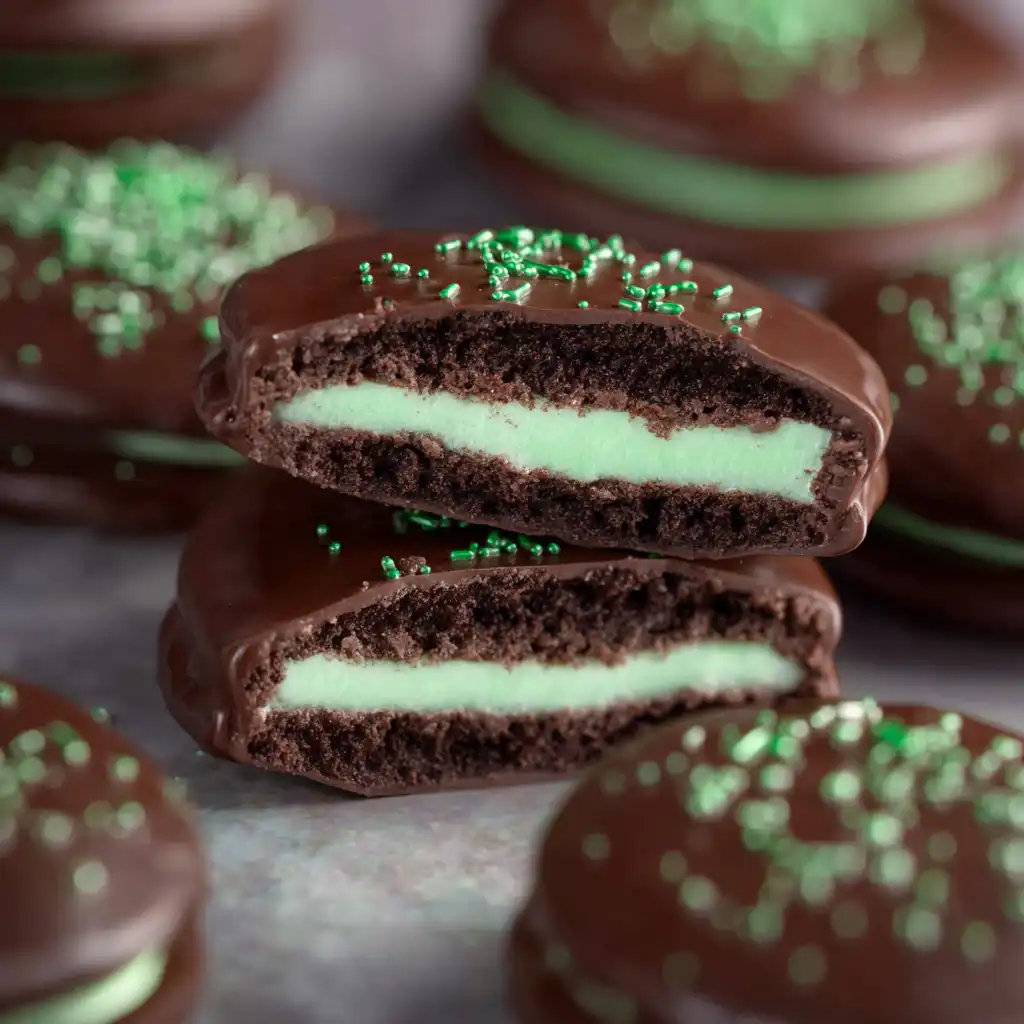
If you are looking for a dessert that looks like it came from a high-end confectionery but requires absolutely zero baking, you have found it. These Chocolate Covered Mint Oreos are the ultimate crowd-pleaser. Combining the iconic crunch of a mint-filled Oreo with a rich, silky coating of semisweet chocolate, these treats are a sophisticated upgrade to a childhood favorite. Whether you are prepping for a St. Patrick’s Day party, a holiday cookie swap, or just need a sweet fix on a Tuesday night, this recipe delivers maximum flavor with minimal effort. The addition of a hint of peppermint extract and festive green sprinkles makes them visually stunning and double-down on that refreshing minty profile. Get ready to master the art of the chocolate-dipped cookie with this foolproof guide.
Why You’ll Love This Recipe
There are a million reasons to fall in love with these Chocolate Covered Mint Oreos, but the top of the list has to be the simplicity. With only four ingredients, you can whip these up in less than 20 minutes of active time. They are incredibly versatile; while we use mint Oreos and green sprinkles here, the technique works for any season. Because they are no-bake, they are a fantastic project for kids to help with—no hot ovens required! Additionally, these cookies have a fantastic shelf life, making them the perfect “make-ahead” gift for teachers, neighbors, or friends. They strike that perfect balance between refreshing peppermint and deep, dark chocolate.
What Is a Chocolate Covered Mint Oreo?
A Chocolate Covered Mint Oreo is a gourmet dessert modification of the classic sandwich cookie. While a standard Oreo is delicious on its own, dipping it in melted chocolate creates a protective, snappy shell that elevates the texture and flavor. By using the “Cool Mint” variety of Oreo, we lean into a flavor profile similar to a Thin Mint cookie or an Andes Mint, but with the satisfying bulk of a sandwich cookie. The chocolate coating isn’t just for show; it locks in the freshness of the cookie and provides a canvas for decorative drizzles and sprinkles, transforming a grocery store staple into a handmade treasure.
Ingredients
To achieve the best results, the quality of your ingredients matters significantly, even in a simple four-ingredient recipe.
- Mint Flavored Oreos: Look for the standard size (not Thins) with the green mint cream filling. The mint flavor in the filling provides the base notes for the entire treat.
- Semisweet Chocolate Disks: This is where you should invest. Chocolate “disks” or “melting wafers” are designed to melt smoothly and set firmly. Unlike chocolate chips, which contain stabilizers to help them hold their shape in the oven, disks or couverture chocolate provide a much smoother finish and a better “snap” when you bite into the cookie.
- Peppermint Extract: A little goes a long way. This extract boosts the mintiness of the chocolate coating itself, ensuring that the flavor is cohesive from the first bite to the center. Ensure you are using peppermint extract rather than “mint” extract, which can sometimes taste more like spearmint (think toothpaste).
- Green Sprinkles: These provide the visual cue for the flavor and add a delightful little crunch. Nonpareils, sanding sugar, or festive jimmies all work perfectly here.
Ingredient Substitutions & Tips
If you can’t find semisweet chocolate disks, you can use high-quality chocolate bars chopped into small pieces. Avoid using cheap chocolate chips if possible, as they can result in a thick, clumpy coating. If your chocolate is too thick after melting, stir in one teaspoon of refined coconut oil; this will thin it out and give the cookies a beautiful sheen. For a different flavor profile, try using White Chocolate wafers or even Dark Chocolate for a more bitter contrast. If Mint Oreos aren’t available, you can use regular Oreos and double the peppermint extract in the chocolate to compensate for the lack of mint cream.
Step-by-Step Instructions
1. Melt the Chocolate: Start by placing your 16 ounces of semisweet chocolate disks into a medium-sized, microwave-safe glass bowl. Microwave for 30 seconds, then remove and stir with a dry spatula. Continue this process in 30-second increments. It is vital to stir even if the disks look solid, as they hold their shape until agitated. Once the chocolate is about 90% melted, stop microwaving and just stir until the residual heat melts the remaining bits. This prevents the chocolate from burning or seizing.
2. Flavor the Coating: Once the chocolate is perfectly smooth and glossy, stir in the 1/4 teaspoon of peppermint extract. The aroma will be immediate and delicious! Ensure the extract is fully incorporated so there are no “hot spots” of intense flavor.
3. The Dipping Process: Line a large sheet pan with parchment paper. Using a fork, drop one Oreo into the chocolate. Flip it once to ensure it is fully submerged. Lift the Oreo out with the fork tines. Gently tap the fork against the side of the bowl several times. This is the secret to a professional look; it removes the excess chocolate so you don’t end up with a large “foot” of chocolate at the bottom of your cookie.
4. Setting and Decorating: Carefully slide the Oreo onto the parchment paper. Repeat with all 24 cookies. Once the base coat is done, take your remaining chocolate and transfer it to a small piping bag. Drizzle thin lines across the cookies in a back-and-forth motion. While the drizzle is still wet, shake your green sprinkles over the top. This layering creates a beautiful, textured appearance that looks far more complex than it actually is.
5. The Final Set: Let the cookies rest at room temperature until firm. If your kitchen is warm, you can pop the tray into the fridge for 15 minutes to speed up the process.
Expert Baking Tips
- Water is the Enemy: Make sure your bowl and fork are bone-dry. Even a single drop of water can cause the chocolate to “seize,” turning it into a grainy, unworkable mess.
- Room Temperature Cookies: Ensure your Oreos are at room temperature. If they are cold, they will cause the chocolate to set too quickly, making it difficult to get a smooth finish or to get the sprinkles to stick.
- The Fork Method: Don’t use a spoon to dip. A fork allows the excess chocolate to fall through the tines, giving you a much cleaner, thinner coating.
- Piping Bag Alternative: If you don’t have a piping bag, use a sandwich-sized Ziploc bag and snip a tiny piece off one of the bottom corners.
Holiday Gifting & Variations
These cookies are a powerhouse for holiday gifting. For St. Patrick’s Day, use various shades of green sprinkles or even a few gold leaf flakes for a “Pot of Gold” theme. For Christmas, swap the green sprinkles for crushed candy canes or red and green nonpareils. To package them, place 3-4 cookies in a cellophane bag tied with a satin ribbon. They also look stunning nestled in mini cupcake liners inside a decorative tin. Because they are sturdy, they hold up well during transport, making them an ideal choice for mailing to loved ones far away.
Serving Suggestions
Serve these Chocolate Covered Mint Oreos on a white ceramic platter to make the dark chocolate and green sprinkles pop. They pair exquisitely with a cold glass of milk, a hot cup of peppermint tea, or even a rich espresso. For a dinner party dessert, serve two cookies alongside a scoop of vanilla bean or mint chocolate chip ice cream. They also make a fantastic addition to a dessert charcuterie board alongside fresh strawberries and pretzels.
Storage & Make-Ahead Tips
Store your finished Oreos in an airtight container. At room temperature, they will stay fresh for up to two weeks, provided they are kept in a cool, dry place away from direct sunlight. If you live in a humid climate, store them in the refrigerator to keep the chocolate snappy. You can also freeze these for up to three months! Just place them in a freezer-safe bag with layers of parchment paper between them to prevent sticking.
FAQs
Can I use chocolate chips instead of disks?
While you can use chips, they contain stabilizers that make them resist melting. If you must use them, add a teaspoon of coconut oil or shortening to help achieve a dippable consistency.
Why did my chocolate turn white or cloudy?
This is called “bloom.” It usually happens if the chocolate gets too hot or if it’s stored in a place with frequent temperature changes. It’s still safe to eat, just less pretty!
How do I get the smoothest finish?
The key is the “tap.” After dipping the cookie, tap the fork on the bowl edge for at least 10 seconds to let every bit of excess chocolate drain away.
Do I need to refrigerate these?
No, they are stable at room temperature. However, if your house is above 75°F, the chocolate may soften, so the fridge is a safer bet for storage.
Chocolate Covered Mint Oreos Recipe

These decadent Chocolate Covered Mint Oreos are the perfect combination of crunchy, minty, and chocolatey. With only four ingredients and no baking required, they are an easy way to create a gourmet-style treat at home for holidays or special occasions.
- Prep Time: 15 minutes
- Cook Time: 5 minutes
- Total Time: 50 minutes
- Yield: 24 cookies
- Cuisine: American
Ingredients
Mint flavored Oreos – 24 cookies
Semisweet chocolate disks – 16 ounces
Peppermint extract – 1/4 teaspoon
Green sprinkles – 2 tablespoons
Instructions
Place the semisweet chocolate disks in a microwave-safe bowl. Heat for 30 seconds, then stir. Continue heating in 30-second bursts, stirring between each, until the chocolate is completely smooth and glossy.
Add the peppermint extract to the melted chocolate and stir well to combine.
Line a baking sheet with parchment paper or a silicone mat.
Using a fork, submerge one Oreo cookie at a time into the chocolate. Lift the cookie with the fork and gently tap the handle against the side of the bowl to allow excess chocolate to drip off.
Slide the chocolate-coated Oreo onto the prepared parchment paper.
Once all cookies are dipped, pour the remaining melted chocolate into a small piping bag or a Ziploc bag with the corner snipped off.
Drizzle the chocolate in a zigzag pattern over the cookies and immediately top with green sprinkles.
Let the cookies sit at room temperature for about 30-60 minutes, or in the refrigerator for 15 minutes, until the chocolate has fully set.
Notes
• Use high-quality chocolate disks or couverture chocolate for the best snap and shine.
• If the chocolate is too thick, add a teaspoon of coconut oil to thin it out.
• Ensure the Oreos are at room temperature to prevent the chocolate from seizing or setting too quickly.
• Store in an airtight container in a cool, dry place.