There’s just something about the aroma of chocolate and peppermint that instantly brings a smile to my face, especially around the holidays. This Chocolate Peppermint Bundt Cake isn’t just a dessert; it’s a hug in cake form! It’s become a tradition for us, and the rich chocolate with that cool peppermint kick always feels so festive and comforting. I just know you’re going to love baking and sharing this one.
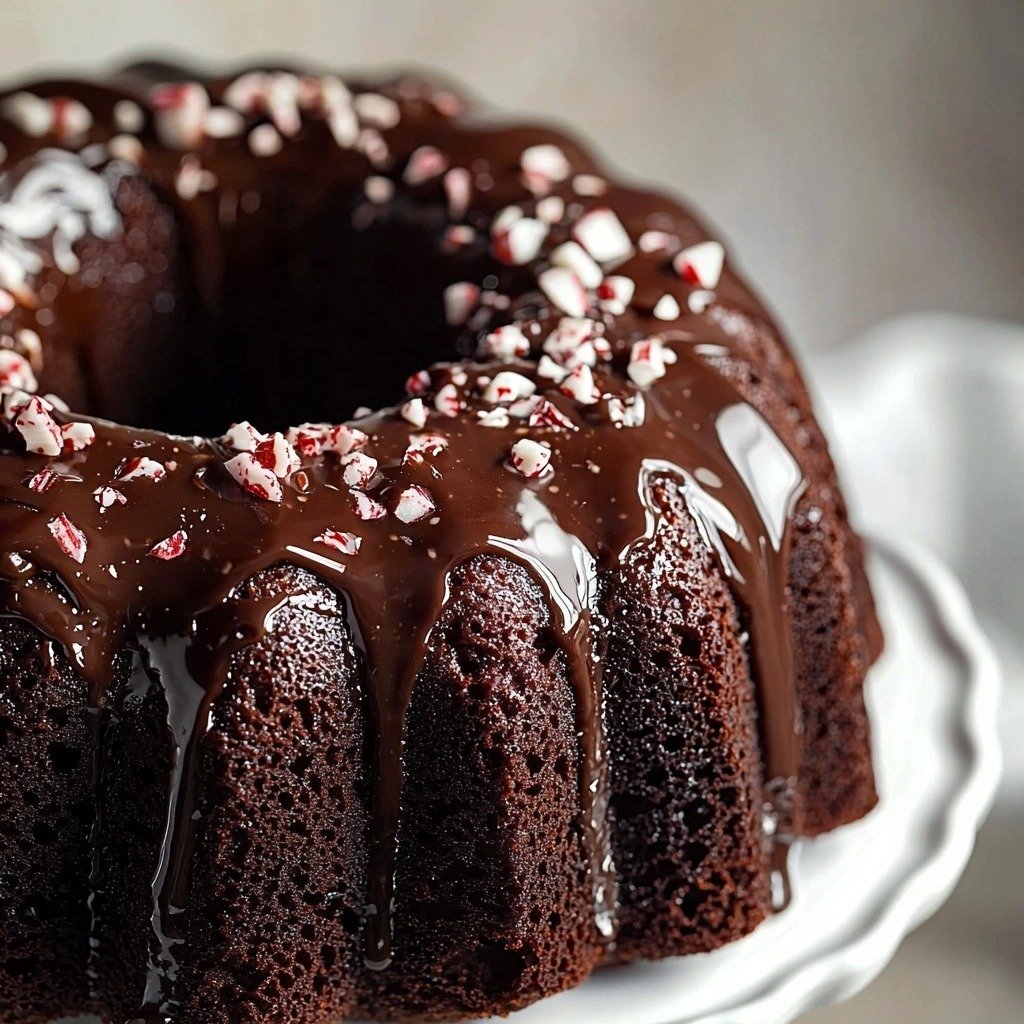
Why You’ll Love This Chocolate Peppermint Bundt Cake
- It’s incredibly moist and rich, thanks to some special ingredients.
- The combination of chocolate and peppermint is just delightful and so festive.
- It looks super impressive but is surprisingly easy to make.
- Perfect for holiday gatherings or a cozy winter evening treat!
Ingredients You’ll Need
- Dutch Processed Cocoa Powder: This gives the cake its deep, dark chocolate color and rich flavor. It’s less acidic than natural cocoa, so it reacts differently with baking soda. Don’t swap it for natural cocoa without adjusting other leavening agents!
- Nonfat Greek Yogurt: This is a secret weapon for moisture and a tender crumb. It adds a lovely tang and richness without making the cake heavy.
- Strong Black Coffee: Don’t worry, your cake won’t taste like coffee! It simply enhances the chocolate flavor, making it even deeper and more complex. Make sure it’s cooled before adding it to the batter.
- Oil: Using oil instead of butter contributes to a wonderfully moist cake that stays soft longer. Any neutral-flavored oil like vegetable or canola oil will work.
- Peppermint Extract: This is where that lovely, refreshing peppermint flavor comes from! Be sure to use extract, not essence, for the best taste.
- Semi-Sweet Baking Chocolate: This is for our decadent glaze. Using good quality baking chocolate will make a big difference in the final shine and flavor.
How to Make Chocolate Peppermint Bundt Cake Step by Step
First things first, let’s get our oven ready and prepare our pan. You’ll want to preheat your oven to 350 degrees F. Then, generously grease and flour your bundt pan. This step is super important to make sure your beautiful cake comes out easily, so don’t skip it! Once that’s done, you can set your pan aside.
Now, let’s get mixing! In one bowl, combine all your dry ingredients: the flour, sugar, cocoa powder, salt, baking powder, and baking soda. Give them a good whisk to make sure everything is evenly distributed. In a separate bowl, you’ll mix all your wet ingredients: the yogurt, cooled coffee, oil, eggs, and both vanilla and peppermint extracts. Beat these together really well until they’re fully combined and look smooth. This is where the magic starts to happen!
Next, you’ll slowly add your dry ingredient mixture into the wet ingredients. Beat this batter for about four minutes on medium speed. It might look a little liquidy, and that’s perfectly normal for this recipe! Finally, gently stir in your chocolate chips. Pour this delicious batter into your prepared bundt pan and bake it for 40 to 45 minutes. You’ll know it’s ready when a toothpick inserted into the center comes out clean. Once baked, let it cool in the pan for 10 to 20 minutes, then gently tap the sides of the pan against your counter to help loosen it before turning it out onto a wire rack to cool completely. Don’t rush this cooling step!
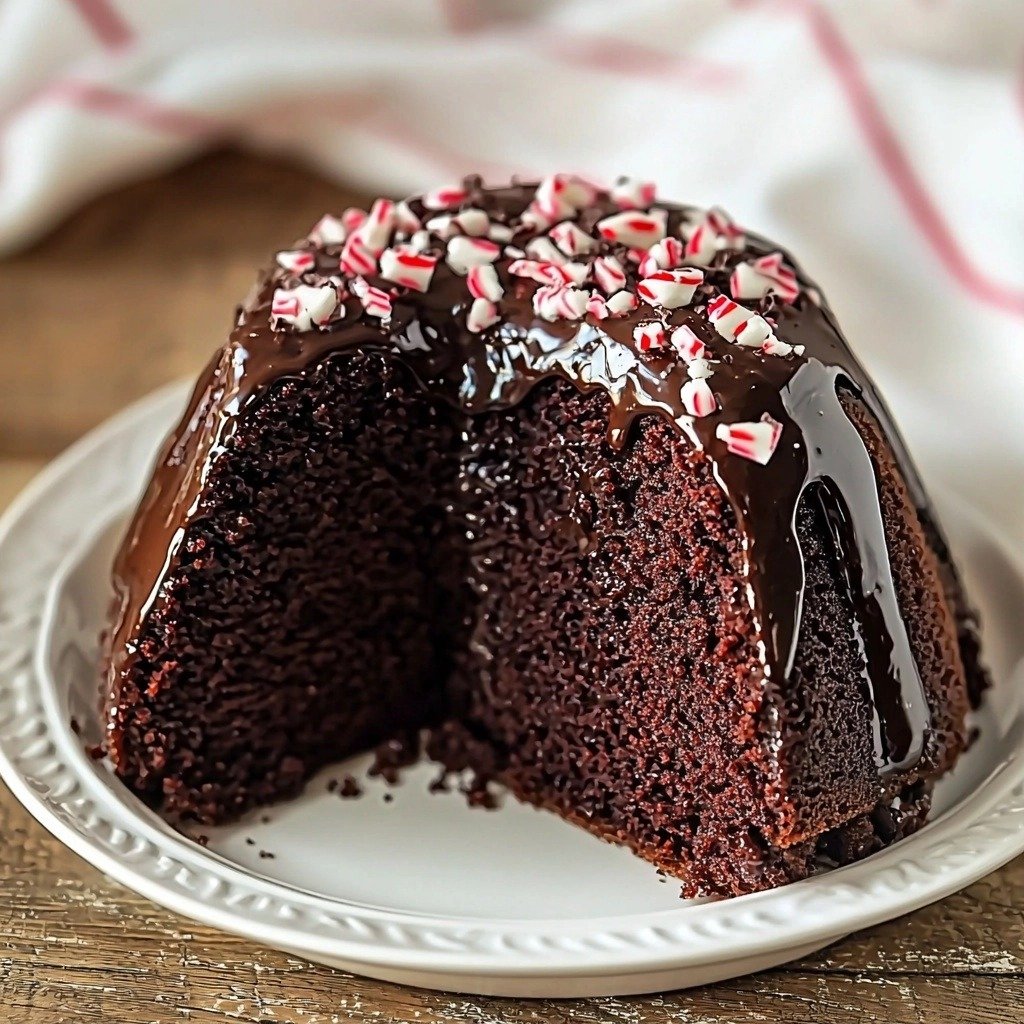
My Top Tips for Success
- I always make sure my coffee is completely cool before adding it to the wet ingredients. Hot coffee can start to cook the eggs!
- In my experience, properly greasing and flouring your bundt pan is the most crucial step for a clean release. Don’t be shy with the flour!
- Trust me on this one: let the cake cool completely on a wire rack before glazing. If it’s warm, the glaze will just melt right off.
- When making the glaze, heating the chocolate and cream in short bursts in the microwave prevents the chocolate from seizing. Low and slow is the way to go!
- For the crushed peppermint, place candy canes in a zip-top bag and crush them with a rolling pin. It’s a fun way to get perfect pieces!
Common Mistakes to Avoid
- Overmixing the batter: This can lead to a tough, dry cake. Mix until just combined, then beat for the specified four minutes to develop the crumb.
- Not cooling the cake enough before glazing: If the cake is warm, the glaze will melt and run off, rather than setting nicely. Always wait until it’s completely cool.
- Not properly preparing the bundt pan: A poorly greased and floured pan is the number one reason bundt cakes stick. Be thorough!
- Overheating the chocolate for the glaze: Chocolate can seize up if it gets too hot too quickly. Use half power and short intervals in the microwave.
How to Store Chocolate Peppermint Bundt Cake
- Countertop: Store the cake, loosely covered, at room temperature for up to 3 days.
- Refrigerator: For longer storage, place the cake in an airtight container in the refrigerator for up to 5 days.
- Freezer: Wrap individual slices or the whole cake tightly in plastic wrap, then in foil. Freeze for up to 3 months. Thaw at room temperature before serving.
Frequently Asked Questions
Can I use regular cocoa powder instead of Dutch processed?
I don’t recommend it for this recipe. Dutch processed cocoa is less acidic and interacts differently with the baking soda, which affects the cake’s rise and texture. Sticking to Dutch processed will give you the best results.
Do I have to use coffee? Will my cake taste like coffee?
You don’t have to use coffee, but I highly recommend it! It won’t make your cake taste like coffee; instead, it deepens and enhances the chocolate flavor beautifully. If you absolutely can’t use coffee, you can substitute it with hot water or milk.
How can I tell if my bundt cake is done baking?
The best way to check is to insert a wooden skewer or toothpick into the deepest part of the cake. If it comes out clean with no wet batter attached, your cake is done!
My cake stuck to the bundt pan! What went wrong?
Oh no, that’s so frustrating! This usually happens if the pan wasn’t thoroughly greased and floured. Make sure to get into every crevice of the pan with shortening or butter, then dust generously with flour, tapping out any excess.
I really hope this rich and festive Chocolate Peppermint Bundt Cake brings as much cheer to your kitchen as it does to mine! It’s such a delightful treat, and I promise you’ll love that perfect balance of chocolate and cool peppermint. If you make it, please let me know how it turns out!
PrintChocolate Peppermint Bundt Cake
A rich, moist chocolate bundt cake infused with refreshing peppermint, topped with a decadent chocolate glaze and crushed peppermints.
- Prep Time: 25
- Cook Time: 45
- Total Time: 150
- Yield: 12 servings 1x
- Category: Dessert
- Method: Baking
- Cuisine: American
- Diet: Vegetarian
Ingredients
- 1 3/4 cups all-purpose flour
- 2 cups granulated sugar
- 3/4 cup Dutch processed cocoa powder
- 1/2 teaspoon salt
- 1 teaspoon baking powder
- 2 teaspoons baking soda
- 1 cup nonfat Greek yogurt
- 1 cup strong black coffee, cooled
- 1/2 cup oil
- 2 eggs
- 1 teaspoon vanilla extract
- 1/2 teaspoon peppermint extract
- 1/2 cup chocolate chips
- 3 oz semi sweet baking chocolate
- 1/2 cup heavy cream
- 2 tablespoons heavy cream
- 3 tablespoons crushed peppermint
- 2 tablespoons chocolate covered pomegranate (optional)
Instructions
- Preheat the oven to 350 degrees F.
- Grease and flour a bundt pan thoroughly.
- Set the prepared bundt pan aside.
- Combine the flour, sugar, cocoa powder, salt, baking powder, and baking soda in a large bowl.
- Whisk the dry ingredients together until well combined.
- In a separate bowl, mix together the yogurt, cooled coffee, oil, eggs, vanilla extract, and peppermint extract.
- Beat the wet ingredients well until fully combined and smooth.
- Slowly add the dry ingredient mixture into the wet ingredients.
- Beat the combined mixture for about four minutes on medium speed.
- Stir in the chocolate chips.
- Pour the liquidy batter into the prepared bundt pan.
- Bake for 40 – 45 minutes, or until a toothpick inserted into the center comes out clean.
- Allow the cake to cool in the pan for about 10 – 20 minutes.
- Gently beat the sides of the bundt pan on the side of a counter or table to help loosen the cake.
- Carefully invert the cake onto a wire rack.
- Allow the cake to cool completely on the wire rack.
- While the cake cools, heat the 3 oz semi-sweet baking chocolate and 1/2 cup heavy cream in a microwave on half power for 45 seconds.
- Remove from microwave and mix well.
- Heat for another 20 – 30 seconds on half power if the chocolate is not yet fully melted.
- Repeat heating in short bursts as necessary until the chocolate is completely melted.
- Mix the melted chocolate and cream together until it forms one creamy, chocolate-colored glaze.
- Allow the glaze to cool in the fridge for 10 – 15 minutes.
- Pour the cooled glaze over the top of the completely cooled cake.
- Sprinkle the crushed peppermint over the glazed cake.
- Optionally, sprinkle the chocolate covered pomegranate over the glazed cake.
Notes
Ensure coffee is completely cooled before adding to wet ingredients.
Thoroughly grease and flour your bundt pan to prevent sticking.
Cool the cake completely before glazing to ensure the glaze sets properly.
When melting chocolate for the glaze, use half power and short intervals to prevent seizing.
Nutrition
- Serving Size: 1 slice
- Calories: 480
- Sugar: 45
- Sodium: 310
- Fat: 25
- Saturated Fat: 12
- Carbohydrates: 60
- Fiber: 3
- Protein: 7
- Cholesterol: 60