
There is something undeniably magical about the humble box of cake mix. While purists might argue for “from-scratch” everything, the modern kitchen is often a place of speed and efficiency. These Cake Mix Chocolate Chip Cookie Bars represent the pinnacle of semi-homemade baking. They bridge the gap between a fluffy cake and a dense, chewy cookie bar, offering a texture that is uniquely fudgy and satisfying. Whether you are a parent looking for a quick after-school treat or someone who needs a last-minute contribution for a potluck, this recipe is your secret weapon. With just five basic ingredients and a single mixing bowl, you can transform a pantry staple into a gourmet-style dessert that tastes like it came from a high-end bakery. Get ready to discover your new favorite “lazy” recipe.
Why You’ll Love This Recipe
If you are a fan of minimal effort and maximum reward, you will fall head over heels for these cookie bars. First and foremost, the convenience factor is off the charts. You don’t have to pull out the flour, baking soda, salt, or sugar containers; the cake mix has done all the heavy lifting for you. Secondly, the texture is incredibly consistent. Unlike traditional cookies that can spread or become hard, these bars stay soft and moist for days thanks to the emulsifiers in the cake mix. Finally, it is a one-bowl wonder. Cleanup is a breeze, meaning you can spend more time enjoying the bars and less time scrubbing the kitchen sink.
What Is a Cake Mix Cookie Bar?
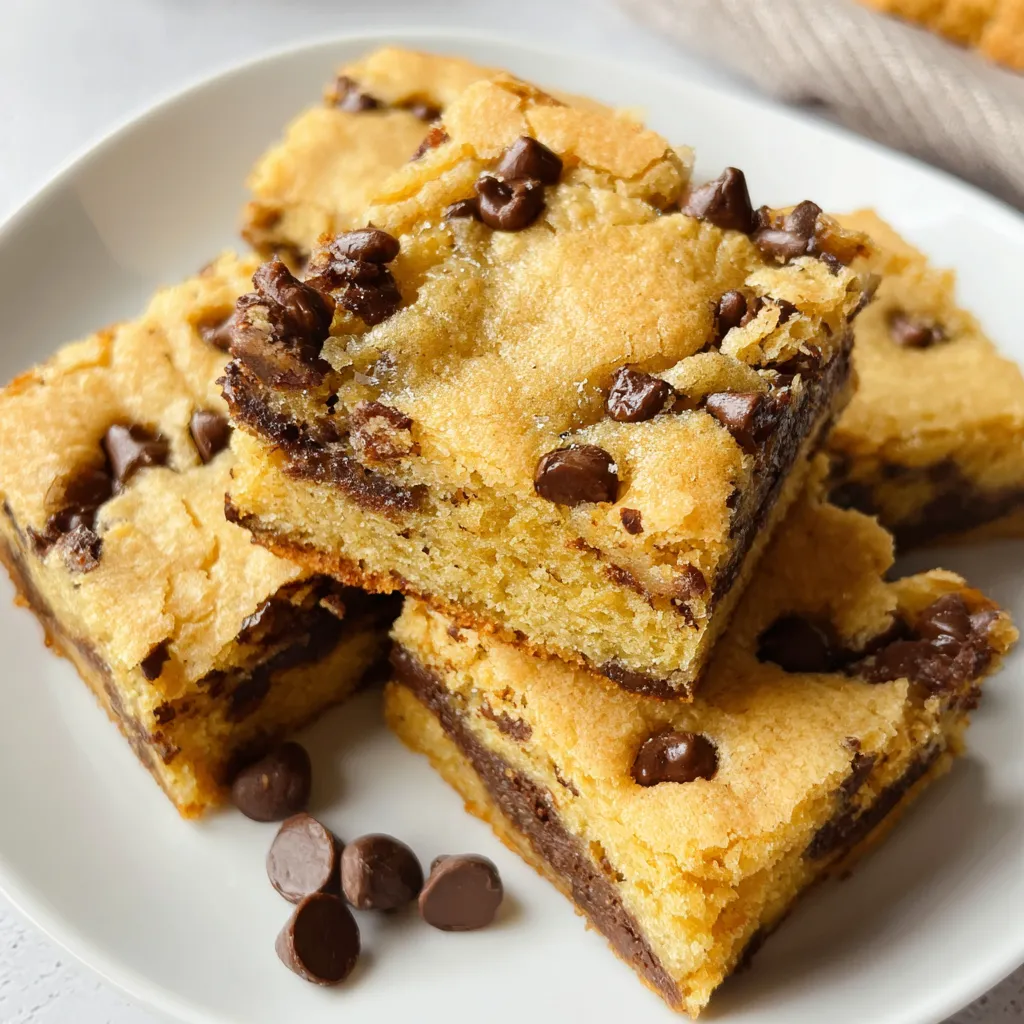
Essentially, these are “cake mix bars”—a hybrid dessert that sits comfortably between a soft-baked cookie and a dense blondie. By altering the standard ratios of a cake mix (reducing the liquid and increasing the fat/structure), you transform the batter from a light, airy cake into a thick, chewy bar. The yellow cake mix provides a nostalgic, buttery vanilla base that pairs perfectly with the rich, semi-sweet chocolate chips. Because they are baked in a 9×13 pan, they develop slightly crisp edges while maintaining a soft, melt-in-your-mouth center. It’s a versatile “hack” recipe that has become a staple in the “dump-and-bake” dessert community.
Ingredients Overview
To create these decadent bars, you only need five simple items. Here is what you’ll need to grab from the pantry:
- Yellow Cake Mix (13.25 oz): This is the foundation. Most standard boxes are now around 13.25 to 15.25 ounces; either will work, though the 13.25 oz box produces a slightly denser bar. The yellow mix offers a deeper, more “homemade” flavor than white cake mix.
- Large Eggs: You’ll need two. These provide the structure and the “lift” needed to keep the bars from being too heavy, while also acting as a binder.
- Vegetable Oil: This is the fat source. Oil ensures a moist crumb and a long shelf life. You can use any neutral-flavored oil like canola or melted coconut oil.
- Water: Just a small amount is needed to hydrate the mix without turning it into a thin cake batter.
- Chocolate Chips: The star of the show! Semi-sweet is the classic choice, but milk chocolate or dark chocolate works beautifully as well.
Ingredient Substitutions & Tips
One of the best things about this recipe is its flexibility. If you don’t have vegetable oil, you can substitute it with melted unsalted butter for a richer, more shortbread-like flavor. If you want to cut down on dairy, ensure your chocolate chips are vegan-friendly. You can also swap the yellow cake mix for a Chocolate Cake Mix to make “Double Chocolate Bars” or a Funfetti Mix for a birthday celebration. If you find the batter too thick, don’t be tempted to add more water; the thickness is what gives the bars their cookie-like chewiness. Always use room-temperature eggs for better emulsification.
Step-by-Step Instructions
- Preparation: Start by preheating your oven to 350°F (175°C). This ensures the leavening agents in the cake mix activate immediately. Lightly spray a 9×13-inch baking pan with non-stick spray. For even easier removal, line the pan with parchment paper, leaving an overhang on the sides to lift the bars out later.
- Mixing the Base: In a large bowl, dump in the dry cake mix. Add the two eggs, 1/2 cup of vegetable oil, and 1/3 cup of water. Use a whisk or a sturdy wooden spoon to combine. Mix until the streaks of flour disappear. The batter will be much thicker than standard cake batter—this is exactly what you want.
- Adding the Flare: Measure out 3/4 cup of chocolate chips. Fold them gently into the batter. Do not overmix here; you just want them evenly distributed.
- The Spread: Transfer the batter to your prepared pan. Because the batter is thick, use an offset spatula or the back of a spoon to spread it into the corners. Sprinkle a handful of extra chocolate chips on top for that “Instagram-ready” look.
- Baking: Bake for exactly 24 minutes. The edges should be a light golden brown. Perform the toothpick test: insert it into the center. If it comes out with a few moist crumbs or a tiny bit of “goo,” they are ready.
- The Cooling Phase: This is the hardest part! Let the bars sit in the pan for at least 20-30 minutes. They are very fragile when hot and will fall apart if sliced too early.
Expert Baking Tips
To elevate these bars from “good” to “extraordinary,” pay attention to the “carry-over cooking” principle. Since the pan retains heat, the bars continue to bake for several minutes after being removed from the oven. Pulling them out when they still look a bit soft in the middle is the secret to a fudgy texture. Additionally, if you want a cleaner slice, pop the pan in the refrigerator for 15 minutes once it has cooled to room temperature. This firms up the chocolate chips and the base, allowing for perfect squares. Finally, always check your cake mix expiration date; old leavening can result in flat, gummy bars.
Customizing Your Cookie Bars
While chocolate chips are the gold standard, this recipe is a blank canvas for your creativity. For a Sweet & Salty version, add 1/2 cup of chopped pretzels and a sprinkle of sea salt on top before baking. If you love texture, stir in 1/2 cup of toasted walnuts or pecans. For a “Kitchen Sink” bar, use a mix of white chocolate chips, butterscotch chips, and M&Ms. You can even swirl in 1/4 cup of peanut butter or Nutella into the top of the batter before it hits the oven for a marbled effect that looks as good as it tastes.
Serving Suggestions
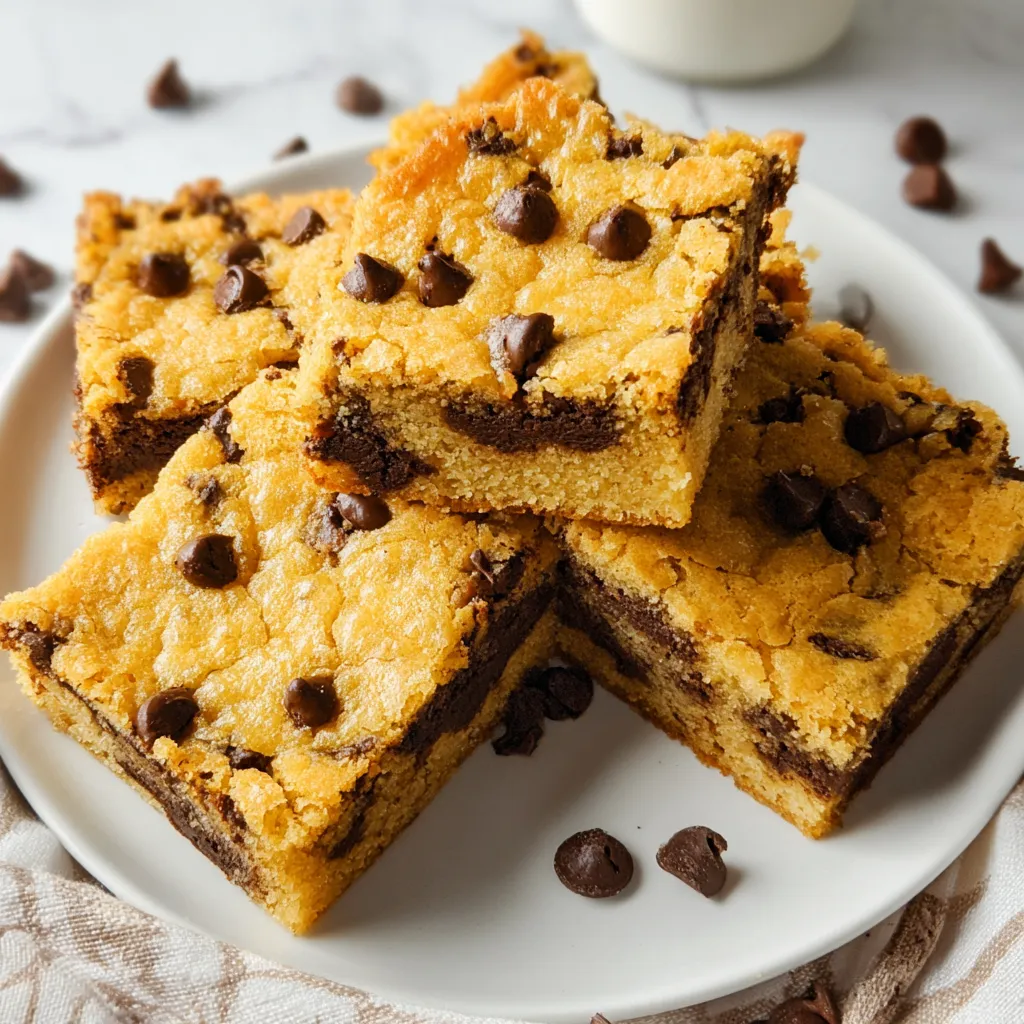
These bars are best served at room temperature, but they are also divine when slightly warmed in the microwave for 10 seconds. For a decadent dessert, serve a warm square with a scoop of premium vanilla bean ice cream and a drizzle of chocolate ganache. They also pair perfectly with a cold glass of milk or a hot cup of coffee. Because they are sturdy, they make excellent additions to lunchboxes or as a “grab-and-go” snack for road trips.
Storage & Make-Ahead Tips
Store any leftovers in an airtight container at room temperature for up to 4 days. If you live in a humid climate, you may want to store them in the fridge to keep them firm. These bars also freeze exceptionally well. Wrap individual squares in plastic wrap and place them in a freezer-safe bag for up to 3 months. To eat, simply thaw at room temperature for an hour. You can easily make the batter a day ahead and store it in the fridge, though you may need to add 2 minutes to the bake time.
FAQs
Q: Can I use a different size pan?
A: Yes, you can use an 8×8 or 9×9 pan for much thicker bars. However, you will need to increase the baking time to 30-35 minutes.
Q: Why did my bars turn out oily?
A: This usually happens if the eggs were too small or if the cake mix was a smaller “snack size” box. Ensure you use “Large” eggs and a standard 13.25-15.25 oz mix.
Q: Can I replace the water with milk?
A: Absolutely! Replacing water with whole milk or even heavy cream will add a bit more richness to the flavor profile.
Q: Do I need an electric mixer?
A: No. In fact, mixing by hand is preferred to avoid over-aerating the batter, which can lead to a more “cakey” rather than “cookie” texture.
Q: How do I know they are done without a toothpick?
A: Look at the edges. They should start to pull away slightly from the sides of the pan and look set, while the center should no longer “jiggle” when the pan is moved.
Making dessert shouldn’t be stressful, and these Cake Mix Chocolate Chip Cookie Bars prove that simplicity is often the key to deliciousness. By utilizing the science already packed into a box of cake mix, you can achieve a consistent, high-quality result every single time. They are sweet, chewy, and loaded with chocolate—everything a perfect dessert should be. Give this recipe a try today, and don’t be surprised when everyone asks you for the recipe!
PrintCake Mix Chocolate Chip Cookie Bars Recipe

These Cake Mix Chocolate Chip Cookie Bars are the ultimate “lazy baker” hack. By using a boxed yellow cake mix as the base, you bypass the measuring of flour, sugar, and leavening agents, resulting in a perfectly soft and chewy bar every time.
- Prep Time: 10 minutes
- Cook Time: 24 minutes
- Total Time: 34 minutes
- Yield: 12 bars
- Cuisine: American
Ingredients
Yellow Cake Mix (13.25 oz) – 1 box
Large Eggs – 2
Vegetable Oil – 1/2 cup
Water – 1/3 cup
Semi-sweet Chocolate Chips – 3/4 cup
Extra Chocolate Chips – for topping
Instructions
Preheat your oven to 350°F (175°C). Spray a 9×13-inch baking pan with nonstick cooking spray or line with parchment paper.
In a large mixing bowl, combine the yellow cake mix, eggs, vegetable oil, and water.
Whisk or stir by hand until the batter is smooth and no large lumps of dry cake mix remain.
Gently fold in the 3/4 cup of chocolate chips using a spatula.
Pour the batter into the prepared baking pan, spreading it to the edges with a spatula for an even layer.
Sprinkle the additional chocolate chips over the top for a professional bakery look.
Bake for 24 minutes. The center should still look slightly underdone and a toothpick should come out “barely gooey.”
Remove from the oven and let the bars rest in the pan for 20-30 minutes to set.
Slice into 12 even bars and serve.
Notes
• Do not overbake! These bars continue to set as they cool; pull them out when the edges are golden but the center is soft.
• Use high-quality chocolate chips for the best flavor profile.
• If the batter seems too thin, ensure you didn’t add extra water; brands vary slightly in hydration needs.


