
There is something undeniably magical about the combination of a crunchy, creamy Oreo and a rich coating of high-quality melted chocolate. Whether you are looking for a last-minute party favor, a fun activity to do with children, or a way to dress up a dessert platter, these Chocolate Dipped Oreos with Sprinkles are the answer. In less than 30 minutes, you can transform a classic pantry staple into a gourmet-looking confection that rivals those found in high-end chocolate shops. This recipe requires no baking, minimal cleanup, and only three basic ingredients. In this guide, we will walk through the expert techniques to ensure your chocolate is glossy, your sprinkles are perfectly placed, and your cookies look professional every single time. Get ready to elevate your snacking game with this foolproof method for the perfect dipped cookie.
Why You’ll Love This Recipe
You will fall in love with this recipe because it strikes the perfect balance between simplicity and sophistication. First, it is incredibly versatile; you can swap the chocolate types or sprinkle colors to match any holiday, from Christmas reds and greens to vibrant birthday rainbows. Second, it is a “no-fail” recipe. Even if you aren’t an experienced baker, the melting and dipping process is intuitive and quick. Third, the texture contrast is superior to a plain cookie. The snap of the hardened chocolate shell followed by the familiar crunch of the Oreo creates a multi-layered eating experience. Finally, it’s a budget-friendly way to create impressive gifts for teachers, neighbors, or friends without spending hours in the kitchen.
What Is a Chocolate Dipped Oreo?
At its core, a Chocolate Dipped Oreo is a classic sandwich cookie that has been partially or fully submerged in tempered chocolate or melting wafers. While the Oreo itself is already a world-famous treat, the addition of a secondary chocolate coating adds a layer of richness and allows for decorative flair. Historically, dipping cookies in chocolate has been a staple of confectionery arts, but the “Oreo hack” gained massive popularity on social media platforms like Pinterest and Instagram due to its visual appeal and ease. Unlike fully enrobed cookies, dipping them halfway preserves the iconic look of the Oreo while adding enough chocolate to make it feel like a premium, handcrafted dessert.
Ingredients needed
To achieve the best results, the quality of your ingredients matters significantly. For this recipe, you will need:
- Oreo Cookies: While the classic “Double Stuf” is a fan favorite for its extra cream, regular Oreos actually provide a sturdier base for dipping. You can also experiment with Golden Oreos or seasonal flavors like Peppermint or Pumpkin Spice.
- Chocolate for Melting: You have two main options here. Melting Wafers (like Ghirardelli or Wilton) are designed specifically for dipping; they contain extra oil to ensure a smooth, glossy finish that hardens quickly without the need for tempering. Alternatively, you can use Semi-Sweet Chocolate Chips. If using chips, I recommend adding a teaspoon of coconut oil to the bowl to help the chocolate flow more smoothly and set with a nice sheen.
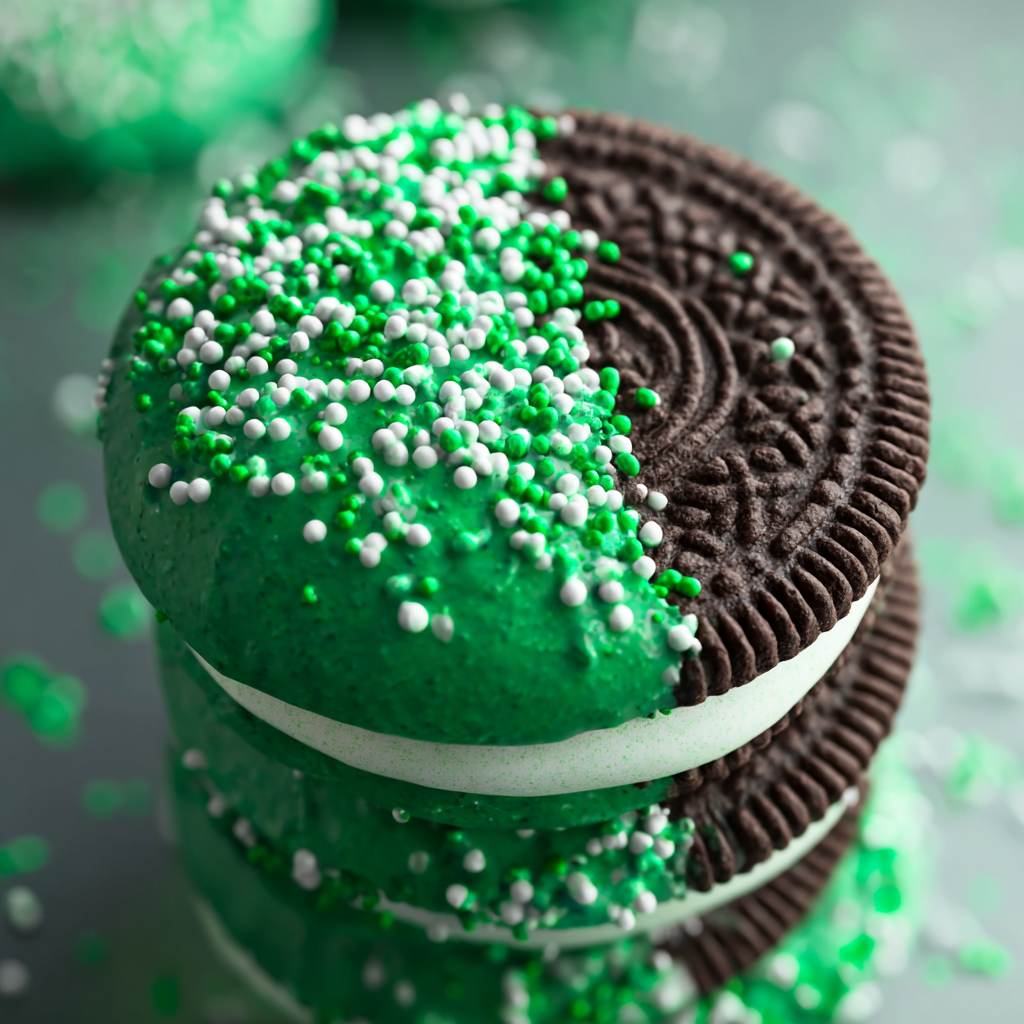
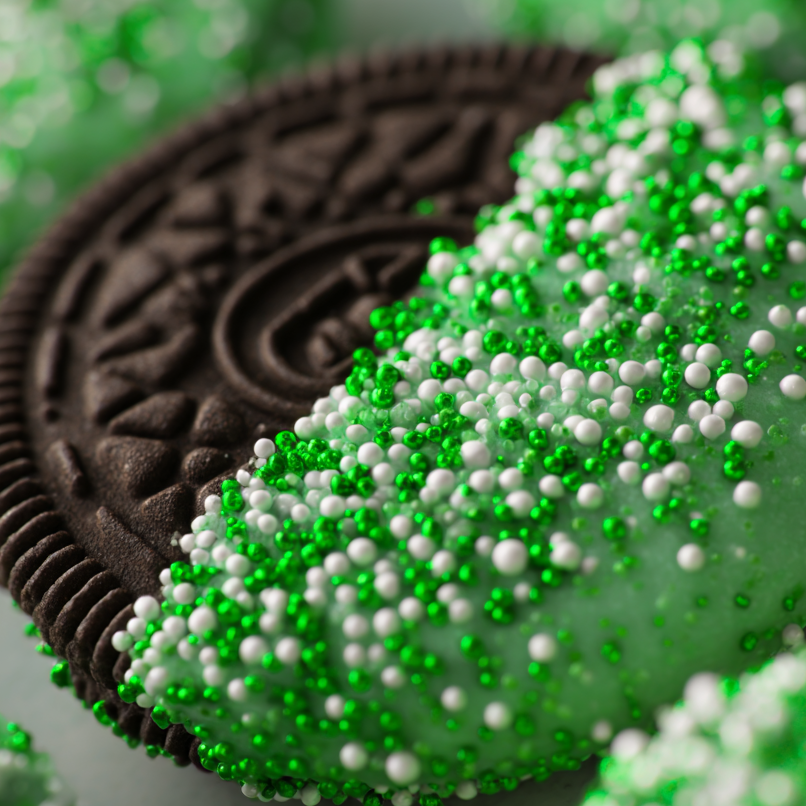
- Sprinkles: These are the “jewelry” of your cookie. Use classic rainbow jimmies for a nostalgic look, or choose nonpareils for a delicate, sophisticated texture. The key is to have them ready to go before you start dipping, as the chocolate can set faster than you might expect, especially in a cool kitchen.
Ingredient Substitutions & Tips
If you have dietary restrictions or want to change the flavor profile, there are several easy substitutions. For a Vegan/Dairy-Free version, use standard Oreos (which are accidentally vegan) and high-quality dairy-free dark chocolate chips. If you prefer a sweeter, creamier taste, White Chocolate is an excellent alternative, though it tends to be more heat-sensitive, so melt it at lower power. For a Gluten-Free option, simply use Gluten-Free Oreos, which are now widely available and hold up remarkably well during the dipping process. Pro tip: If your chocolate feels too thick, never add water! Instead, add a tiny bit of vegetable shortening or coconut oil to thin it out to the desired consistency.
Step-by-Step Instructions
1. Prepare Your Station:
Before you even touch the chocolate, line a large baking sheet with parchment paper or wax paper. This ensures the cookies don’t stick to the surface as they cool. Organize your Oreos and have your sprinkles in a small bowl or shaker nearby.
2. Melt the Chocolate:
Place 12 ounces of chocolate in a microwave-safe glass or ceramic bowl. Microwave on high for 30 seconds. Remove and stir with a rubber spatula. Even if it looks like nothing happened, stirring distributes the heat. Continue microwaving in 15-to-30-second intervals, stirring vigorously after each one, until the chocolate is completely smooth.
3. The Dipping Process:
Hold an Oreo between your thumb and forefinger. Submerge it halfway into the melted chocolate. Lift it out and hold it over the bowl for a few seconds. Gently tap your wrist or the side of the bowl to encourage excess chocolate to drip off. This prevents a “puddle” of chocolate from forming at the base of your cookie on the parchment paper.
4. Decorating:
Lay the cookie flat on the prepared parchment paper. Immediately, while the chocolate is still “wet” and glistening, shake your sprinkles over the chocolate portion. If you wait even a minute, the surface may begin to set, and the sprinkles will simply bounce off.
5. Setting and Serving:
Let the cookies rest at room temperature for at least 20 minutes. If your house is warm, you can pop the tray into the refrigerator for 10 minutes to speed up the process. Once the chocolate is firm to the touch and no longer glossy/wet, they are ready to be moved to a serving plate or container.
Expert Baking/Cooking Tips
To take these from “homemade” to “professional,” use a dipping fork or a regular dinner fork. Instead of using your fingers, place the Oreo on the tines of the fork and dip. This prevents fingerprints on the chocolate and keeps your hands clean. Another tip is to manage the temperature of your chocolate. If it starts to get thick and sluggish, put it back in the microwave for 10 seconds. Finally, for the most aesthetic “drip,” always use parchment paper rather than aluminum foil. Parchment allows the chocolate to release cleanly without tearing, ensuring the bottom of your cookie is just as smooth as the top.
Best Chocolate Dipped Oreos for Holidays
One of the greatest strengths of this recipe is its adaptability for different seasons. For Christmas, use white chocolate and top with crushed candy canes or red and green sugar pearls. For Halloween, use orange-colored melting wafers and dark chocolate drizzle to create a “spiderweb” effect. For Valentine’s Day, dip Golden Oreos in pink chocolate and use heart-shaped sprinkles. You can even create Game Day cookies by using white chocolate and drawing “laces” on the dipped chocolate to make them look like tiny footballs. The possibilities are truly endless when you change the color palette of your coating and decorations.
Serving Suggestions
These cookies look stunning when arranged on a white ceramic platter, which makes the colors of the sprinkles pop. For a party, consider serving them alongside small glasses of cold milk or a hot cocoa bar. They also make wonderful “mason jar gifts.” Simply stack the dried cookies in a wide-mouth jar, tie a ribbon around the lid, and you have a beautiful, handcrafted gift. They are the perfect addition to any dessert table or charcuterie-style dessert board.
Storage & Make-Ahead Tips
Chocolate Dipped Oreos have an excellent shelf life. Store them in an airtight container at room temperature for up to two weeks. Avoid storing them in the refrigerator long-term, as the moisture can cause the chocolate to “bloom” (develop white spots) or make the cookie lose its crunch. If you are making these ahead for an event, they can be prepared up to 3 days in advance and kept in a cool, dry place.
FAQs
Q: Why did my chocolate turn thick and clumpy (seize)?
A: Chocolate seizes when a tiny amount of moisture (water) gets into the bowl or if it is overheated. Ensure your bowl and spatula are completely dry, and always melt in short intervals.
Q: Can I use regular chocolate bars instead of chips?
A: Yes, but make sure to chop the bars into very small, uniform pieces so they melt evenly. High-quality baking bars generally melt better than standard candy bars.
Q: How do I get the chocolate to stay shiny?
A: Using melting wafers is the easiest way to ensure a shine. If using real chocolate, avoid overheating it, as high heat breaks down the cocoa butter structure that provides that glossy finish.
Q: My sprinkles are falling off. What happened?
A: The chocolate likely started to set before you added the sprinkles. Try dipping and sprinkling only 2-3 cookies at a time rather than dipping the whole batch first.
Q: Can I freeze these?
A: It is not recommended. Freezing and thawing can cause condensation, which makes the Oreo soggy and the chocolate look dull.
Final Thoughts
Making Chocolate Dipped Oreos with Sprinkles is a joyful, low-stress way to bring a little extra sweetness into your home. With just a few simple tools and a bit of creativity, you can produce a treat that is as beautiful as it is delicious. Whether you’re celebrating a major milestone or just looking for a fun Tuesday afternoon project, these cookies are guaranteed to put a smile on everyone’s face. Happy dipping!
PrintChocolate Dipped Oreos with Sprinkles

These Chocolate Dipped Oreos with Sprinkles are the ultimate low-effort, high-reward dessert. By upgrading a classic store-bought cookie with premium melted chocolate and vibrant sprinkles, you create a treat that looks like it came from a high-end bakery. Perfect for holiday platters, birthday parties, or a simple weekend project with the kids.
- Prep Time: 10 minutes
- Cook Time: 5 minutes
- Total Time: 35 minutes
- Yield: 24 cookies
- Cuisine: American
Ingredients
Oreo Cookies – 1 standard package (approx. 24 cookies)
Chocolate Melting Wafers or Semi-Sweet Chips – 12 oz
Assorted Sprinkles – 2-3 tablespoons
Instructions
Place the chocolate in a microwave-safe glass bowl. Heat for 30 seconds, then stir thoroughly. Repeat in 30-second intervals until the chocolate is completely smooth and glossy.
Take one Oreo cookie and dip it halfway into the melted chocolate, allowing the excess to drip back into the bowl.
Lay the dipped cookie onto a sheet of parchment paper or wax paper.
While the chocolate is still wet, immediately shake sprinkles onto the dipped portion of the cookie.
Repeat with the remaining cookies.
Let the cookies sit undisturbed for approximately 20 minutes at room temperature (or 10 minutes in the fridge) until the chocolate has fully hardened.
Serve immediately or store in an airtight container.
Notes
• Use high-quality melting wafers (like Ghirardelli) for the smoothest finish without needing to temper chocolate.
• If the chocolate begins to thicken while dipping, reheat it for 10-15 seconds and stir.
• For a cleaner look, use a fork to lift the Oreo out of the chocolate and tap it gently against the side of the bowl to remove the excess.


