
There is a specific kind of magic that happens in my kitchen on Sunday mornings. It’s the scent of warming cinnamon and melting butter that somehow manages to pull even my sleepiest teenagers out of bed before noon. For years, I struggled to decide between the gooey indulgence of a fresh cinnamon bun and the satisfying “snap” of a perfectly baked cookie.
After testing this recipe 9+ times in my own kitchen, I’ve finally perfected the bridge between these two worlds. These Cinnamon Roll Cookies aren’t just a snack; they are a sensory experience. I’ve adjusted the flour ratios and chilling times more times than I care to admit to ensure that your swirls stay tight and your edges stay crisp. If you’ve ever felt intimidated by rolling dough, don’t worry—I’ve made every mistake possible so you don’t have to. Let’s get baking!
Why You’ll Love This Recipe
You know those recipes that look like they came from a high-end bakery but actually use pantry staples? This is the one. These cookies offer a modern twist on the classic American comfort food, giving you that nostalgic “Cinnabon” flavor in a portable, shareable format.
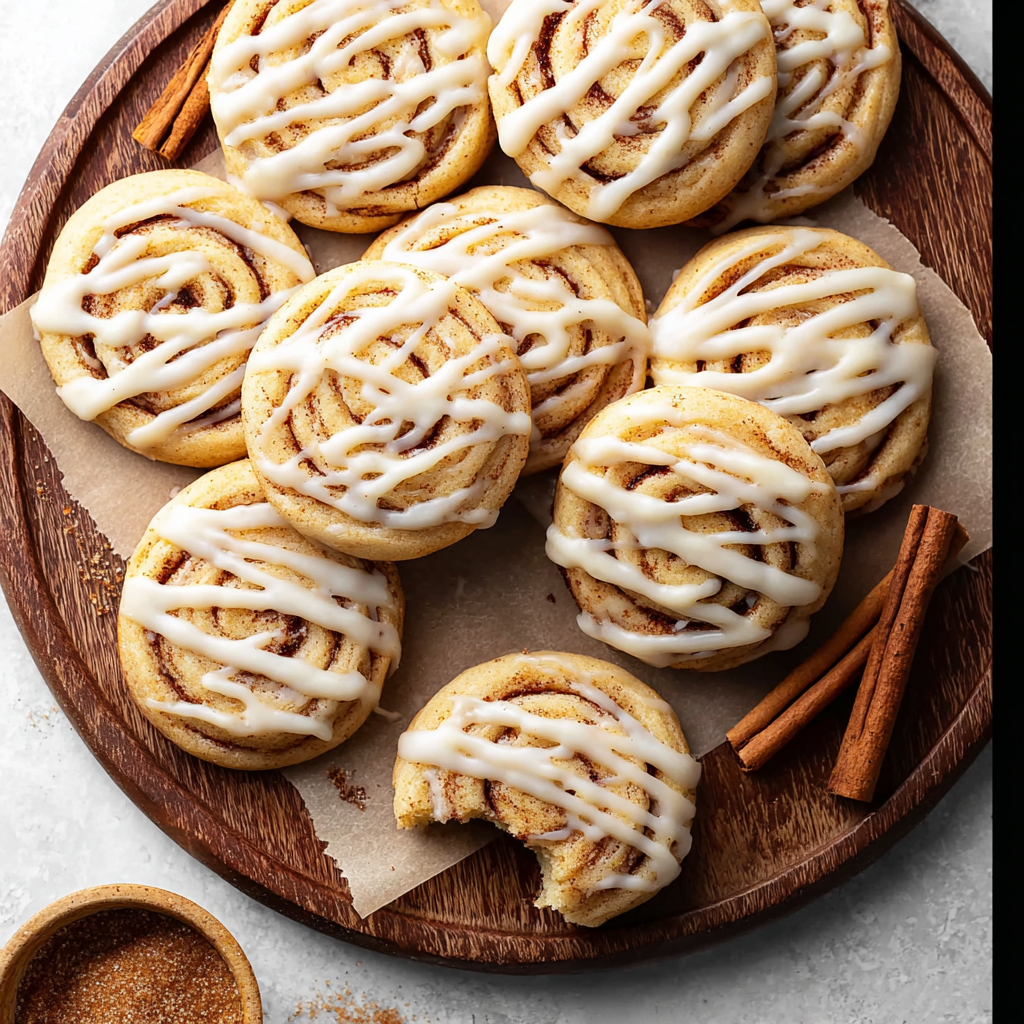
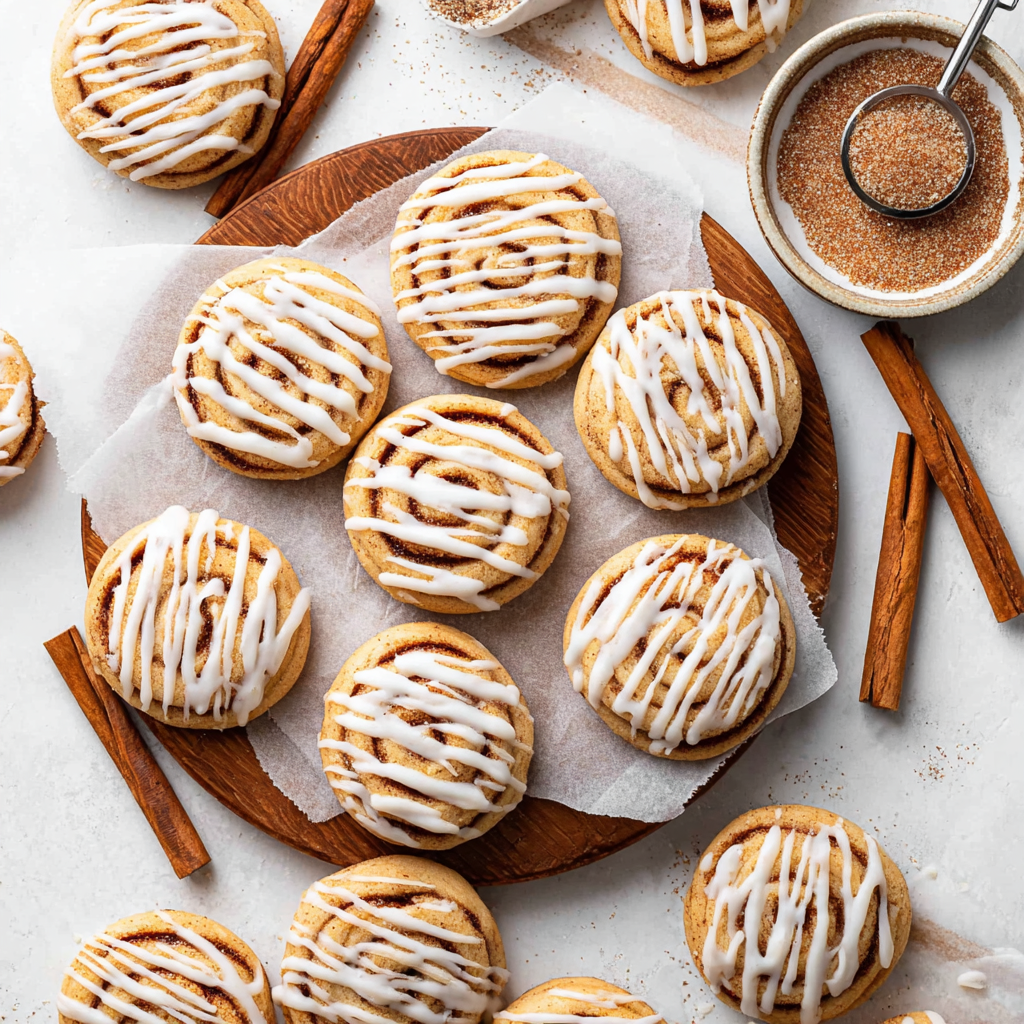
The texture is the real star here: a soft, melt-in-your-mouth sugar cookie base contrasted by the slight crunch of caramelized cinnamon sugar in the spiral. Because they serve up to 10 people (or more, if you can resist eating five in one sitting!), they are the absolute “it” dessert for family gatherings or holiday cookie swaps. Plus, the visual “wow” factor of the spiral makes them feel much more sophisticated than a standard drop cookie.
What Is a Cinnamon Roll Cookie?
At its heart, a Cinnamon Roll Cookie is a hybrid dessert. It takes the architectural DNA of a yeast-leavened cinnamon roll—the butter, the sugar, the spice, and the spiral—and applies it to a rich, all-butter sugar cookie dough.
Unlike a traditional roll, there is no yeast involved here, which means no waiting hours for a rise. Instead, we rely on baking powder for a slight lift and a specific chilling process to create those iconic layers. It’s an elevated comfort-food classic that brings a sense of artisanal craftsmanship to your cookie jar without the stress of bread-making.
Ingredients
To get that bakery-quality finish, the quality of your ingredients matters. Here is what I use to ensure success every single time:
- All-Purpose Flour: 390g (about 3 cups). I always recommend weighing your flour; it’s the #1 way to avoid dry, crumbly cookies.
- Unsalted Butter: You’ll need a total of 1 1/4 cups. Make sure the portion for the dough is truly at room temperature—it should indent easily when pressed but not look greasy.
- Granulated Sugar: Used in both the dough and the filling to provide sweetness and that crucial caramelized edge.
- Large Eggs: Ensure these are at room temperature so they emulsify perfectly with the creamed butter.
- Pure Vanilla Extract: Don’t skimp here! The vanilla rounds out the cinnamon and makes the dough taste like a dream.
- Ground Cinnamon: The freshest you have.
- Powdered Sugar & Milk: For the optional (but highly recommended) drizzled glaze.
If you love these flavor profiles, you might also enjoy the complexity of my Stuffed Red Velvet Cookies recipe, which uses a similar creamed-butter base for maximum tenderness.
Ingredient Substitutions & Tips
I’ve had readers ask about making these a bit lighter or different. While the butter is essential for that “roll” flavor, you can swap the granulated sugar in the filling for light brown sugar if you want a deeper, molasses-like undertone.
For a gluten-free version, a high-quality 1:1 gluten-free baking flour works well, though the dough may be slightly more fragile during the rolling process. If you find the dough too sticky to handle, don’t be afraid to use a bit of extra flour on your work surface. If you’re a fan of rich fillings, you could even experiment with a thin layer of cocoa, similar to the flavor profile found in my Peanut Butter Nutella cookie recipe.
Step-by-Step Instructions
- Prep the Base: Whisk your flour, baking powder, and salt. In a separate large bowl, cream the butter and sugar for a full 2 minutes. You want it light, airy, and pale.
- Emulsify: Add the eggs one at a time, then the vanilla. Gradually fold in the flour mixture. Sophie’s Tip: Stop mixing the moment the last streak of flour disappears!
- The First Chill: Divide the dough, wrap in plastic, and chill for 1 hour. This makes the “sticky” dough manageable.
- The Roll-Out: On a floured surface, roll the dough into a 7×10 rectangle. Brush with melted butter, leaving that 1/4 inch “clean strip” at the top to seal the seam.
- The Filling: Sprinkle your cinnamon-sugar mix generously. Roll it up tightly into a log, starting from the long side.
- The Long Sleep: This is crucial. Chill the logs for at least 2 hours. If you skip this, your cookies will turn into cinnamon puddles in the oven!
- Slice & Bake: Cut 1/2 inch rounds. Place on parchment paper and bake at 350°F for 15-20 minutes.
- Glaze: Once cool, whisk your powdered sugar and milk and drizzle with wild abandon.
Expert Baking Tips
After 9+ batches, here is my “Sophie’s Secret” list:
- Use a Sharp Knife: To get those clean, professional-looking swirls, use a very sharp chef’s knife or even unscented dental floss to “cut” through the log without squishing the dough.
- The Seam Trick: Lightly wetting the edge of the dough with a drop of water before sealing the log ensures it won’t unravel while baking.
- Don’t Over-Bake: They will look slightly soft in the center when you pull them out. That’s okay! They firm up on the hot pan. Over-baking results in a hard cookie rather than a soft, “bready” one.
- Temperature Matters: If your kitchen is hot, pop the logs back in the fridge for 10 minutes between slicing each cookie.
Baking Science: The Modern Healthy Twist
While these are definitely an indulgence, I’ve worked to “elevate” this recipe by focusing on the quality of fats and sugar. By using a higher ratio of cinnamon, we actually trick our taste buds into perceiving more sweetness, allowing us to use slightly less sugar in the dough than a standard sugar cookie.
For those looking for a “healthier” profile, you can substitute 1/4 of the all-purpose flour with whole wheat pastry flour. It adds a lovely nutty note that complements the cinnamon beautifully. If you enjoy cookies with a surprise “wow” factor, you should definitely check out my White Chocolate Stuffed cookies for your next weekend project.
Serving Suggestions
These are best served slightly warm, just like a real cinnamon roll. I love serving them on a large wooden platter for family gatherings. They pair exquisitely with a dark roast coffee or a cold glass of almond milk. If you’re feeling extra fancy, serve them alongside a small bowl of extra cream cheese frosting for dipping! They are the ultimate “crowd-pleaser” for brunch or a cozy movie night.
Storage & Make-Ahead Tips
You can store these cookies in an airtight container at room temperature for up to 5 days. However, the best part of this recipe is the “make-ahead” factor. You can keep the unbaked dough logs in the freezer for up to 3 months! Just thaw the log in the fridge for an hour before slicing and baking. This is my secret weapon for having “freshly baked” treats ready when unexpected guests arrive.
FAQs
Q: Why did my cookies spread so much?
A: Usually, this is because the dough wasn’t chilled long enough or the butter was too warm when you started. Make sure your logs are firm to the touch before slicing.
Q: Can I use brown sugar in the dough?
A: You can, but it will change the texture. Granulated sugar gives that classic “sugar cookie” snap, while brown sugar will make them much chewier and darker in color.
Q: How do I get the icing to look like a bakery?
A: Make sure the icing is thick—it should hold its shape for a few seconds when drizzled. If it’s too runny, add more powdered sugar.
Q: Can I freeze the baked cookies?
A: Yes! They freeze beautifully. Just wait to add the icing until you’ve thawed them and are ready to serve.
Q: My dough is cracking when I roll it! What do I do?
A: It’s likely too cold. Let it sit on the counter for 10 minutes to take the chill off. It should be malleable, like play-dough.
Baking these Cinnamon Roll Cookies always reminds me that the best things in life are worth the wait—and the chill time! I hope these become a staple in your home just as they have in mine. There is something so rewarding about seeing those perfect spirals come out of the oven. If you try them, please let me know! Happy baking, friends.
PrintCinnamon Roll Cookies

Cinnamon roll cookies combine the buttery richness of a classic sugar cookie with a sweet cinnamon swirl and crisp edges. Tested over nine times, this recipe delivers tight spirals, soft centers, and bakery-style results without yeast or rising time.
- Prep Time: 25 minutes
- Cook Time: 18 minutes
- Total Time: 3 hours 45 minutes
- Yield: 24 cookies
- Category: Desserts
- Cuisine: American
Ingredients
**Cookie Dough**
All-purpose flour – 3 cups (390g)
Baking powder – 1 teaspoon
Salt – ½ teaspoon
Unsalted butter, room temperature – 1 cup
Granulated sugar – 1 cup
Large eggs, room temperature – 2
Pure vanilla extract – 2 teaspoons
**Cinnamon Filling**
Unsalted butter, melted – ¼ cup
Granulated sugar – ¾ cup
Ground cinnamon – 2 tablespoons
**Optional Glaze**
Powdered sugar – 1 cup
Milk – 1–2 tablespoons
Instructions
**Prepare the Dough**
Whisk flour, baking powder, and salt together. In a separate bowl, cream butter and sugar for 2 minutes until light and pale.
**Add Wet Ingredients**
Add eggs one at a time, then mix in vanilla until fully combined.
**Incorporate Dry Ingredients**
Gradually fold in flour mixture, stopping as soon as the dough comes together.
**First Chill**
Divide dough in half, wrap tightly, and refrigerate for 1 hour to make it easier to handle.
**Roll Out**
On a floured surface, roll dough into a 7×10-inch rectangle. Brush with melted butter, leaving a ¼-inch border along one long edge.
**Add Cinnamon Filling**
Mix sugar and cinnamon and sprinkle evenly over the buttered dough.
**Form the Log**
Roll dough tightly from the long side and seal the edge. Repeat with remaining dough.
**Second Chill**
Refrigerate logs for at least 2 hours to keep the spirals intact during baking.
**Slice and Bake**
Preheat oven to 350°F. Slice logs into ½-inch rounds and place on parchment-lined baking sheets. Bake for 15–20 minutes until edges are set.
**Glaze**
Once cooled, whisk powdered sugar and milk and drizzle over cookies if desired.
Notes
• Chilling the dough twice is essential for clean spirals and minimal spreading.
• Use a sharp knife or dental floss for neat slices without flattening the dough.
• Do not overbake—cookies firm up as they cool.
• Brown sugar can replace granulated sugar in the filling for deeper flavor.
• Dough logs can be frozen up to 3 months before slicing and baking.


