
As spring blossoms and the air turns sweet with the scent of lilies and rain, our kitchens naturally pivot toward the bright and the joyful. Easter is a season of renewal, but it is also a season of legendary sweets. While chocolate bunnies often take center stage, there is something uniquely charming about a homemade treat that captures the essence of the holiday. These Easter Rice Krispies Nests are the perfect example of “edible art.” Combining the nostalgic crunch of toasted rice cereal with the gooey sweetness of melted marshmallows, these nests serve as a festive vessel for “grass” made of coconut and a collection of colorful candy eggs. Whether you are hosting a large family brunch or looking for a rainy-day activity to keep the kids engaged, this recipe delivers maximum cuteness with minimal effort. In just about 15 minutes, you can transform a few pantry staples into a delightful centerpiece that is as delicious as it is adorable.
Why You’ll Love This Recipe
You will fall in love with these Easter Rice Krispies Nests because they strike the perfect balance between convenience and creativity. First, this is a completely no-bake recipe, which is a lifesaver during a busy holiday weekend when your oven is likely occupied by a glazed ham or hot cross buns. Second, the texture is phenomenal—chewy, crispy, and sweet. Third, it is an incredibly tactile recipe that invites participation. Kids love the “science experiment” of dyeing the coconut green and the hands-on process of molding the cereal into nest shapes. Furthermore, the recipe is highly customizable; you can swap out the candies to suit your family’s preferences, making it a versatile addition to your spring baking (or non-baking) repertoire. It’s a low-stress, high-reward project that creates lasting memories.
What Is an Easter Rice Krispies Nest?
At its core, an Easter Rice Krispies Nest is a playful reimagining of the classic Rice Krispie Treat. Instead of being pressed into a flat pan and sliced into squares, the cereal-and-marshmallow mixture is pressed into a cupcake tin to create a hollowed-out “nest” shape. This architectural change turns a standard snack into a festive dessert bowl. The “nests” are then filled with “grass”—usually shredded coconut dyed with green food coloring—and topped with various candies that resemble bird eggs, such as jelly beans, Cadbury Mini Eggs, or robin’s egg malt balls. It is a visual representation of spring’s arrival, combining the rustic look of a bird’s nest with the vibrant, neon colors of traditional Easter candy. It is a staple of American holiday baking, beloved for its simplicity and iconic look.
Ingredients Overview
To create these crunchy nests, you only need a handful of accessible ingredients. The foundation is 6 cups of Rice Krispies cereal, which provides that signature airy crunch. Binding the cereal together is a combination of 10 ounces of regular marshmallows (or 4 cups of miniature ones) and 3 tablespoons of unsalted butter. Using unsalted butter allows you to control the flavor, though a pinch of salt can be added if you prefer a sweet-and-salty profile.
For the decorative elements, you will need 1/2 cup of flaked coconut, which mimics the texture of straw or grass. This is dyed using a mixture of 1/4 teaspoon of water and 2 to 4 drops of green food coloring. Finally, the “eggs” are made from a medley of miniature marshmallows, small jelly beans, and chocolate eggs. The variety in color and texture among these candies makes the nests look more realistic and appealing. It is essential to use fresh marshmallows; older marshmallows lose their moisture and will make your nests tough and difficult to shape.
Ingredient Substitutions & Tips
While the classic recipe is a winner, you can easily adapt it based on what you have in your pantry. If you don’t have marshmallows, a 7-ounce jar of marshmallow crème can be used as a substitute, though the resulting nests may be slightly softer. For those with dietary restrictions, vegan marshmallows and plant-based butter work remarkably well.
If you aren’t a fan of coconut, you can use green-tinted edible grass (found in craft stores) or even thin ribbons of green sour belt candy. For the cereal base, cocoa-flavored puffed rice can create a “muddy” nest look that is equally adorable. One crucial tip: avoid using “diet” or “tub” margarine. These products have a high water content and will prevent the marshmallow mixture from setting correctly, leading to soggy nests that won’t hold their shape.
Step-by-Step Instructions
1. Preparation and Coconut Dyeing
Begin by preparing your workspace. Lightly coat a 12-cup (and a 6-cup) cupcake tin with non-stick cooking spray to ensure the nests pop out easily. In a small bowl, whisk together 1/4 teaspoon of water and your green food coloring. Add the flaked coconut and stir vigorously until every strand is a vibrant spring green. Spread the coconut onto a baking sheet or a piece of parchment paper to dry while you prepare the cereal base.
2. Melting the Base (Stovetop Method)
In a large, heavy-bottomed saucepan, melt the 3 tablespoons of butter over low heat. Once melted, add the 10 ounces of marshmallows. Stir constantly with a silicone spatula until the marshmallows are completely smooth and no lumps remain. Immediately remove the pan from the heat to prevent the sugar from scorching or becoming too hard.
3. Mixing and Molding
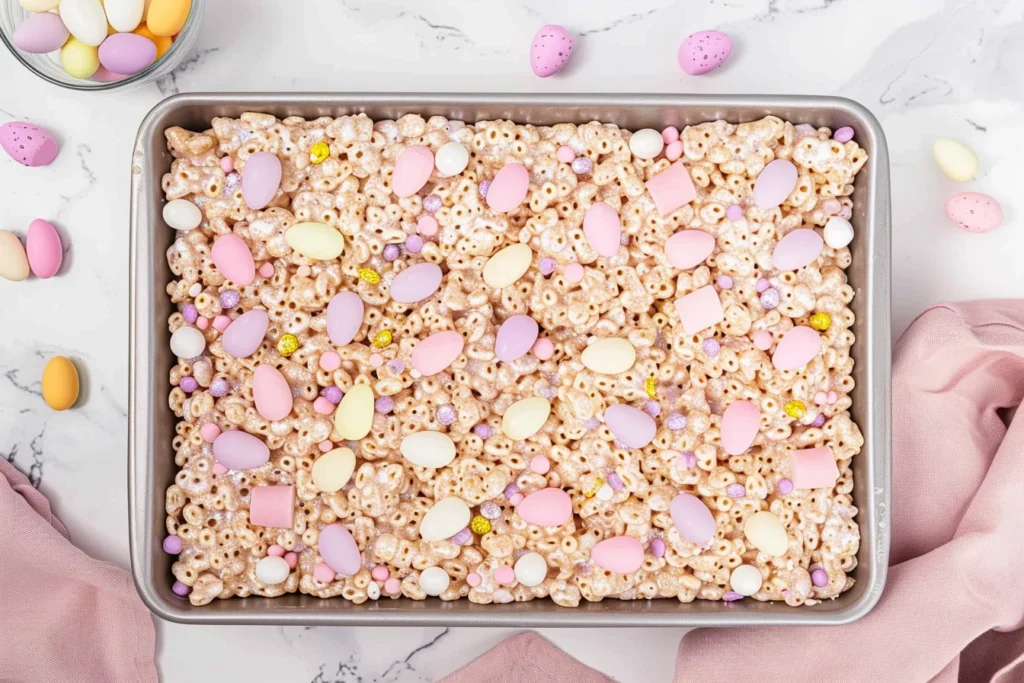
Pour the 6 cups of Rice Krispies cereal into the marshmallow mixture. Fold gently until every grain of cereal is thinly coated in the sticky marshmallow glue. While the mixture is still warm, grease your hands with a bit of butter or cooking spray. Divide the mixture among the prepared cupcake tins. Press the mixture down into the center and up the sides of each cup to form a nest shape.
4. Cooling and Decorating
Allow the nests to cool completely in the tin—this usually takes about 20 to 30 minutes. Once firm, gently pop them out of the tin using a butter knife if necessary. Fill each nest with a pinch of the green coconut grass, then top with a combination of jelly beans, chocolate eggs, and miniature marshmallows.
5. Microwave Alternative
If you’re short on time, place the butter and marshmallows in a large microwave-safe bowl. Heat on HIGH for 2 minutes, stir, then heat for another minute until smooth. Fold in the cereal and proceed with the molding process as described above.
Expert Baking/Cooking Tips
To achieve the perfect nest, the most important rule is to not over-compress the mixture. If you pack the cereal too tightly into the cupcake tins, the nests will become hard and difficult to bite into. Aim for a firm but gentle press. Another pro-tip: keep your hands greased. The marshmallow mixture is incredibly sticky; keeping a small dish of butter or a can of spray nearby to re-grease your palms will make the molding process significantly easier and less messy. Lastly, ensure your coconut is dry before adding it to the nests; if it’s too wet, the green dye may bleed into the white cereal base, ruining the clean look of your treats.
The Secret to Perfect Coconut “Grass”
The coconut grass is what truly elevates these nests from a simple treat to a holiday masterpiece. For the best “natural” look, use sweetened flaked coconut rather than the finely shredded desiccated variety. The longer flakes resemble dried grass or straw much more effectively. When dyeing the coconut, don’t be afraid to experiment with different shades of green. Mixing a drop of yellow with your green food coloring can create a “lime” grass, while a drop of blue can create a deep, lush forest green. For a multi-dimensional look, make two small batches of different greens and toss them together. This small detail adds a level of sophistication and “E-E-A-T” (Experience, Expertise, Authoritativeness, and Trustworthiness) to your presentation that guests will notice.
Serving Suggestions
These Easter Rice Krispies Nests are best served at room temperature on a large, flat platter. For a beautiful dessert table display, place the platter on a bed of real wheatgrass or surround the nests with fresh spring flowers (ensure they are non-toxic!). These nests are a fantastic addition to an Easter egg hunt “refuel station” or as a charming individual place setting for a brunch. If you’re serving them to children, consider putting each nest in a colorful paper cupcake liner; this makes them easier to hold and prevents sticky fingers from touching the table.
Storage & Make-Ahead Tips
For the best texture and flavor, these treats are ideally eaten the same day they are made. However, they can be stored in an airtight container at room temperature for up to two days. Do not refrigerate them, as the moisture in the fridge will make the cereal soggy and the marshmallows tough. If you need to make them further in advance, you can freeze the unfilled nests. Place them in a single layer in an airtight container with waxed paper between layers and freeze for up to six weeks. Thaw at room temperature for 15 minutes before filling and serving.
FAQs
Can I use different types of cereal?
Yes! While Rice Krispies are traditional, you can use Corn Flakes for a more “twig-like” appearance or حتی chocolate-flavored puffed rice cereal. Just ensure the cereal-to-marshmallow ratio remains the same.
Why are my Rice Krispie treats so hard?
This usually happens for two reasons: either the marshmallows were stale, or the butter and marshmallow mixture was cooked over too high a heat or for too long. Low and slow is the secret to a soft, chewy treat.
How do I get the nests out of the muffin tin without breaking them?
Ensure the tin was well-greased before you started. If they are stuck, run a thin plastic knife or offset spatula around the edges. You can also briefly place the bottom of the tin in warm water to loosen the butter.
Are these gluten-free?
Most Rice Krispies cereal contains malt flavoring derived from barley, which is not gluten-free. To make this recipe gluten-free, use a certified gluten-free puffed rice cereal.
Can I make these vegan?
Absolutely. Use a vegan butter substitute and vegan marshmallows (like Dandies brand). Follow the instructions as written, but be aware that vegan marshmallows may take slightly longer to melt.
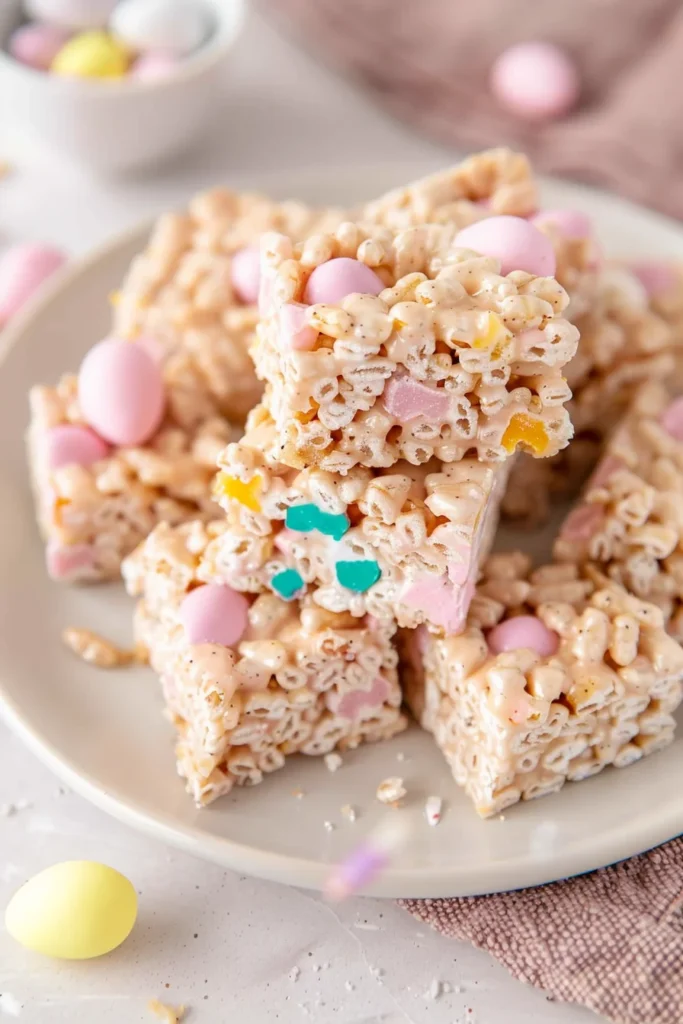
Easter Rice Krispies Nests are more than just a sweet snack; they are a celebration of spring’s playfulness. With their crunchy texture, gooey center, and vibrant decorations, they appeal to the child in everyone. This recipe proves that you don’t need complex techniques or expensive ingredients to create something memorable. By following these simple steps and tips, you’ll produce a batch of treats that look like they came from a high-end bakery but taste like the nostalgic home-cooked goodness we all crave. Happy Easter and happy “nesting!”
PrintEaster Rice Krispies Nests
Whimsical and crunchy Easter Rice Krispies Nests made with toasted rice cereal, gooey marshmallows, and topped with vibrant coconut ‘grass’ and festive candy eggs. A perfect no-bake project for the holidays.
- Prep Time: 10 minutes
- Cook Time: 5 minutes
- Total Time: 15 minutes
- Yield: 16 nests
- Cuisine: American
Ingredients
Water – 1/4 teaspoon
Green food coloring – 2 to 4 drops
Flaked coconut – 1/2 cup
Unsalted butter – 3 tablespoons
Regular marshmallows (or 4 cups mini) – 10 ounces
Rice Krispies cereal – 6 cups
Miniature marshmallows (for garnish) – 1/4 cup
Small jelly beans (for garnish) – 1/4 cup
Chocolate eggs (for garnish) – 1/2 cup
Instructions
Coat 16 cupcake tin cups with non-stick cooking spray.
In a small bowl, combine water and green food coloring; stir in coconut until evenly tinted. Spread on a sheet to dry.
On the stovetop, melt butter over low heat. Add marshmallows and stir until completely melted. Remove from heat.
Add Rice Krispies cereal to the marshmallow mixture and stir until evenly coated.
Using greased hands, divide the warm mixture into the cupcake tins, pressing against the sides to create a nest shape.
Allow the nests to cool completely before removing them from the tins.
Fill each nest with the green coconut, jelly beans, and chocolate eggs.
Notes
• Use fresh marshmallows for the best texture; stale marshmallows can result in a hard treat.
• For a microwave shortcut, heat butter and marshmallows on HIGH for 3 minutes, stirring after 2 minutes.
• Do not use tub margarine as it contains too much water and will make the nests soggy.
• To freeze, store unfilled nests in an airtight container for up to 6 weeks.


