
There is nothing quite like the satisfaction of sipping a refreshing bubble tea and reaching those perfectly chewy, sweet pearls at the bottom. While store-bought boba is convenient, making homemade tapioca pearls is a game-changer for any tea lover. Not only do you get to control the ingredients and avoid artificial preservatives, but you can also experiment with incredible flavors like earthy matcha, decadent brown sugar, and vibrant fruit purees.
In this guide, I will walk you through the precise science of working with tapioca starch. We’ll cover everything from achieving the coveted “QQ” (bouncy) texture to troubleshooting a dough that just won’t behave. Whether you’re a boba veteran or a first-timer, this step-by-step tutorial ensures your next batch of pearls is better than your favorite boba shop’s.
Why You’ll Love This Recipe
You’re going to love this recipe because it transforms a humble root starch into a gourmet topping. Most commercial pearls rely on heavy food coloring and artificial syrups, but here, we use real fruit purees like strawberry and mango for authentic flavor.
The texture is the real star: when made fresh, these pearls have a superior bounce and tenderness that packaged versions simply can’t replicate. Plus, this recipe is incredibly versatile. Once you master the base technique, you can customize the sweetness and color to match any beverage, from a classic milk tea to a sparkling fruit soda. It’s an impressive, fun kitchen project that results in the ultimate treat!
What Is Tapioca Boba?
Tapioca pearls, often called “boba,” originated in Taiwan in the 1980s. They are made primarily from tapioca starch, which is a gluten-free flour derived from the cassava root. When this starch is mixed with boiling water and sugar, it undergoes a partial gelatinization process, creating a dough that can be rolled into spheres.
The “QQ” texture—a Taiwanese term for food that is bouncy, rubbery, and chewy—is the hallmark of a great pearl. While classic boba is flavored with brown sugar (giving it that deep amber or black color), modern variations include everything from tea-infused pearls to those made with fresh fruit. These pearls are the soul of “Bubble Tea,” providing a fun, textural contrast to the smooth liquid.
Ingredients Overview
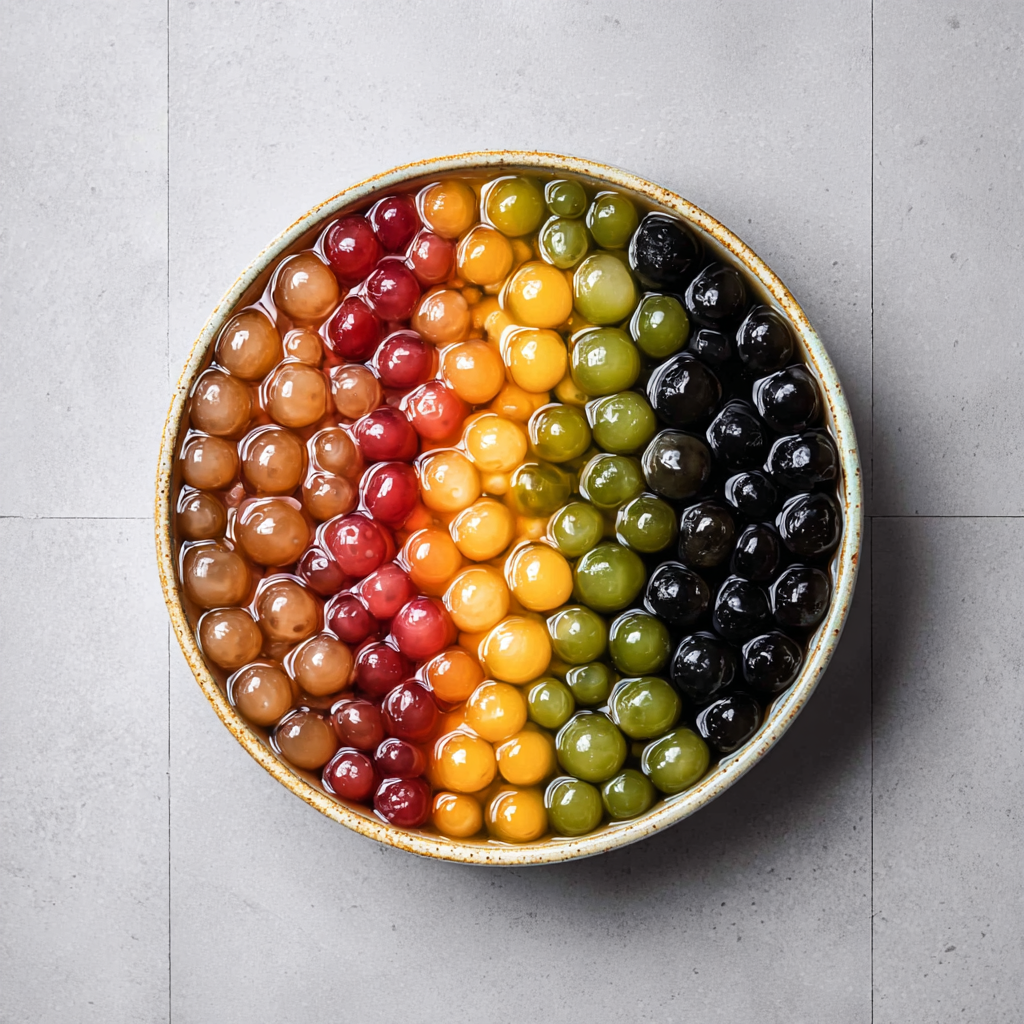
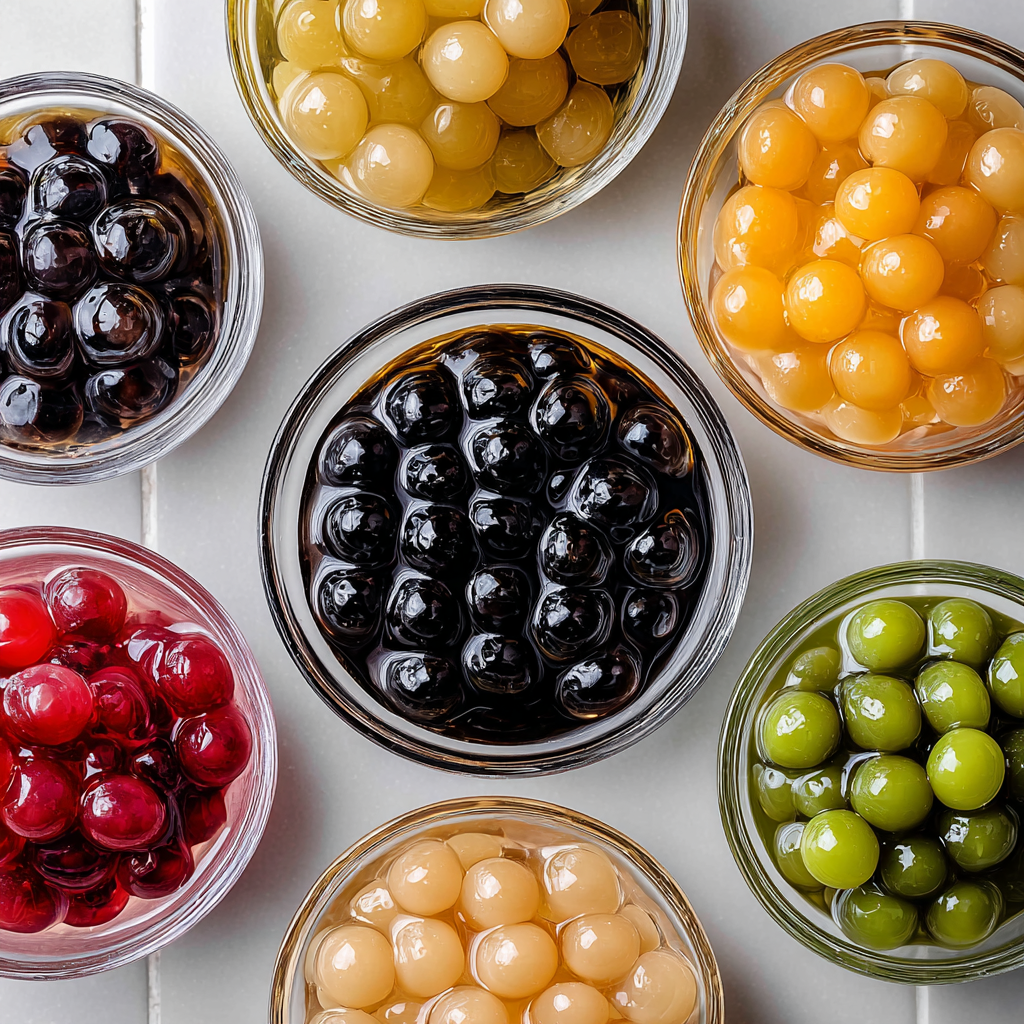
To create these five stunning flavors, you’ll need a few pantry staples and some fresh additions.
- Tapioca Starch: This is non-negotiable. You cannot substitute this with cornstarch or flour, as they do not have the same elastic properties when heated.
- Sweeteners: We use dark brown sugar (or Muscovado) for that classic deep caramel flavor. For fruit and matcha versions, cane sugar provides a cleaner sweetness that lets the primary flavors shine.
- Liquids: This is where the magic happens. Use filtered water for the brown sugar and matcha versions. For the fruit versions, you’ll create a concentrated puree from fresh strawberries, mangoes, or peaches.
- Matcha: For the matcha version, I highly recommend ceremonial grade matcha. It maintains a vibrant green color even after cooking, whereas culinary grade can sometimes turn a muddy olive hue.
- Optional Enhancements: While the fruit purees provide natural color, a single drop of food coloring can make the pearls “pop” visually, especially after the boiling process which naturally fades the colors slightly.
Ingredient Substitutions & Tips
While the starch itself cannot be replaced, you can play with the sugars. If you prefer a lower-glycemic option, coconut sugar works beautifully in the brown sugar version, though it will change the flavor profile slightly.
For the fruit purees, if fresh fruit isn’t in season, high-quality store-bought nectars or juices can be used—just ensure they are 100% juice without added thickeners. If your dough feels too stiff, the temperature of your liquid was likely too low. Always ensure the sugar-water mixture is at a “gentle simmer” before adding the starch to ensure the partial gelatinization required for a cohesive dough.
Step-by-Step Instructions
1. Prepping the Flavors
For fruit flavors, blend your fruit until completely smooth and pass it through a fine-mesh sieve. You want 70ml of pure liquid. Combine this liquid (or water for the other flavors) with your sugar in a small saucepan. If making matcha, whisk the matcha into the cold water first to avoid clumps.
2. The Gelatinization Phase
Heat your mixture over medium heat until it reaches a gentle simmer. This is the most critical step. Once simmering, add exactly half of your tapioca starch. Stir quickly with a wooden spoon or spatula. The mixture will quickly transform into a thick, translucent, and very sticky paste.
3. Forming the Dough
Remove the pot from the heat immediately. Add the remaining starch and mix until a shaggy dough forms. Transfer this to a clean work surface. It will be hot, so be careful! Knead the dough until it is smooth and has the consistency of soft playdough. It should not stick to your hands, but it should not crumble.
4. Rolling and Shaping
Divide the dough into four sections. Keep the sections you aren’t working with covered in plastic wrap. Roll one section into a long, thin log (about 1cm thick). Cut the log into small, even pieces. Roll each piece into a ball. Pro-tip: Roll multiple pieces at once under your palm to save time!
5. The Boiling Process
Bring a large pot of water to a rolling boil. Add your pearls and give them a quick stir to prevent sticking. Once they float to the top, set a timer for 20 minutes. After 20 minutes, turn off the heat, cover the pot, and let them rest for 5 minutes. This “resting” period ensures the centers are fully cooked and chewy.
Expert Cooking Tips
The biggest secret to professional boba is the soaking syrup. Never leave cooked pearls in plain water; they will lose their flavor and become bloated. As soon as you drain your pearls, plunge them into a bowl containing maple syrup, agave, or a concentrated brown sugar syrup. This “cures” the pearls, infusing them with sweetness and giving them a glossy, attractive sheen.
Another tip: Consistency is king. If your dough feels dry while rolling, don’t ignore it! Dip your fingertips in warm water and knead it back in. A dry dough will lead to pearls that crack and disintegrate during the boiling process.
Troubleshooting Your Boba Dough
Working with tapioca starch can be finicky. If your dough is liquid and runny (like Oobleck), it means your water wasn’t hot enough to gelatinize the starch. You can try microwaving the mixture for 5-10 seconds to “fix” it, or start over with boiling liquid.
If the dough is crumbly and won’t hold a shape, it has dried out or didn’t have enough liquid. Add warm water, one teaspoon at a time, until it becomes pliable. Conversely, if it’s too sticky to handle, dust your hands and the surface with more starch. Remember, tapioca starch reacts to heat and moisture very quickly, so work fast!
Serving Suggestions
Once your pearls are coated in syrup, they are ready for their spotlight! Add a generous scoop to the bottom of a glass. For a classic look, swirl brown sugar syrup around the inside of the glass before adding ice and milk tea. The fruit-flavored pearls are incredible in fruit-infused green teas or even served over coconut milk chia pudding for a tropical dessert twist.
Storage & Make-Ahead Tips
Cooked tapioca pearls are best consumed within 4 hours. After this, they begin to lose their bounce and become tough. However, you can make the raw pearls in advance! Once rolled and dusted in starch, place them in an airtight container in the fridge for 3 days, or freeze them for up to 3 months. When you’re ready for boba, just boil them straight from the freezer (adding 2-3 minutes to the cook time).
FAQs
1. Can I use cornstarch instead of tapioca starch?
No. Cornstarch does not have the same elastic properties. Your pearls will turn into a mushy paste in the boiling water rather than maintaining a chewy sphere shape.
2. Why did my pearls dissolve in the boiling water?
This happens if the dough wasn’t properly “cooked” during the mixing phase. The water must be simmering when the first half of the starch is added to create that stable, gelatinized base.
3. Are these pearls gluten-free?
Yes! Tapioca starch is naturally gluten-free, making this a fantastic treat for those with Celiac disease or gluten sensitivities.
4. How do I get that deep black color?
Classic “black” boba is usually achieved through heavy amounts of dark brown sugar (like Muscovado) and sometimes a touch of black food coloring or cocoa powder.
5. Can I make the dough in a stand mixer?
While possible, the quantity is usually too small for a standard mixer. Hand-kneading is recommended so you can feel the texture and adjust the moisture levels accurately.
Making your own boba is a culinary rite of passage for any bubble tea enthusiast. While it takes a bit of patience to roll those tiny spheres, the result—a fresh, flavorful, and perfectly chewy pearl—is infinitely better than anything you can buy in a store. Experiment with the different fruit purees, find your favorite flavor, and enjoy the ultimate homemade bubble tea experience!
PrintHomemade Tapioca Pearls
Master the art of chewy, delicious bubble tea at home! This recipe teaches you how to create the perfect “QQ” texture using five different flavor profiles, from classic brown sugar to vibrant strawberry and mango.
- Prep Time: 45 minutes
- Cook Time: 25 minutes
- Total Time: 70 minutes
- Yield: 4 servings
- Cuisine: Taiwanese
Ingredients
Tapioca Starch – 110g (divided)
Liquid (Water or Fruit Puree) – 70 ml
Sugar (Brown or Cane) – 65g or 2 tbsp
Ceremonial Matcha – 1 tbsp (for Matcha flavor)
Food Coloring – 1-2 drops (optional)
Soaking Syrup (Maple or Brown Sugar) – 1/4 cup
Instructions
Heat the liquid and sugar in a small pot over medium heat until it reaches a gentle simmer.
If making Matcha flavor, whisk the matcha into the water before heating.
Add half of the tapioca starch (approx 55g) to the simmering liquid and stir vigorously until a thick paste forms.
Remove from heat immediately and add the remaining starch.
Transfer to a clean surface and knead until a smooth, playdough-like dough forms.
Roll the dough into thin logs (1cm diameter) and cut into 0.5cm pieces.
Roll pieces into balls and toss in extra starch to prevent sticking.
Boil a large pot of water. Add pearls and cook for 20 minutes once they float.
Turn off heat, cover, and let rest for 5 minutes.
Drain and immediately submerge in syrup to maintain texture.
Notes
• If dough is too dry, add 1 tsp of warm water at a time while kneading.
• If dough is too sticky, add 1 tsp of starch at a time.
• Always keep unused dough covered with a damp cloth to prevent drying.
• Store uncooked pearls in an airtight container for up to 3 days or freeze for 3 months.


