
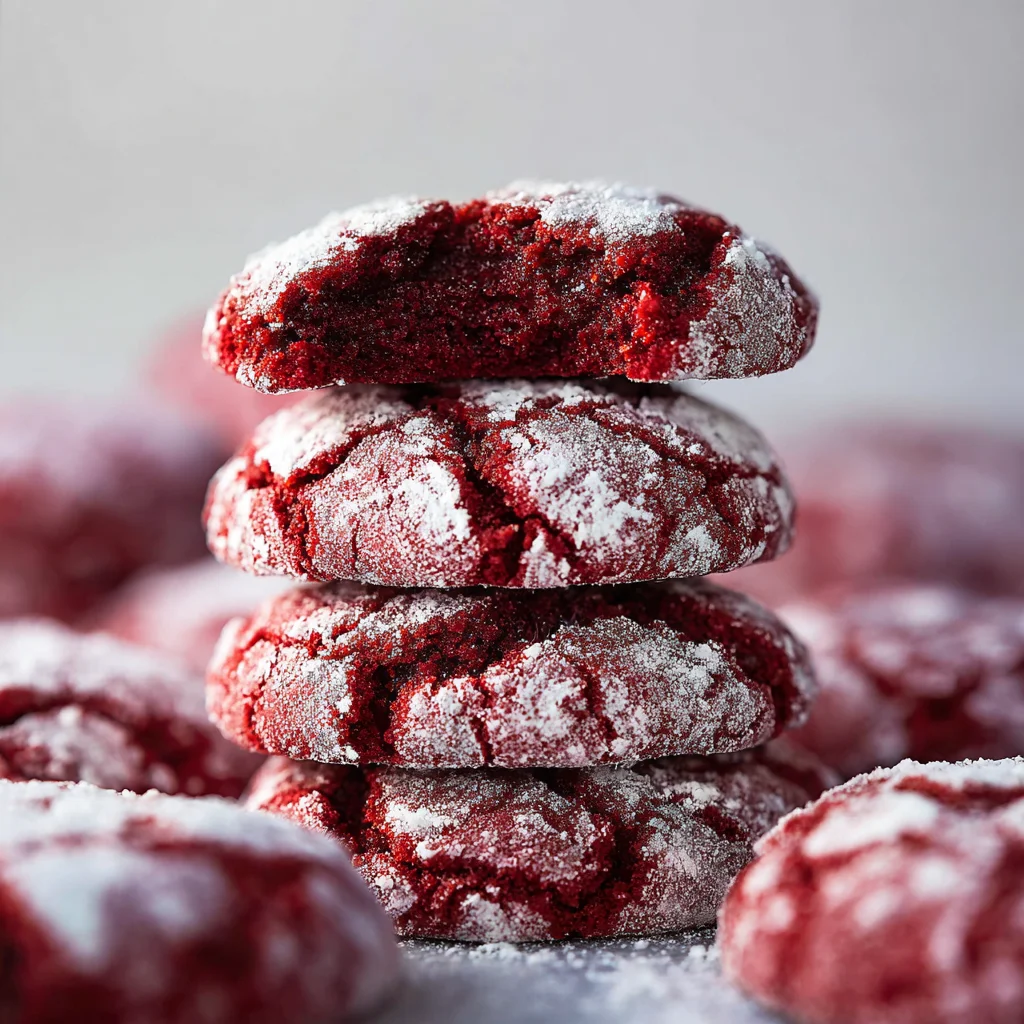
There is something inherently magical about the contrast of a deep, ruby-red cookie peeking through a snowy layer of powdered sugar. Whether you are putting together a festive Christmas cookie box, planning a romantic Valentine’s Day treat, or just craving something fudgy and beautiful, these Red Velvet Crinkle Cookies are the answer.
I remember the first time I made these for a neighborhood cookie swap. They were the first to disappear from the table! Most people expect a standard chocolate cookie, but that subtle tang and striking color of red velvet always surprises and delights.
Unlike some recipes that turn out dry or cakey, this version stays incredibly soft and chewy, thanks to the perfect balance of butter and brown sugar. If you’ve struggled with your powdered sugar “melting” into your cookies in the past, stick around—I’m sharing a professional baker’s secret to keeping that white coating bright and crisp!
Why You’ll Love This Recipe
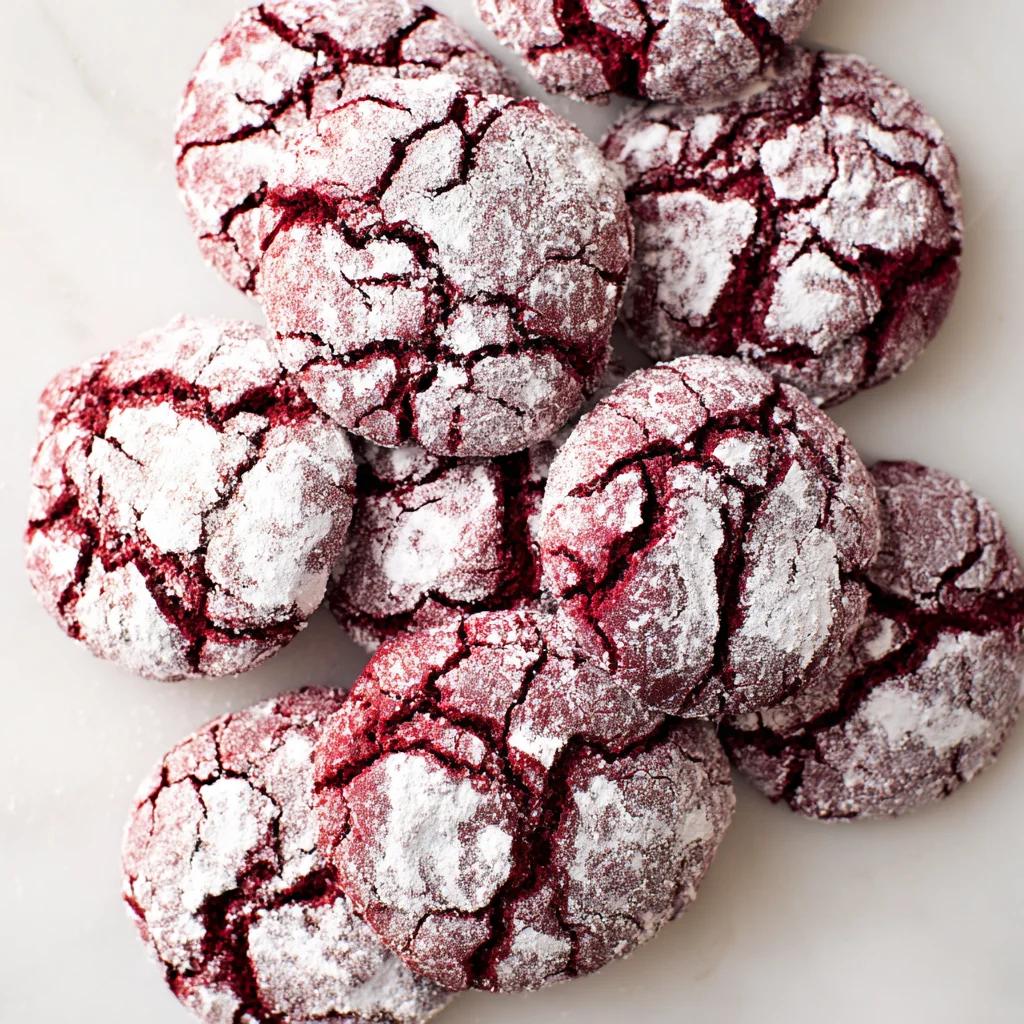
- Visually Stunning: The high-contrast “crackle” effect makes these look like they came from a high-end bakery.
- Perfect Texture: They have a slightly crisp edge with a dense, fudgy, brownie-like center.
- Simple Ingredients: No fancy emulsions or hard-to-find items; just pantry staples and a little food coloring.
- Make-Ahead Friendly: The dough handles chilling beautifully, making these perfect for busy holiday schedules.
- The Secret Coating: We use a special double-rolling technique that ensures your crinkles actually stay white after baking.
Ingredient Notes
To get the best results with these red velvet crinkle cookies, pay close attention to these key ingredients:
- Dutch-Processed Cocoa Powder: This provides a deeper chocolate flavor and a darker base, which helps the red color look rich rather than bright pink.
- Butter (Softened): Make sure your butter is at room temperature. It should yield to gentle pressure but not be greasy or melting.
- Brown Sugar: This is the secret to the chewy texture. It adds moisture and a hint of molasses flavor that complements the cocoa.
- Red Gel Food Coloring: I highly recommend using gel rather than liquid. Gel is more concentrated, so you get a vibrant color without adding excess liquid, which can change the dough’s consistency.
- Cornstarch: Mixing a little cornstarch into your powdered sugar prevents the sugar from absorbing moisture from the cookie, keeping that “crackle” look sharp.
Step-by-Step Instructions
1. Cream the Base
Start by preheating your oven to 375°F. In a large bowl or a stand mixer, cream together the softened butter, granulated sugar, and brown sugar. You want to beat this for about 2-3 minutes until the mixture is pale and fluffy. This aeration is key for the right spread.
2. Add Wet Ingredients
Incorporate the egg and the vanilla extract. Continue mixing until the batter looks light and creamy. If you are using gel food coloring, you can add it now or wait until the flour is in—adding it now makes it easier to incorporate the color evenly.
3. Mix the Dry Ingredients
Sift in your all-purpose flour, cocoa powder, baking soda, and salt. Mix on low speed until just combined. Be careful not to overmix here, as overworking the flour can lead to a tough cookie. The dough will be quite soft and slightly tacky.
4. Color to Perfection
If you haven’t added your red gel yet, do it now. Fold it in until the dough is a uniform, deep red.
5. The Double-Roll Technique
This is the most important step for the “Pinterest-perfect” look. Scoop about 1.5 tablespoons of dough and roll it into a ball.
- First: Roll the ball in a small bowl of granulated sugar.
- Second: Roll the ball generously in the powdered sugar and cornstarch mixture.
The granulated sugar creates a barrier that prevents the powdered sugar from melting into the dough!
6. Bake and Cool
Place the balls on a parchment-lined baking sheet, leaving about 2 inches between them. Bake for 7 to 10 minutes. You’ll know they are done when they have flattened and the “cracks” have formed. Let them cool on the pan for 5 minutes to set before moving them to a wire rack.
Expert Tips for Best Results
- Don’t Overbake: These cookies will look a little “underdone” in the cracks when you pull them out. That’s okay! They will firm up as they cool. Overbaking will result in a dry cookie.
- Use a Cookie Scoop: For even baking, use a #40 cookie scoop. This ensures every cookie is the same size and finishes baking at the same time.
- Measure Flour Correctly: Use the “spoon and level” method. If you scoop directly with the measuring cup, you’ll pack too much flour, and the cookies won’t spread properly.
- Chill if Necessary: If your kitchen is very warm and the dough feels too sticky to roll, pop it in the fridge for 30 minutes.
Variations and Substitutions
- Chocolate Chips: Fold in 1/2 cup of white chocolate chips for a “Red Velvet & Cream” flavor profile.
- Peppermint Twist: Add 1/2 tsp of peppermint extract along with the vanilla for a festive holiday version.
- Dairy-Free: You can substitute the butter with a high-quality vegan butter stick (ensure it is the kind meant for baking).
- Mini Crinkles: Use a smaller scoop (1 tbsp) and reduce the baking time to 6-7 minutes for bite-sized treats.
Storage and Freezing
To Store: Keep your baked cookies in an airtight container at room temperature for up to 5 days. To keep them extra soft, place a piece of white bread in the container; the cookies will absorb the moisture from the bread.
To Freeze (Dough): You can freeze the rolled balls (before the sugar coating). When ready to bake, let them thaw for 15 minutes, roll in the sugars, and bake as directed.
To Freeze (Baked): Store in a freezer-safe bag for up to 3 months. Note that the powdered sugar may lose its “pop” after thawing, but they will still taste delicious!
FAQ
Why didn’t my cookies crackle?
Usually, this happens if the oven isn’t hot enough or if the baking soda is expired. Ensure your oven is fully preheated to 375°F, as the “shock” of heat causes the cookies to spread and crack.
Can I use liquid food coloring?
You can, but you will need a lot more of it to get a deep red. This can make the dough too wet. If using liquid, you may need to add an extra tablespoon or two of flour.
Why did my powdered sugar disappear?
The sugar likely melted into the cookie. To prevent this, always roll in granulated sugar first, and ensure you use the cornstarch trick mentioned in the recipe card.
Final Thoughts
These Red Velvet Crinkle Cookies are truly the star of any dessert table. They manage to be sophisticated yet deeply comforting, with that classic cocoa-vanilla flavor we all love. They are fun to make with kids (who love the “rolling” part!) and even more fun to eat.
If you make these, I’d love to see your results! Tag me on Instagram or leave a comment below. Happy baking!
PrintSoft & Chewy Red Velvet Crinkle Cookies
These Red Velvet Crinkle Cookies are the ultimate holiday treat. They feature a rich, cocoa-infused dough, a vibrant red hue, and a beautiful ‘snow-covered’ crackle finish that stays white thanks to a secret cornstarch trick.
Ingredients
3/4 cup butter, softened
1/4 cup granulated sugar + extra for rolling
3/4 cup brown sugar
1 egg
3 tsp vanilla extract
2 cups all purpose flour
1/4 cup dutch processed cocoa powder
1 tsp baking soda
1/2 tsp salt
red gel food coloring, as needed
1/2 cup powdered sugar + 1 tbsp cornstarch, mixed
Instructions
1. Preheat oven to 375° F.
2. Cream together the butter, granulated sugar and brown sugar.
3. Add the egg and vanilla. Mix until light in color and creamy.
4. Add in the dry ingredients (flour, cocoa, baking soda and salt), mix into the dough. Mix until completely combined. The dough will be soft.
5. Mix in the red food coloring until you’ve achieved your desired color.
6. Scoop the cookie dough out into 1 1/2 tbsp portions (#40 scoop).
7. Roll first in granulated sugar and then in the powdered sugar/cornstarch mixture and then arrange on a parchment or silicone lined cookie sheet.
8. Repeat with remaining dough.
9. Bake at 375° F for 7-10 minutes, until the cookies flatten, spread and begin to crackle.
10. Allow the cookies to cool on the pan for 5 minutes before transferring to a wire cooling rack.
Notes
Use gel food coloring for the most vibrant red without thinning the dough.
Rolling the dough in granulated sugar BEFORE the powdered sugar prevents the white coating from melting into the cookie.
The cornstarch in the powdered sugar mix helps maintain that bright white ‘snowy’ look.


