
When the calendar turns to March, my kitchen inevitably transforms into a sea of green. There is something truly magical about St. Patrick’s Day—the folklore of leprechauns, the hunt for four-leaf clovers, and, of course, the vibrant treats. If you are looking for a dessert that captures that holiday spirit without requiring hours in front of a hot oven, these St. Patrick’s Day Pudding Cups are your pot of gold at the end of the rainbow. They are visually stunning, incredibly creamy, and combine the classic flavors of chocolate and mint. Whether you are hosting a festive party or just want to surprise the kids with a “leprechaun-approved” snack, these layered parfaits are a guaranteed hit. Let’s dive into how you can create this easy, no-bake masterpiece in just a few minutes.
Why You’ll Love This Recipe
You are going to absolutely adore this recipe because it balances simplicity with a high-impact presentation. First and foremost, it is entirely no-bake, making it perfect for busy weeknights or warm spring days. The texture is a delightful contrast between the silky, dense chocolate pudding and the airy, mousse-like green whipped pudding. Additionally, it is highly customizable; you can lean into the mint flavor or keep it strictly vanilla depending on your preference. Kids love helping with the layering process, and the “dirt” layer of Oreo crumbs adds a satisfying crunch that keeps everyone coming back for more. It’s festive, fun, and foolproof!
What Is a St. Patrick’s Day Pudding Cup?
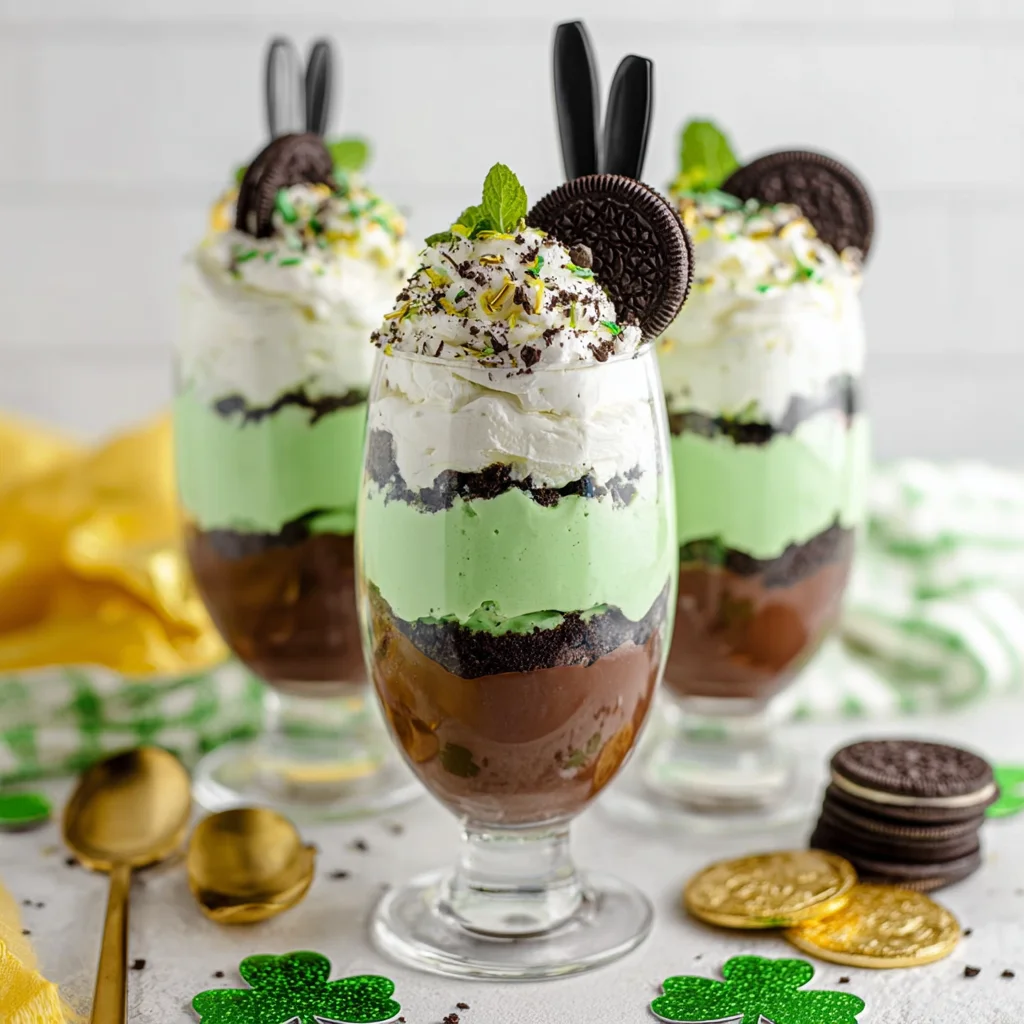
Essentially, these pudding cups are a festive variation of a traditional trifle or “dirt cake.” They are individual-sized parfaits built in clear glasses to showcase beautiful, contrasting layers. The base is a rich chocolate pudding representing the “earth,” followed by a vibrant green layer. What makes this specific recipe unique is the “green” layer; instead of just using green pudding, we whip vanilla pudding mix with heavy cream. This technique creates a stabilized mousse that is much fluffier and more luxurious than standard pudding. Topped with Oreo “soil” and a “gold” coin, it tells the story of a leprechaun’s hidden treasure in a delicious, edible format.
Ingredients Overview
To create the perfect St. Patrick’s Day Pudding Cups, you only need a handful of pantry staples and a few refrigerated items.
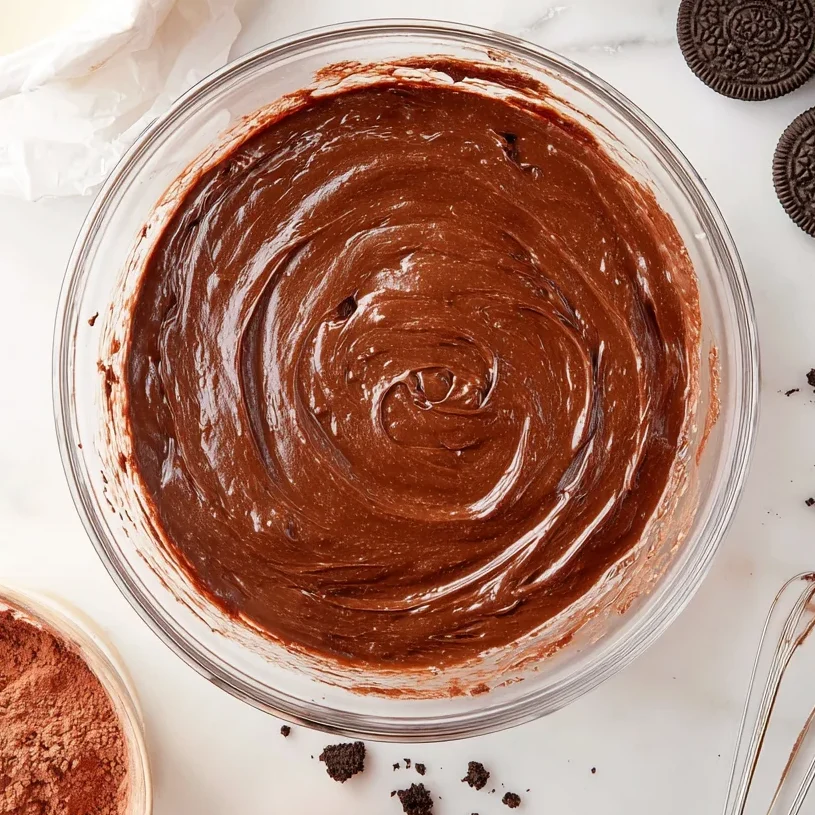
- Instant Chocolate Pudding: This provides the dark, rich foundation of the cup. Using “instant” is key for the 5-minute set time.
- Instant Vanilla Pudding: This acts as the base for our green mousse. The vanilla flavor is neutral enough to allow the mint (if using) and the green color to shine.
- Milk: Used specifically for the chocolate pudding layer to keep it smooth and traditional.
- Heavy Cream: This is the secret ingredient. By replacing milk with heavy cream in the vanilla pudding layer, you create a thick, pipeable mousse rather than a runny pudding.
- Extract: Vanilla extract offers a classic taste, but I highly recommend Peppermint Extract for that quintessential “shamrock shake” flavor profile.
- Green Food Coloring: A few drops of gel coloring will give you that iconic emerald hue.
- Oreo Cookies: These provide the essential chocolatey crunch and mimic the look of dark soil.
- Whipped Topping: Adds a final layer of snowy white sweetness to balance the rich pudding.
- Gold Coins: For that final leprechaun-themed touch!
Ingredient Substitutions & Tips
If you need to pivot based on what’s in your pantry, here are some easy swaps. For a dairy-free version, you can use almond or oat milk for the chocolate pudding, though it may be slightly softer. For the mousse layer, a dairy-free heavy whipping cream alternative works surprisingly well. If you aren’t a fan of Oreos, feel free to use chocolate graham crackers or even brownies. For those watching their sugar intake, this recipe works beautifully with Sugar-Free Instant Pudding mixes and a sugar-free whipped topping. Just ensure your food coloring is “gel-based” if possible, as it provides a more vibrant color without thinning out the mousse.
Step-by-Step Instructions
1. Prepare the Chocolate Foundation:
Start by pouring 2 cups of cold milk into a medium-sized mixing bowl. Whisk in the chocolate pudding mix. I recommend using a hand mixer on low speed for about 2 minutes to ensure there are no lumps and the mixture is fully aerated. Once combined, pop the bowl into the refrigerator. Let it sit for at least 5 minutes; this “setting” time is crucial for creating clean layers later on.
2. Create the Green Mousse:
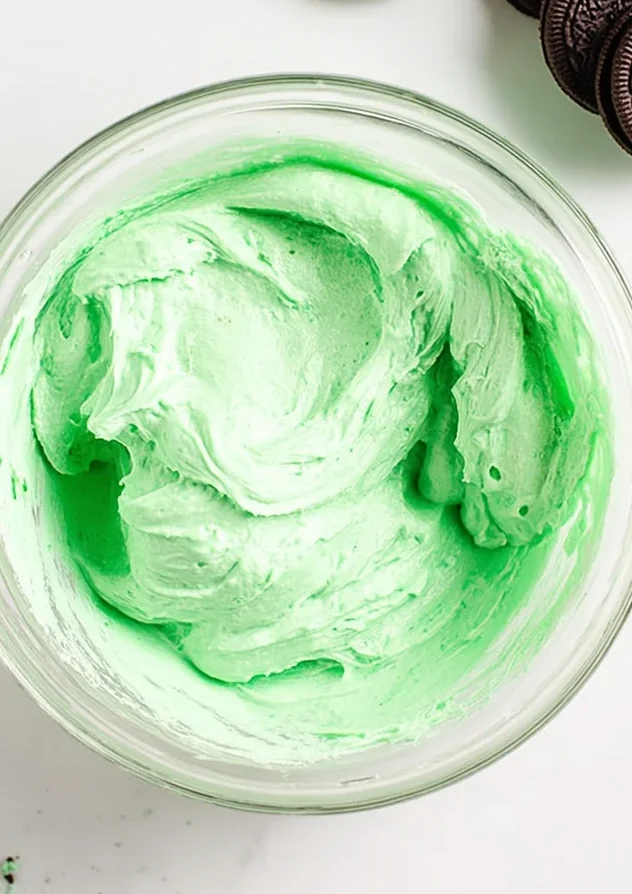
In a separate clean bowl, combine the vanilla pudding mix and the 2 cups of heavy cream. This is where the magic happens. Start beating at a low speed to incorporate the powder, then gradually crank it up to medium-high. You’ll notice the mixture thickening significantly more than regular pudding. Stop when it reaches stiff, fluffy peaks.
3. Flavor and Color:
Add your vanilla or mint extract and the green food coloring. Start with 2-3 drops and fold gently with a spatula. If you want a deeper “Forest Green,” add more. Folding instead of beating at this stage ensures you don’t deflate the mousse you just worked so hard to fluff up.
4. The Art of Layering:
Take four clear 8-ounce glasses or jars. Spoon a generous layer of chocolate pudding into the bottom of each. Next, add a layer of the green mousse. Follow this with a thick layer of crushed Oreo cookies. Add a layer of whipped topping, and then—for the grand finale—top it with one last large dollop of the green mousse.
5. Garnish and Chill:
Sprinkle any remaining Oreo crumbs over the top and press a chocolate gold coin into the mousse at a slight angle. Place the cups back in the fridge for at least 30 minutes before serving to let the flavors meld and the textures firm up.
Expert Baking/Cooking Tips
To achieve professional-looking layers, use a piping bag (or a gallon-sized Ziploc bag with the corner snipped off) to pipe the pudding and mousse into the cups. This prevents the sides of the glass from getting smeared, keeping your layers crisp and distinct. Another tip: make sure your heavy cream is ice cold. Cold cream traps air bubbles much more efficiently, resulting in a loftier mousse. Lastly, if you are crushing your Oreos, leave a few larger chunks mixed in with the fine “dust”—the variation in texture makes the dessert much more interesting to eat.
Variations for Other Holidays
The beauty of this layering technique is its versatility. You can easily adapt this recipe for any season! For Easter, use lemon pudding with yellow coloring and top with jelly beans or marshmallow peeps. For Halloween, stick with the chocolate “dirt” base but use orange-colored vanilla mousse and top with gummy worms. For Valentine’s Day, use strawberry pudding or pink-dyed vanilla mousse with heart-shaped sprinkles. Once you master the ratio of pudding mix to heavy cream for the mousse layer, the creative possibilities are truly endless.
Serving Suggestions
Serve these parfaits in clear glassware—wine glasses, mason jars, or even small espresso cups for a “mini-dessert” flight. They look best when the green is vibrant and the gold coin is shining. If you are serving a crowd, you can even make one large “Trifle” version of this in a big glass bowl, repeating the layers multiple times. Pair them with a cup of Irish coffee or a cold glass of milk for the perfect afternoon treat.
Storage & Make-Ahead Tips
These pudding cups are excellent for making ahead of time. You can assemble them up to 24 hours in advance; just wait to add the gold coin and the final sprinkle of Oreo crumbs until just before serving to ensure the cookie stays crunchy and the coin doesn’t lose its luster. Store them covered with plastic wrap in the refrigerator. They will stay fresh for up to 3 days, though the Oreo layer will soften slightly over time.
FAQs
1. Can I use cooked pudding instead of instant?
While you can, the texture will be different. Instant pudding has a specific thickening agent that reacts perfectly with heavy cream to create a mousse. Cooked pudding tends to be thinner and may not hold the layers as well.
2. Is peppermint extract different from mint extract?
Yes! Peppermint is a sharper, cooler mint (like a candy cane), while “mint extract” is often a blend of spearmint and peppermint (more like toothpaste or gum). I prefer peppermint for this recipe!
3. How do I get the Oreos perfectly crushed?
Place them in a sealed plastic bag and use a rolling pin to crush them. This gives you better control over the texture than a food processor, which can turn them into a fine powder too quickly.
4. Can I freeze these pudding cups?
I don’t recommend freezing them, as the texture of the pudding and whipped topping can become grainy or watery once thawed. They are best enjoyed fresh from the fridge!
5. What if my mousse is too thick?
If the heavy cream and pudding mixture becomes too stiff to stir, simply fold in a tablespoon of milk at a time until it reaches your desired consistency.
St. Patrick’s Day doesn’t have to be all about complex bakes or heavy fruitcakes. Sometimes, the most memorable treats are the ones that are simple, nostalgic, and fun. These St. Patrick’s Day Pudding Cups bring a touch of whimsy to your table and a burst of creamy, chocolatey joy to your taste buds. Give them a try this year, and you might just find that they become a new family tradition. Happy St. Paddy’s Day!


