
There is something inherently nostalgic about a snowball cookie. Whether you grew up calling them Mexican Wedding Cakes, Russian Tea Cakes, or simply Butter Balls, that distinctive “shatter-and-melt” texture is a hallmark of holiday baking.
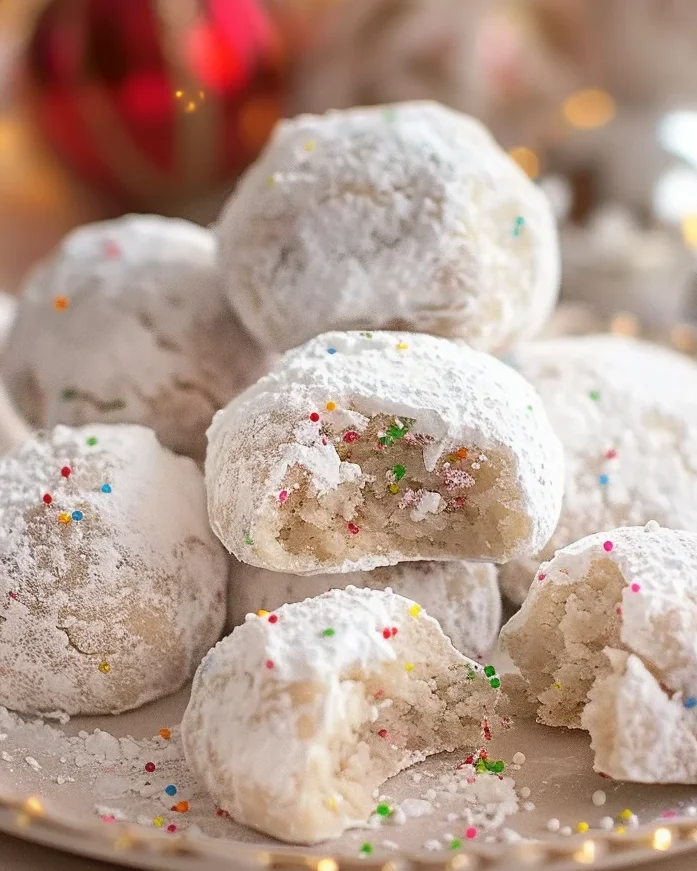
But today, we’re giving this classic a whimsical, colorful makeover. Enter the Confetti Snowball Cookie. By folding in a generous handful of rainbow sprinkles, we transform a traditional white cookie into a celebration on a plate.
These cookies are the perfect “emergency” recipe. They require no eggs, use standard pantry staples, and look like they came from a high-end boutique bakery. If you love a cookie that isn’t overly sweet but feels incredibly indulgent, this is about to become your new favorite recipe.
Why You’ll Love This Recipe
- No Eggs Required: Perfect for those with allergies or if you simply realized you’re out of eggs mid-bake.
- Melt-in-Your-Mouth Texture: The high butter-to-flour ratio combined with powdered sugar instead of granulated sugar creates a delicate crumb that literally dissolves on your tongue.
- Kid-Friendly: Letting kids help roll the dough into “snowballs” and toss them in “snow” (powdered sugar) is a wonderful kitchen memory in the making.
- Perfect for Gifting: These cookies are sturdy enough to be packed in tins and look beautiful on a holiday cookie tray.
- Simple Ingredients: You likely have all 6 ingredients in your kitchen right now.
Ingredient Notes
Before we dive into the mixing bowl, let’s talk about the key players that make these Confetti Snowball Cookies so successful.
- Unsalted Butter: Use high-quality butter if possible. Since there are so few ingredients, the flavor of the butter really shines. Make sure it is softened to room temperature but not greasy.
- Powdered Sugar: Also known as confectioners’ sugar. We use this in the dough and for rolling. Because powdered sugar contains a tiny bit of cornstarch, it contributes to that legendary “melting” texture.
- Rainbow Sprinkles: I highly recommend using rainbow jimmies (the rod-shaped ones). Nonpareils (the tiny round balls) tend to bleed their color into the dough, which can turn your dough a muddy grey. Jimmies hold their shape and color much better during the bake.
- Vanilla Extract: Pure vanilla extract is a must! It provides that warm, floral base note that balances the salt and sugar.
- All-Purpose Flour: Just your standard white flour. Be sure to measure using the “spoon and level” method to avoid packing too much flour, which would make the cookies dry.
Step-by-Step Instructions
1. Cream the Base
Start by beating your softened butter and the first half-cup of powdered sugar. Use a hand mixer or a stand mixer for about 2–3 minutes. You’re looking for a pale, fluffy consistency. This aeration is what keeps the cookies from being too dense.
2. Flavor and Flour
Add your salt and vanilla. Once incorporated, turn the mixer to low and add the flour. Stop mixing the moment you see no more white streaks of flour. Overworking the dough at this stage will develop gluten, turning your “melt-in-your-mouth” cookie into a “tough-to-chew” cookie.
3. The Confetti Pop
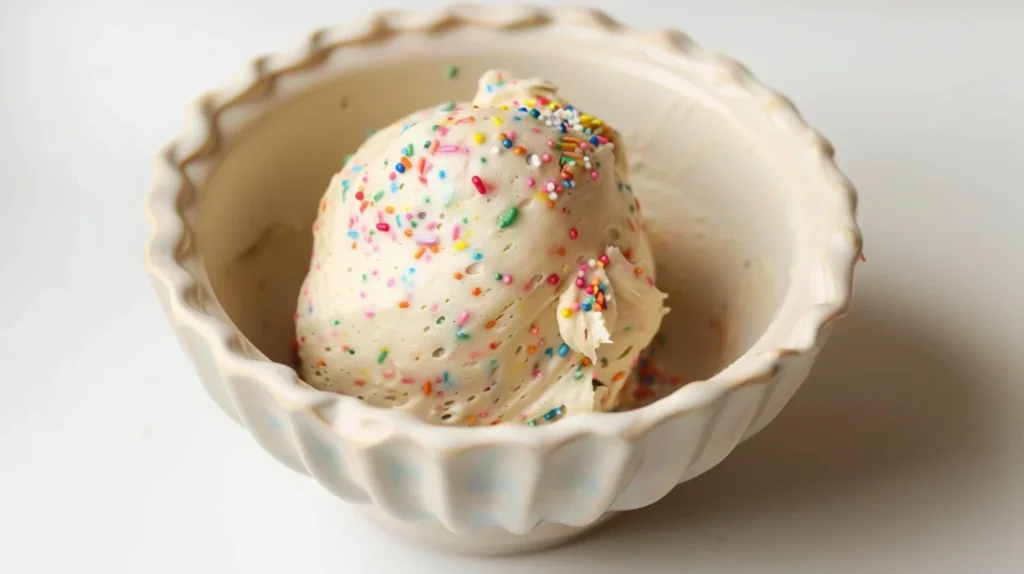
Gently fold in the sprinkles with a spatula. Then, use your hands to bring the dough together into a cohesive ball.
4. The Big Chill (Don’t Skip This!)
Wrap your dough ball tightly in plastic wrap and let it rest in the fridge for at least one hour. Why? Chilling solidifies the butter. If you put warm dough into the oven, the cookies will flatten out into pancakes. We want round, snowball-shaped beauties!
5. Shape and Bake
Preheat your oven to 350°F (180°C). Roll the chilled dough into 1-inch balls. They don’t spread much, so 2 inches of space on your baking sheet is plenty. Bake for 15 minutes. They should be set but not browned.
6. The Double-Roll Technique
This is the “pro” secret. Roll the cookies in powdered sugar while they are still warm (but handleable). The heat will slightly melt the first layer of sugar, creating a “glue.” Once they are completely cool, roll them a second time for that pristine, snowy white finish.

Expert Tips for Best Results
- Salt Matters: Even though these are sweet, the 1/2 teaspoon of salt is crucial. It cuts through the richness of the butter and makes the vanilla flavor pop.
- Check Your Oven Temp: Snowball cookies are sensitive. If your oven is too hot, the bottoms will burn before the middle sets. I recommend using an oven thermometer.
- The “Warm” Window: If you wait too long to do the first roll, the sugar won’t stick. If you do it too soon, the cookie might crumble in your hands. Wait about 3-5 minutes after they come out of the oven.
- Sift Your Sugar: For the most beautiful finish, sift the powdered sugar you use for the final roll to remove any lumps.
Variations and Substitutions
- Extracts: Swap vanilla for almond extract for a “wedding cake” flavor profile.
- Chocolate Version: Replace 2 tablespoons of flour with 2 tablespoons of dark cocoa powder and use white chocolate sprinkles.
- Holiday Specific: Use red and green sprinkles for Christmas, or pastel sequins for Easter.
- Nutty Classic: Add 1/4 cup of finely crushed pecans or walnuts along with the sprinkles for a traditional crunch.
Storage and Freezing
To Store: Keep these in an airtight container at room temperature for up to 5 days. If the sugar looks a bit damp after a few days, just give them a fresh dusting of powdered sugar before serving.
To Freeze (Baked): These cookies freeze beautifully! Place them in a freezer-safe bag or container for up to 3 months. Thaw at room temperature and do a final roll in powdered sugar to freshen them up.
To Freeze (Dough): You can freeze the shaped dough balls (before baking). Bake them straight from the freezer—just add 2 minutes to the baking time.
FAQ
Why did my cookies go flat?
The most common reason is skipping the chilling step or having a kitchen that was too warm while shaping. Make sure your butter wasn’t melted when you started!
Can I use granulated sugar?
I don’t recommend it for this specific recipe. Granulated sugar will change the texture entirely, making them crispier and less “snowball-like.”
Do I need a mixer?
While a mixer makes creaming the butter easier, you can definitely make these by hand with a sturdy spatula and some elbow grease!
A Whimsical Treat for Any Occasion
Whether you are hosting a festive party or just need a little “pick-me-up” to go with your afternoon coffee, these Confetti Snowball Cookies are a guaranteed win. They are simple, colorful, and hold a bit of magic in every bite.
If you make these, I’d love to see your creations! Tag me on Instagram or leave a comment below. Happy baking!
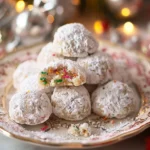
PrintConfetti Snowball Cookies
Whimsical and buttery Confetti Snowball Cookies that melt in your mouth! These colorful, egg-free treats are perfect for holidays, birthdays, or a cozy afternoon tea.
Ingredients
1/2 Cup Unsalted Butter, softened
1/2 Cup Powdered Sugar for dough
1/2 Teaspoon Salt
1/2 Teaspoon Vanilla Extract
1/3 Cup Rainbow Sprinkles (Jimmies work best)
1 Cup All-Purpose Flour
1/2 Cup Powdered Sugar for rolling
Instructions
1. In a mixing bowl, cream together softened butter and powdered sugar until light and fluffy.
2. Add salt and vanilla extract and mix until combined.
3. Add one cup of flour to the creamed butter mixture and gently mix everything until just combined.
4. Add in sprinkles and gently fold until combined.
5. Gently knead the mixture using your hands and make a round dough ball.
6. Wrap it tightly in a plastic wrap and chill in the refrigerator for about an hour or until it becomes firm.
7. Preheat the oven to 180 degrees C (350F). Line a baking sheet with parchment paper.
8. Once the dough is chilled, divide it into small 1 inch round balls.
9. Place the shaped dough balls on the baking sheet spacing 2 inches apart.
10. Bake for 15 minutes at 180 degrees C (350F).
11. Let them cool for 3-5 minutes before rolling them in powdered sugar while still warm.
12. Allow them to cool completely, then roll them again in the powdered sugar before serving.
Notes
Use room temperature butter for the best texture. Do not skip the chilling step, or the cookies will spread! For the best white coating, the double-roll technique is essential.


