
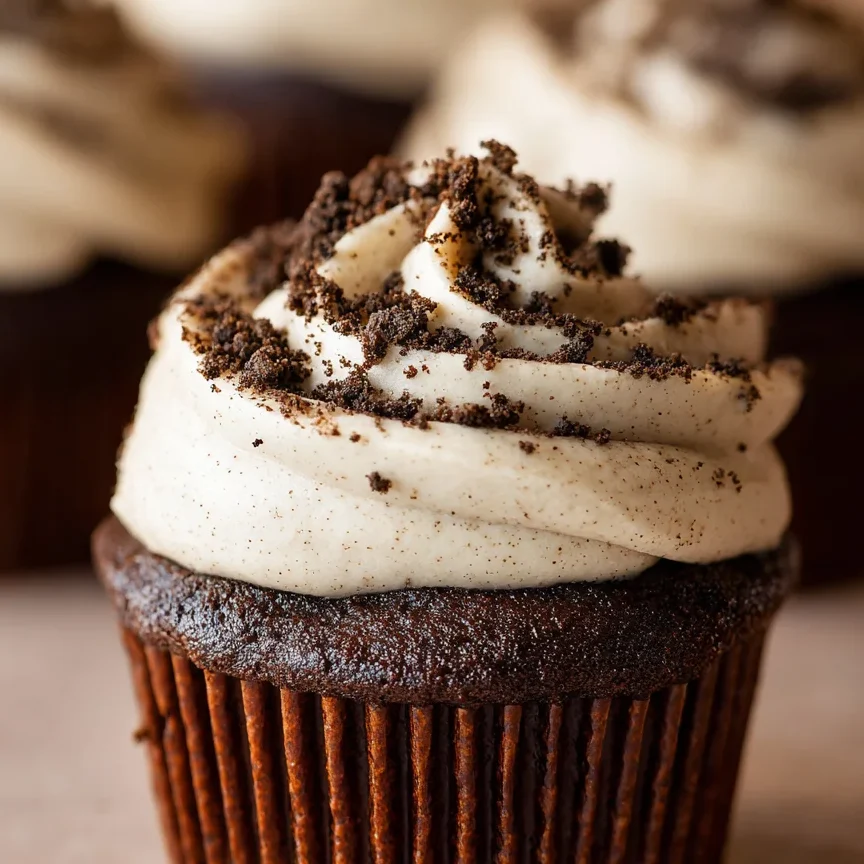
There is something almost magical about the smell of a fresh batch of vanilla buttercream frosting whipping up in a kitchen. It’s the scent of celebrations, birthdays, and “just because” treats. If you’ve ever wondered how professional bakeries get those perfectly smooth, sky-high swirls on their cupcakes, I have a secret for you: it’s not a fancy technique. It’s all in the recipe.
For years, I tried different variations of American buttercream. Some were too sweet, some were too greasy, and others were so stiff they’d break the top off a delicate cupcake. But after much trial and error, I’ve perfected this 4-ingredient vanilla buttercream. It is perfectly balanced, incredibly fluffy, and—most importantly—stable enough for any piping project you throw its way.
Whether you are frosting a three-layer birthday cake or simple sugar cookies, this is the only frosting recipe you will ever need.
Why You’ll Love This Recipe
- Only 4 Ingredients: You likely already have everything you need in your pantry.
- Bakery Quality at Home: No more grainy, store-bought tubs. This tastes like it came from a high-end patisserie.
- Perfect for Piping: This frosting holds its shape beautifully, making it ideal for star tips, ruffles, or classic swirls.
- Quick and Easy: From start to finish, you’re only 10 minutes away from frosting heaven.
- Versatile Base: This is the ultimate “mother recipe.” Once you master this, you can create dozens of other flavors.
Ingredient Notes
To get that “perfect” consistency, the quality and temperature of your ingredients matter more than you might think. Here is what you need to know:
- Salted Butter: Many recipes call for unsalted butter plus a pinch of salt. I prefer using salted butter because the salt is already perfectly incorporated. It cuts through the sugar and prevents the frosting from being “cloying.” Crucial Tip: Your butter must be softened to room temperature, but not melty. It should give slightly when you press it with your thumb.
- Confectioners Powdered Sugar: This provides the structure. If your sugar looks particularly lumpy in the bag, I highly recommend sifting it first. This ensures a silky-smooth finish.
- Vanilla Extract: For a classic, rich flavor, use high-quality pure vanilla extract. However, if you are aiming for a pure white icing (perfect for wedding cakes), use clear vanilla extract.
- Milk: A little goes a long way. Milk helps thin the frosting to the perfect spreading consistency and adds a touch of creaminess. You can substitute heavy cream for an even richer mouthfeel.
Step-by-Step Instructions
1. Cream the Butter
Start by adding your softened salted butter to a large mixing bowl. Using an electric hand mixer (or a stand mixer fitted with the paddle attachment), cream the butter on medium-high speed for at least 1 full minute. You want it to look pale and creamy before you add a single grain of sugar.
2. The Slow Sugar Incorporate
Turn your mixer to the lowest setting. Add the powdered sugar one cup at a time. This prevents the dreaded “sugar cloud” from covering your entire kitchen! Mix after each addition until the sugar is mostly incorporated.
3. The Big Whip
Once all the sugar is in, add your vanilla extract and milk. Now, turn the mixer up to medium-high and beat the frosting for 2 to 3 minutes. This is where the magic happens! The frosting will double in volume and become incredibly light and fluffy.
4. Adjust and Decorate
Check the consistency. If it’s too thick, add a teaspoon more milk. If it’s too thin, add a few tablespoons more sugar. Now you’re ready to pipe or spread!
Expert Tips for Best Results
- Don’t Rush the Creaming: Most people stop mixing too soon. Beating the butter alone for a minute, and then the finished frosting for 3 minutes, incorporates air which makes the frosting “white” and fluffy rather than yellow and dense.
- The “Paddle” Trick: If you are using a stand mixer and notice a lot of air bubbles in your frosting, turn the mixer to the lowest speed for 1 minute at the very end. This “beats out” the large air pockets, leaving you with a smooth-as-glass finish.
- Temperature Matters: If your kitchen is very hot, your buttercream will go soft. If this happens, pop the bowl in the fridge for 10-15 minutes, then re-whip.
Variations and Substitutions
This recipe is a blank canvas! Here is how to switch it up:
- Chocolate Buttercream: Add 1 1/4 cups of unsweetened cocoa powder when you add the powdered sugar. You may need an extra tablespoon of milk to keep it creamy.
- Colored Frosting: Use gel food coloring for the best results. Add 3–6 drops when you add the milk. Gel is better than liquid coloring because it doesn’t change the consistency of the frosting.
- Berry Buttercream: Swap the milk for 2 tablespoons of reduced strawberry or raspberry puree.
- Almond or Lemon: Replace the vanilla extract with almond extract or fresh lemon juice and zest.
Storage and Freezing
At Room Temperature: You can leave frosted baked goods out for up to 2 days (as long as your kitchen isn’t too hot).
In the Refrigerator: Store leftover frosting in an airtight container for up to 7 days. Before using, let it come to room temperature and whip it for a minute to restore the fluffy texture.
In the Freezer: Buttercream freezes beautifully! Place it in a freezer-safe bag for up to 3 months. Thaw overnight in the fridge and re-whip before using.
FAQ
Why is my buttercream frosting grainy?
This usually happens if the powdered sugar wasn’t sifted or if the frosting wasn’t beaten long enough. The sugar needs time to fully dissolve into the fats of the butter.
Can I use unsalted butter?
Yes! If you use unsalted butter, just add 1/4 teaspoon of fine salt when you add the vanilla to balance the sweetness.
How much frosting does this make?
This recipe makes approximately 3 cups of frosting. This is enough to generously frost 12-15 cupcakes with high swirls, or one 9×13 inch sheet cake. For a double-layer 8-inch cake, I recommend 1.5x the recipe.
Happy Baking!
Making your own homemade vanilla buttercream is a game-changer for any home baker. It takes a simple cake and turns it into something truly special. I can’t wait to see how your creations turn out! If you try this recipe, leave a comment below and let me know your favorite way to use it.
PrintVanilla Buttercream Frosting
This is the ultimate, foolproof vanilla buttercream frosting. It is stable enough for high swirls on cupcakes but light enough to melt in your mouth. With only 4 ingredients, you’ll never buy the canned stuff again!
Ingredients
1 cup salted butter softened
4 cups confectioners powdered sugar
2 teaspoons vanilla extract (use clear vanilla for pure white)
2 tablespoons milk
Instructions
1. Add butter into a large bowl and cream with electric hand mixer for 1 minute.
2. Add powdered sugar into the bowl, one cup at a time, and mix until fully combined.
3. Add vanilla and milk and continue to mix until very fluffy, about 2-3 more minutes.
4. Spread or pipe on cupcakes, cake, or sugar cookies.
Notes
Want to make it chocolate frosting? Add 1 1/4 cup cocoa powder when you add in the confectioners sugar.
Want to make it colored frosting? Add 3-6 drops of food coloring when you add in the milk.
For best results, sift your powdered sugar if it looks lumpy.


