Oh, friend, let me tell you about the first time I tried to pipe butter cookies. It was… a learning experience. My kitchen looked like a flour explosion, and my “swirls” looked more like abstract art. But you know what? I kept at it, and now these Chocolate-Dipped Butter Cookies are one of my absolute favorite recipes to make. They’re such a confidence booster!
This recipe is perfect for nervous beginners because it teaches you so much about dough texture and working with a piping bag, all while delivering the most delightful, melt-in-your-mouth cookie. Trust me, if I can get these right, you absolutely can too. Let’s bake something amazing!
Why You’ll Love Baking This Chocolate-Dipped Butter Cookies
These cookies are incredibly achievable for bakers of all levels, even if you’ve never piped a cookie before.
- The dough comes together beautifully and is surprisingly forgiving.
- You get to practice piping, which is a super fun skill to develop!
- The finished cookies have that perfect crisp-yet-tender butter cookie texture.
- Dipping them in chocolate and adding sprinkles makes them feel so special.
Let’s Talk Ingredients
Understanding what each ingredient does helps you feel more in control of your bake.
- Unsalted Butter: This is the star of our butter cookies! Using unsalted butter lets you control the salt level in the recipe. Make sure it’s room temperature – soft enough to indent with your finger, but not melted.
- Granulated Sugar: Besides sweetness, sugar helps with the cookie’s structure and gives it that lovely crisp edge.
- Vanilla Extract or Vanilla Bean Paste: Adds a classic, warm flavor. Vanilla bean paste gives a more intense vanilla flavor and those pretty little flecks.
- Almond Extract: This gives our butter cookies that signature, slightly nutty, irresistible aroma and taste. Don’t skip it!
- Large Egg: Our binder! The egg helps hold everything together and adds richness. Room temperature eggs mix more evenly into the batter.
- All-Purpose Flour: The main structure of our cookie. Measuring it correctly (fluffed, spooned, and leveled) is super important for the right dough consistency.
- Fine Salt: Balances the sweetness and enhances all the other flavors.
- Milk, Semi-Sweet, or Dark Chocolate Chips: For dipping! Use your favorite kind of chocolate here – chips work great because they melt easily.
- Vegetable or Canola Oil: A tiny bit of oil helps thin out the melted chocolate just enough to make it smooth and easy for dipping.
How to Make Chocolate-Dipped Butter Cookies (You’ve Got This)
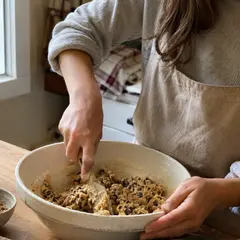
You’ll start by creaming together your room temperature butter and sugar until it’s light and fluffy, almost like a cloud. Don’t rush this step; it’s where you build air into your dough, which makes for tender cookies.
Next, you’ll add the egg and extracts, beating until everything is beautifully combined. Then, gently mix in your flour and salt. The dough will become thick and smooth, but still soft enough to pipe. If it feels too stiff, don’t panic! Mix in a tiny bit of milk, one teaspoon at a time, until it’s just right. It should feel like thick, soft Play-Doh.
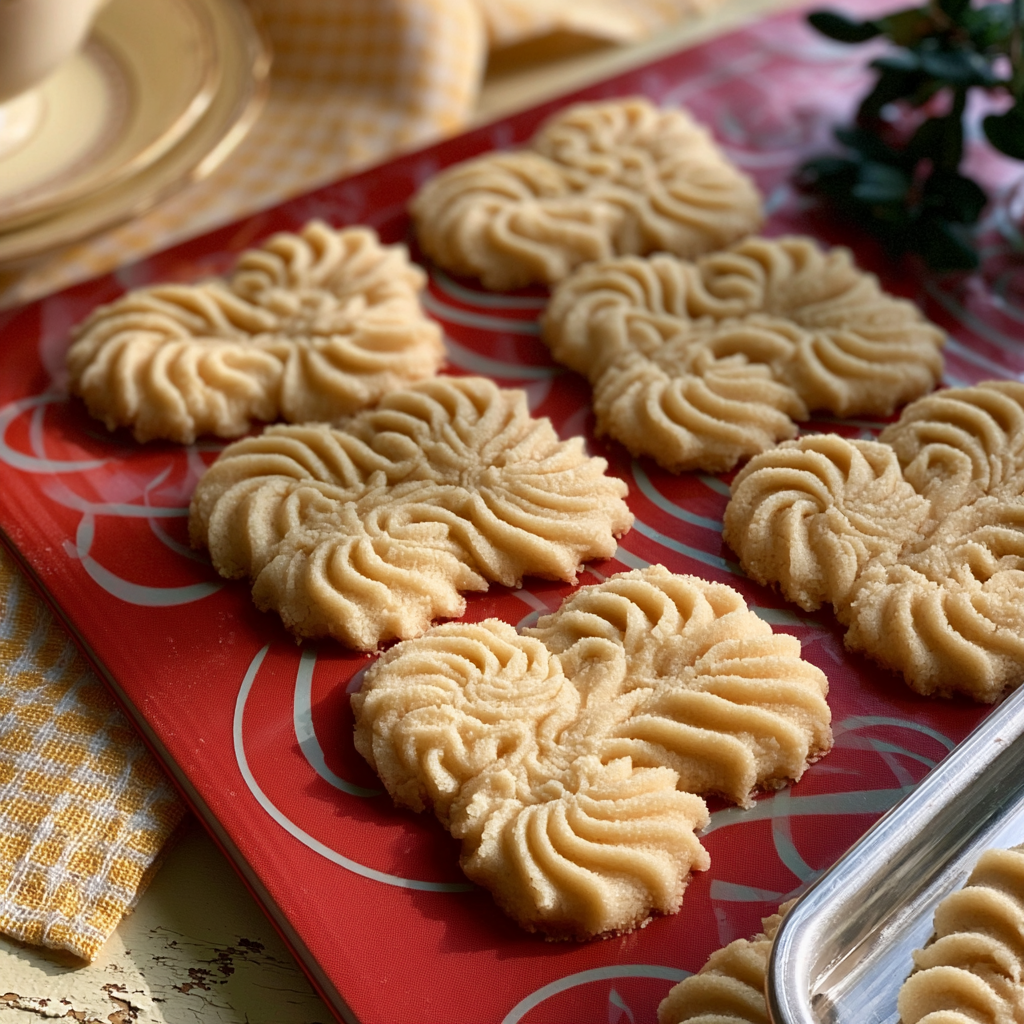
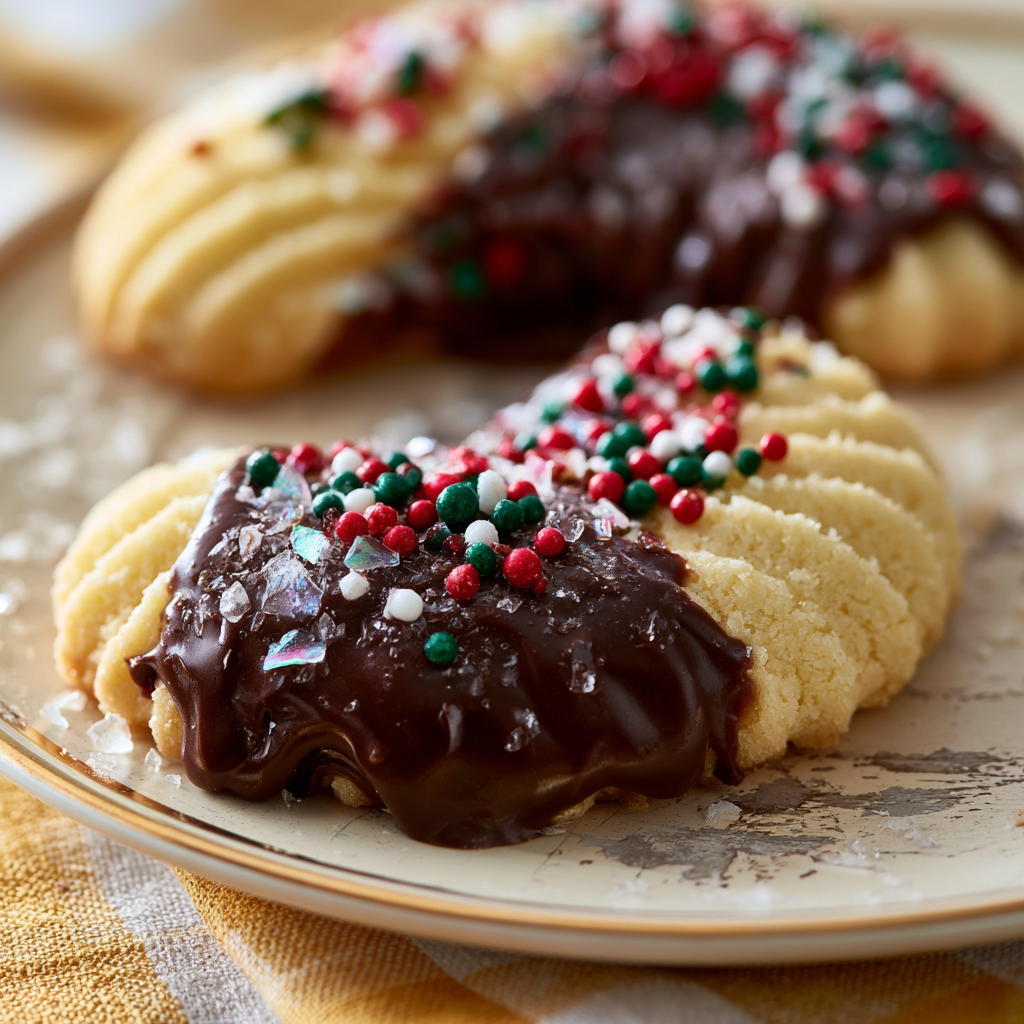
Now for the fun part: piping! Fit a large piping bag with a large, closed star tip and fill it with your dough. Pipe those swirls or squiggles onto your prepared baking sheets. Don’t worry if they’re not perfect—mine never are! Just focus on consistent pressure. Chill your piped cookies in the fridge or freezer; this helps them hold their shape when they bake. Bake until the edges are just barely golden, then let them cool before dipping them into that glorious melted chocolate. You’re doing great!
My Best Tips for First-Timers
I always want you to feel confident, so here are a few things I’ve learned along the way.
- My first batch taught me the importance of room temperature ingredients. They combine so much more smoothly!
- Promise me you won’t skip chilling the piped cookies. It’s truly essential for keeping those pretty shapes.
- Don’t be afraid of the piping bag! Start with a test squiggle, and remember that practice makes progress, not perfection.
- When melting chocolate, go low and slow. Burnt chocolate is no fun, and it can happen so fast.
- Taste your dough before adding the egg (if you’re comfortable). It’s a great way to check if you like the flavor balance.
Beginner Mistakes (I Made Them All)
We all make mistakes, and that’s how we learn. Here are some common ones and how to avoid them.
- Cold butter: If your butter is too cold, it won’t cream properly with the sugar, leading to a denser cookie. Let it sit out on the counter for at least an hour, or gently warm it in the microwave for a few seconds until it’s soft but not melted.
- Overmixing the flour: Once you add the flour, mix just until combined. Overmixing develops the gluten, which can make your cookies tough.
- Not chilling the dough: If you skip chilling, your beautiful piped shapes might spread too much in the oven and lose their definition. Chilling helps the butter firm up, setting the cookie’s structure.
- Overbaking: Butter cookies should be just lightly golden at the edges. If they get too dark, they’ll be dry. Keep an eye on them starting at the minimum bake time.
- Not thinning the chocolate: Melted chocolate can be very thick, making it hard to dip evenly. A little bit of oil helps create that smooth, dippable consistency.
How to Store Chocolate-Dipped Butter Cookies
These delicious cookies can be stored at room temperature for up to 5 days, or in the refrigerator for up to 1 week.
- Countertop: Up to 5 days in an airtight container. Make sure the chocolate is fully set before storing.
- Refrigerator: Up to 1 week in an airtight container. The chocolate might firm up more in the fridge.
- Freezer: For longer storage, freeze un-dipped cookies in an airtight container for up to 2 months. Thaw, then dip in chocolate. Dipped cookies can be frozen in a single layer on a baking sheet, then transferred to an airtight container for up to 1 month.
Frequently Asked Questions
Can I make these Chocolate-Dipped Butter Cookies without a piping bag?
Yes, you can! While piping gives them that classic look, you can certainly roll the dough into small balls and flatten them slightly with a fork before chilling and baking. They’ll still be delicious.
My dough is too stiff to pipe. What should I do?
Don’t worry! Scoop the dough back into your mixing bowl and add milk one teaspoon at a time, mixing gently after each addition, until it reaches a pipeable consistency. It should be soft but still hold its shape.
Can I use a different type of extract instead of almond?
Absolutely! While almond extract gives a distinct flavor, you can try substituting it with an equal amount of additional vanilla extract for a pure vanilla butter cookie. You could also experiment with a citrus extract like orange or lemon for a different twist.
How do I prevent the chocolate from seizing when melting?
The key is to avoid any water getting into your chocolate. If using a microwave, heat in short 20-second bursts and stir well between each. If using a double boiler, make sure the bottom of your bowl doesn’t touch the simmering water, and no steam or water splashes into the chocolate.
You did it! Look at those beautiful Chocolate-Dipped Butter Cookies. Aren’t you proud? I knew you could do it! Every single swirl and dip is a testament to your growing baking confidence. I can’t wait to hear how much you and your loved ones enjoy these. Come back and tell me all about your bake!
PrintChocolate-Dipped Butter Cookies
These delightful butter cookies are easy to make, perfect for beginners, and feature a delicious chocolate dip with optional sprinkles.
- Prep Time: 30
- Cook Time: 17
- Total Time: 120
- Yield: 24-30 cookies 1x
- Category: Dessert
- Method: Baking
- Cuisine: American
- Diet: Vegetarian
Ingredients
- 1 cup unsalted butter, room temperature 226g
- 3/4 cup granulated sugar 150g
- 1 Tbsp vanilla extract or vanilla bean paste 15g
- 2 tsp almond extract 10g
- 1 large egg, room temperature 56g
- 2 1/4 cups all-purpose flour – fluffed, spooned & leveled 290g
- 1 tsp fine salt 6g
- 2 Tbsp nonpareil sprinkles (optional)
- 1 cup milk, semi-sweet, or dark chocolate chips, melted 175g
- 2 tsp vegetable or canola oil 10g
- flakey sea salt – garnish (optional)
Instructions
- Make space in your refrigerator or freezer for baking sheets.
- Line 2 large baking sheets with parchment paper or silicone baking mats.
- Set the lined baking sheets aside.
- In a large bowl, combine 1 cup of room temperature butter and 3/4 cup granulated sugar.
- Beat the butter and sugar together on medium-high speed for a couple of minutes.
- Beat until the mixture looks light and fluffy.
- Add 1 large egg to the mixture.
- Add 1 Tbsp vanilla extract or vanilla bean paste.
- Add 2 tsp almond extract.
- Beat at a medium-high speed until all ingredients are combined.
- Scrape the sides and bottom of the bowl with a rubber spatula as needed.
- Add 2 1/4 cups of all-purpose flour to the bowl.
- Add 1 tsp fine salt.
- Mix on a low speed until the flour is mostly combined.
- Increase the speed to medium-high.
- Beat until the dough is completely combined, smooth, and thick but still pipeable.
- Fit a large piping bag with a large, closed star tip (like an Ateco 848).
- Scoop about 1/2 cup of dough into the piping bag.
- Pipe a 3-inch swirl or squiggle onto a clean surface to test the dough consistency.
- If the dough is too thick to pipe, scoop it back into the bowl.
- Mix in 1 tsp of milk into the dough.
- Repeat adding milk as needed until the dough is pipeable.
- Once the dough is pipeable, scoop the rest of the dough into the bag.
- Seal the top of the piping bag with a rubber band or clip.
- Pipe 3-inch swirls or squiggles onto the prepared baking sheets.
- Space the cookies about 2 inches apart on the baking sheets.
- Place the baking sheets with piped cookies into the refrigerator for at least 30 minutes.
- Alternatively, place them in the freezer for 15 minutes.
- While the dough chills, preheat your oven to 350°F (175°C).
- Once the oven is fully preheated, bake one tray of cookies at a time.
- Place the baking sheet on the middle rack of your oven.
- Bake for 14-17 minutes.
- Bake until the sides of the cookies are just beginning to brown.
- Remove the cookies from the oven.
- Let the cookies cool on the baking sheet for 10 minutes.
- Transfer the cooled cookies to a wire rack to finish cooling completely.
- As the cookies cool, melt 1 cup of chocolate chips in a small bowl.
- Use a double boiler or microwave (heat in 20-second increments, stirring between) to melt the chocolate.
- Once fully melted, mix in 2 tsp of vegetable or canola oil.
- Cover a clean baking sheet with parchment paper.
- Dip each cooled cookie halfway into the melted chocolate.
- Let any excess chocolate drip off the cookie.
- Scrape off the bottom of each cookie along the edge of the bowl to remove excess chocolate.
- Top the dipped cookies with a sprinkle of flakey sea salt and/or nonpareil sprinkles, if desired.
- Place the dipped cookies on the parchment-lined baking sheet.
- Let the chocolate firm up at room temperature for 30 minutes.
- Alternatively, place them in the fridge for 15 minutes to set the chocolate.
Notes
Ensure butter and egg are at room temperature for a smooth dough.
Measure flour correctly by fluffing, spooning, and leveling to avoid dense cookies.
Chilling the piped dough is crucial for cookies to hold their shape during baking.
When melting chocolate, go slow and stir frequently to prevent burning.
Nutrition
- Serving Size: 1 cookie
- Calories: 180
- Sugar: 10
- Sodium: 60
- Fat: 13
- Saturated Fat: 8
- Carbohydrates: 16
- Fiber: 1
- Protein: 2
- Cholesterol: 35