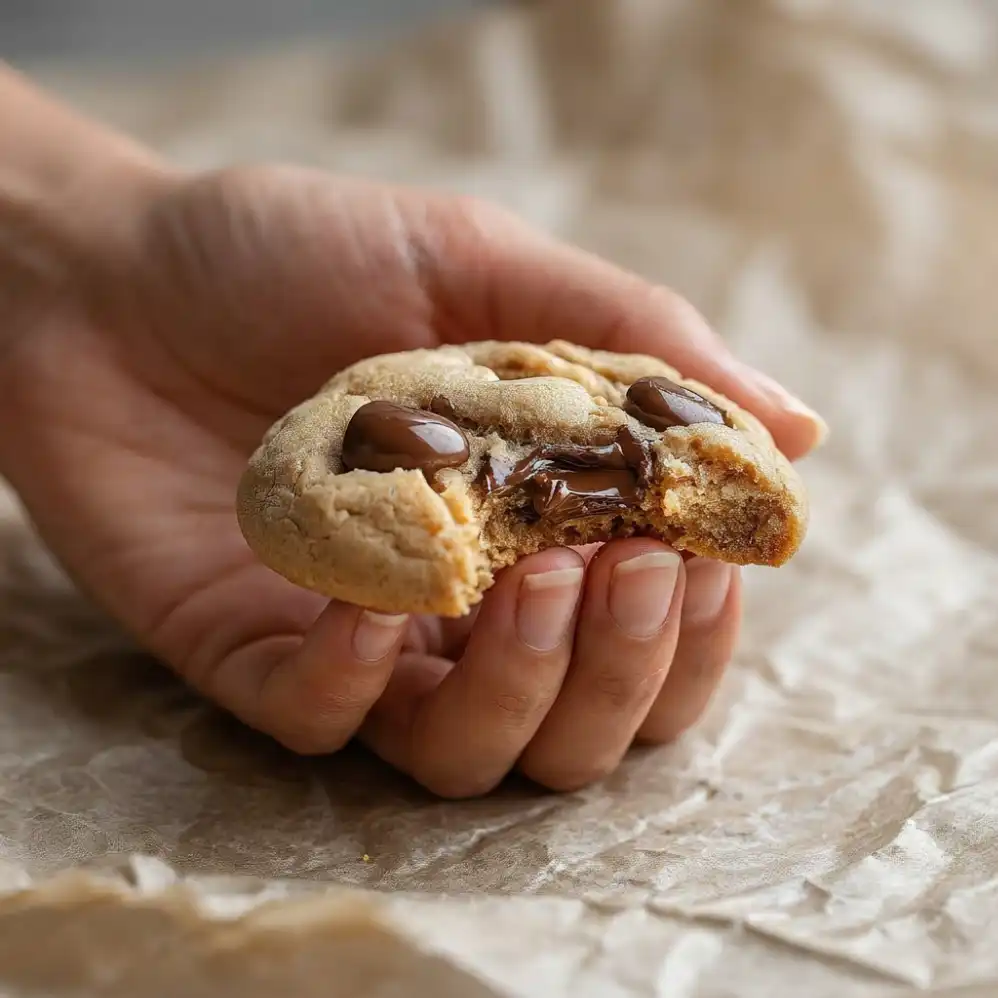
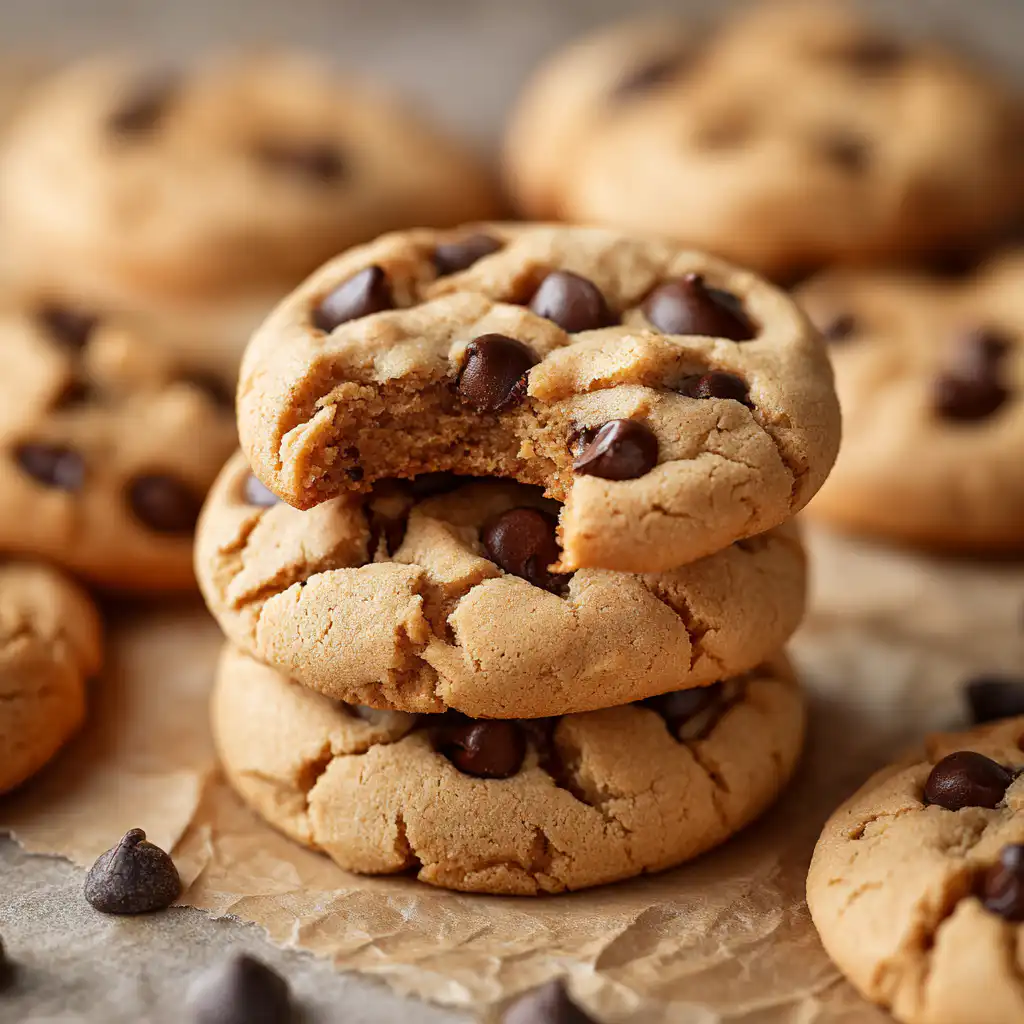
These one-bowl protein cookies are the ultimate treat for anyone looking to satisfy their sweet tooth while getting a protein boost. This recipe makes delicious and easy-to-prepare cookies, perfect for a post-workout snack or a healthy dessert. These cookies are so good, you won’t believe they’re packed with protein!
| Prep Time | 15 minutes |
|---|---|
| Cook Time | 10-13 minutes |
| Total Time | 25-28 minutes |
| Servings | 16-20 cookies |
| Difficulty | Easy |
| Cuisine | American |
Why This Recipe Works
I’ve been experimenting with protein cookie recipes for years, and this one is a clear winner. What I love most is the simplicity: everything mixes in just one bowl, meaning fewer dishes to wash! Plus, these cookies strike the perfect balance between chewy and soft, and they’re packed with protein from the peanut butter, making them a genuinely satisfying treat.
The combination of brown sugar and granulated sugar gives them a lovely depth of flavor, while the semi-sweet chocolate chips add that classic cookie experience. Trust me, these aren’t your typical dry, bland protein cookies. They are incredibly flavorful and have a texture that rivals any bakery-style cookie. I often make a batch on Sunday evening, and they’re gone by Wednesday – a testament to their deliciousness!
Ingredients
| Ingredient | Quantity | Notes with Alternatives |
|---|---|---|
| All-Purpose Flour | 1 ½ cups (180g) | Use gluten-free all-purpose flour for a gluten-free version. Oat flour also works well. |
| Baking Soda | 1 tsp | Essential for the cookie’s rise and texture. |
| Baking Powder | ½ tsp | Adds extra lift for a softer cookie. |
| Salt | ½ tsp | Enhances the sweetness and balances the flavors. |
| Semi-Sweet Chocolate Chips | 2 cups (340g) | Substitute with dark chocolate chips or white chocolate chips as desired. |
| Unsalted Butter | ½ cup (113g) | Make sure it’s at room temperature for easy mixing. Coconut oil can be used as a vegan substitute. |
| Packed Brown Sugar | ½ cup (107g) | Adds moisture and a caramel-like flavor. |
| Granulated Sugar | ⅓ cup (66g) | Provides sweetness and helps with browning. |
| Creamy Peanut Butter | ¾ cup (203g) | Adds protein and flavor. Almond butter or cashew butter can be used as alternatives. [Internal Link: Best Nut Butters] |
| Large Egg | 1 | Acts as a binder. Flax egg (1 tbsp flaxseed meal + 3 tbsp water) can be used as a vegan substitute. |
| Vanilla Extract | 1 tsp | Enhances the overall flavor. |
Step-by-Step Instructions
Follow these detailed instructions to create the perfect batch of one-bowl protein cookies every time. From preparing the ingredients to baking to perfection, each step is designed to ensure delicious results.
Prepare the Oven and Ingredients
Preheat your oven to 350ºF (175ºC). Line a cookie sheet with a silicone baking mat or parchment paper to prevent sticking and ensure even baking. This also makes clean-up a breeze.
Combine Dry Ingredients
In a mixing bowl, combine 1 ½ cups (180g) of all-purpose flour, 1 tsp of baking soda, ½ tsp of baking powder, ½ tsp of salt, and 1 cup of semi-sweet chocolate chips. Whisk these ingredients together to ensure they are evenly distributed. Set the bowl aside for later.
Cream Wet Ingredients
In a larger mixing bowl, add ½ cup (113g) of unsalted butter (room temperature), ½ cup (107g) of packed brown sugar, and ⅓ cup (66g) of granulated sugar. Beat these ingredients together on medium speed for about 2 minutes, until the mixture is fluffy and pale in color. This step is crucial for achieving the right cookie texture.
Add Peanut Butter, Egg, and Vanilla
Add ¾ cup (203g) of creamy peanut butter, 1 large egg, and 1 tsp of vanilla extract to the creamed butter and sugar mixture. Beat for another 30 seconds until everything is well combined. Ensure the peanut butter is fully incorporated for even flavor distribution.
Combine Wet and Dry Ingredients
Gradually mix in the dry ingredients into the wet ingredients, using a low speed on your mixer. The dough will be thick, which is normal. To prevent overmixing, I recommend finishing the last bit of flour incorporation by hand with a spatula. Gently fold until just combined.
Form Cookie Dough Balls
Use a cookie scoop to form golf ball-sized dough balls. Roll each portion into a smooth ball between your hands. Press the remaining chocolate chips (1 cup) on the outside of each dough ball for added chocolate goodness and visual appeal. Place about 8 cookies on the prepared cookie sheet, leaving enough space between them for spreading.
Bake the Cookies
For 2 Tbsp sized dough balls, bake in the preheated oven for 10-13 minutes. Keep a close eye on them; baking times may vary based on your oven. The edges should be golden brown, and the centers should appear set. If you are making smaller or larger cookies, adjust the baking time accordingly.
Cool and Serve
Allow the cookies to cool on the baking sheet for about 15 minutes before removing them. This allows them to firm up slightly and prevents them from breaking. Transfer the cookies to a wire rack to cool completely before serving. Enjoy!
Chef Tips for Perfect Results
These tips will guide you in achieving the perfect protein cookies, from ingredient temperatures to baking finesse:
- Use Room Temperature Butter: Ensure your butter is at room temperature before creaming it with the sugars. This helps create a light and fluffy base, which is essential for a tender cookie.
- Don’t Overmix the Dough: Overmixing develops the gluten in the flour, resulting in a tough cookie. Mix until just combined to keep your cookies soft.
- Chill the Dough (Optional): For a thicker cookie, chill the dough for at least 30 minutes before baking. This prevents the cookies from spreading too much during baking. [External Link: Cookie Dough Chilling Guide]
- Evenly Distribute Chocolate Chips: Pressing the remaining chocolate chips onto the outside of the dough balls ensures that every cookie has a generous amount of chocolate in every bite.
- Monitor the Baking Time: Keep a close eye on the cookies while they’re baking, as oven temperatures can vary. Look for golden brown edges and centers that appear set.
- Cool Completely: Allow the cookies to cool on the baking sheet for at least 15 minutes before transferring them to a wire rack. This prevents them from breaking and allows them to firm up properly.
Common Mistakes to Avoid
Avoid these common pitfalls to ensure your protein cookies turn out perfectly every time:
- Using Cold Butter: Cold butter won’t cream properly with the sugars and will result in a dense cookie. Always use room-temperature butter for best results.
- Overmixing the Dough: Overmixing develops the gluten, leading to tough cookies. Mix until just combined. If you notice the dough becoming too elastic, stop mixing immediately and gently fold in any remaining flour.
- Incorrect Oven Temperature: An inaccurate oven temperature can lead to uneven baking. Invest in an oven thermometer to ensure your oven is properly calibrated, this will improve all your baked goods.
- Not Measuring Accurately: Baking is a science; precise measurements are crucial. Use measuring cups and spoons to accurately measure ingredients. For flour, spoon it into the measuring cup and level off with a knife.
- Skipping the Cooling Time: Avoid the temptation to eat the cookies straight from the oven. Allowing them to cool on the baking sheet is essential for setting their structure and texture.
Variations and Substitutions
| Ingredient | Substitution | Impact on Flavor |
|---|---|---|
| All-Purpose Flour | Gluten-Free All-Purpose Flour | Makes the cookies gluten-free; slight change in texture. |
| Semi-Sweet Chocolate Chips | Dark Chocolate Chips | Adds a more intense chocolate flavor. |
| Peanut Butter | Almond Butter | A different nuttier flavor profile. |
| Granulated Sugar | Coconut Sugar | Adds a subtle caramel flavor and a slightly coarser texture. |
| Egg | Flax Egg (1 tbsp flaxseed meal + 3 tbsp water) | Makes the cookies vegan; slight change in texture. |
Serving Suggestions and Pairings
These protein cookies are versatile and can be enjoyed in numerous ways. They make a great post-workout snack for a quick protein boost. Serve them with a glass of almond milk for a balanced and satisfying treat, or pack them in lunchboxes for school or work. These cookies are also perfect for casual gatherings, birthday parties, or even a simple evening treat with the family. For an indulgent twist, try crumbling them over a bowl of vanilla ice cream.
Storage and Reheating
| Method | Duration | Instructions |
|---|---|---|
| Airtight Container | 3-5 days (at room temperature) | Store in a single layer to prevent sticking. |
| Freezer | Up to 2 months | Place cookies in a freezer-safe bag or container. Thaw at room temperature before enjoying. |
| Reheating | N/A | These cookies are best enjoyed at room temperature. If you prefer a warm cookie, microwave for 5-10 seconds. |
Nutritional Information
| Nutrient | Amount per Serving |
|---|---|
| Calories | 220 |
| Protein | 5g |
| Fat | 12g |
| Carbohydrates | 25g |
| Fiber | 1g |
| Sugar | 15g |
| Sodium | 75mg |
Approximate values.
Frequently Asked Questions
Can I substitute the peanut butter in these cookies?
Yes, you can substitute the peanut butter with other nut butters like almond butter, cashew butter, or sunflower seed butter. The flavor will change depending on the nut butter used, but the texture should remain relatively similar. Ensure the substitute nut butter is creamy for the best results.
How do I know when the cookies are done baking?
The cookies are done when the edges are golden brown and the centers appear set. Gently press the center – if it springs back slightly, they’re ready. Remember that they will continue to firm up as they cool, so don’t overbake them.
What can I do if my cookies spread too much while baking?
If your cookies spread too much, try chilling the dough for at least 30 minutes before baking. This helps the fats in the dough to solidify, preventing excessive spreading. Additionally, ensure your oven temperature is accurate and avoid using melted butter.
Can I make the protein cookie dough ahead of time?
Yes, you can make the cookie dough ahead of time and store it in the refrigerator for up to 2 days. Make sure to wrap it tightly in plastic wrap to prevent it from drying out. You can also freeze the dough for up to 2 months; thaw it in the refrigerator overnight before baking.
What is the best way to serve these protein cookies?
These cookies are delicious served warm or at room temperature. Pair them with a glass of milk, coffee, or tea for a delightful treat. They also make a great addition to a dessert platter or as a quick and easy snack on the go. If desired, consider microwaving for ~10 seconds for a warm, melt-in-your-mouth experience.
The best one-bowl protein cookies are within your reach! From the simple preparation to the satisfying peanut butter and chocolate flavors, this recipe is designed to make healthy snacking a breeze. Don’t be afraid to experiment with substitutions to create your perfect cookie. Dive into your kitchen and bake a batch of these delightful protein-packed treats today. Your taste buds (and muscles) will thank you!
PrintThe BEST Protein Cookies (One-Bowel!)

These one-bowl protein cookies are soft, chewy, and packed with flavor. Made with peanut butter and semi-sweet chocolate chips, they’re a high-protein treat perfect for post-workouts or desserts. No eggs? A flax egg substitute is included for customization.
- Prep Time: 15
- Cook Time: 13
- Total Time: 28
- Yield: 16-20 cookies
- Category: cookies
- Method: Baking
- Cuisine: American
- Diet: Vegetarian
Ingredients
1 ½ cups all-purpose flour
1 tsp baking soda
½ tsp baking powder
½ tsp salt
2 cups semi-sweet chocolate chips
½ cup unsalted butter, softened
½ cup packed brown sugar
⅓ cup granulated sugar
¾ cup creamy peanut butter
1 large egg
Instructions
Preheat oven to 350°F (180°C)
In a large bowl, whisk together flour, baking soda, baking powder, and salt
Add butter and sugars; beat until fluffy
Mix in peanut butter and egg until fully combined
Fold in chocolate chips
Drop tablespoonfuls of dough onto a baking sheet
Bake for 10-13 minutes until golden
Cool on wire rack
Notes
Store in an airtight container for up to 5 days
Use gluten-free flour or oat flour for a gluten-free version
Coconut oil works as a dairy-free butter substitute
Substitute flax egg (1 tbsp flaxseed meal + 3 tbsp water) for a vegan option