There’s something truly magical about the smell of fresh bread baking. For me, it instantly brings back memories of cozy mornings and the simple joy of creating something delicious from scratch. This Easy Artisan Bread Recipe (Yeast, Dutch Oven, Whole Wheat) has become a staple in my kitchen, a go-to for that perfect crusty exterior and soft, chewy interior. It’s so forgiving and utterly delicious, you’ll wonder why you ever bought bread from the store!
Why You’ll Love This Easy Artisan Bread Recipe (Yeast, Dutch Oven, Whole Wheat)
- It’s incredibly simple to make, even if you’re new to bread baking.
- The whole wheat flour adds a wonderful depth of flavor and a little extra goodness.
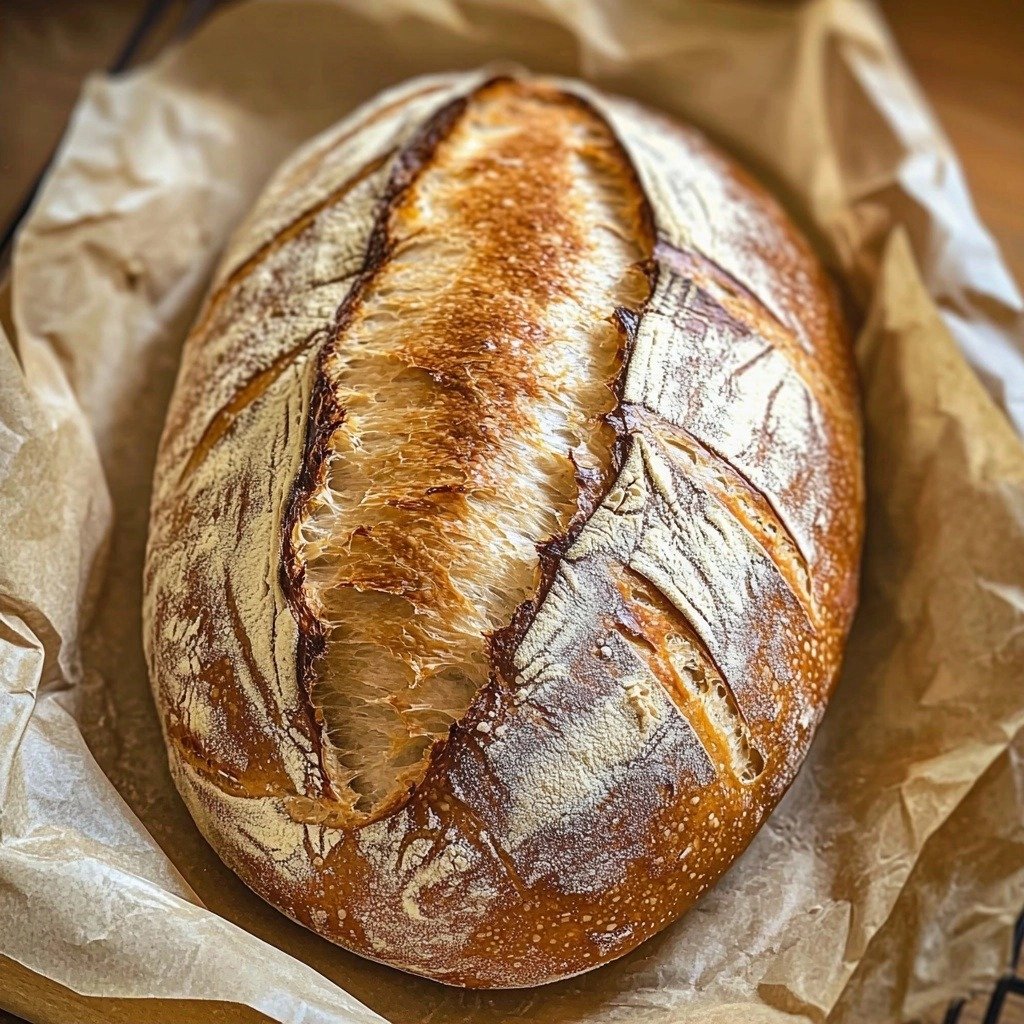
- That Dutch oven creates the most amazing, crackly crust and a tender crumb every time.
- It’s perfect for dipping in olive oil, making sandwiches, or just enjoying with butter.
Ingredients You’ll Need
- Warm Water: This wakes up your yeast! Make sure it’s not too hot (which can kill the yeast) or too cold (which won’t activate it). Think bathwater warm.
- Yeast (Instant or Active Dry): This is your leavening agent, making the bread rise and giving it that airy texture. Both types work beautifully here.
- Salt: Essential for flavor and helps control the yeast activity. Don’t skip it!
- Whole Wheat Flour: Adds a nutty flavor and hearty texture. If you have whole wheat white flour, that works wonderfully too for a slightly lighter loaf.
- Unbleached All-Purpose Flour: Provides structure and contributes to the classic artisan bread texture.
How to Make Easy Artisan Bread Recipe (Yeast, Dutch Oven, Whole Wheat) Step by Step
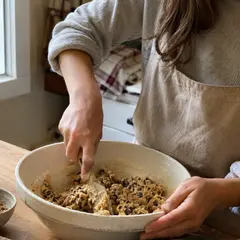
First things first, gather your ingredients. In a large bowl, you’ll start by combining your yeast and salt, then pour in that warm water. Give it a gentle stir just to get everything acquainted.
Next, add all your flour to the bowl. Now for the mixing! You can use a stand mixer with a dough hook for about 30 seconds to a minute – just a quick knead to bring it all together. If you’re doing it by hand, a minute of mixing will do the trick. Don’t worry if it looks a little shaggy; that’s totally normal for this kind of dough. You can also do a series of “stretch and folds” during the rising time if you prefer, but it’s not essential for a great loaf.
Once mixed, transfer your dough to a really large bowl. This dough is going to grow! Cover it loosely with plastic wrap or another non-porous cover – not airtight, just enough to keep it from drying out. Let it sit at room temperature for about 1½ hours. This is where the magic happens; your dough should double in size, or even more!
My Top Tips for Success
- I always make sure my water is warm, not hot. If it’s too hot to touch, it’s too hot for the yeast.
- In my experience, using a kitchen scale for flour is a game-changer for consistent results, but measuring cups work too!
- Don’t be afraid of sticky dough; well-floured hands are your best friend when shaping.
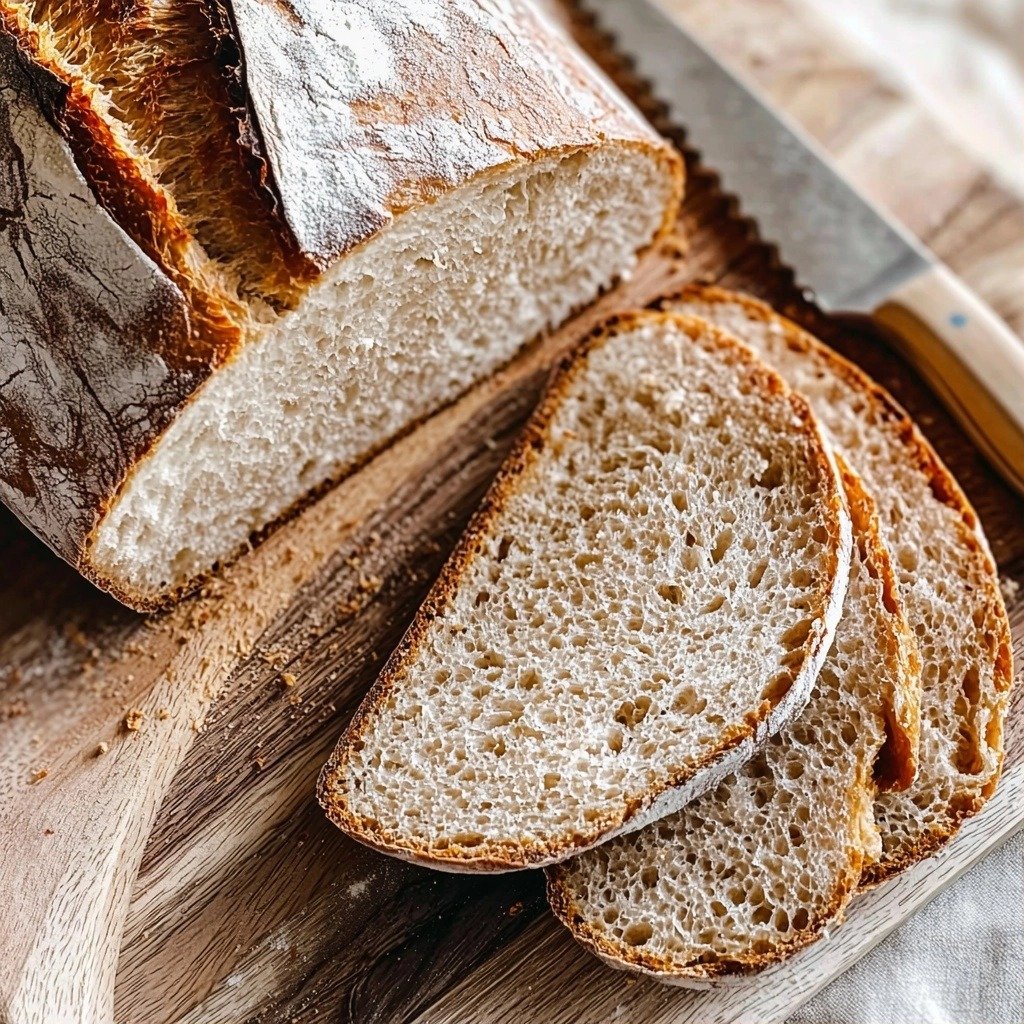
- Trust me on this one: don’t skip the cooling time! Cutting into hot bread can make it gummy.
- If you’re using a cold Dutch oven, preheat it with the oven for at least 30 minutes to get it super hot.
Common Mistakes to Avoid
- Over-kneading the dough: This recipe is designed for minimal kneading. Over-kneading can lead to a tough loaf. Just mix until combined.
- Not letting the dough rise enough: If your dough hasn’t doubled in size, it needs more time. A proper rise develops flavor and texture.
- Cutting the bread too soon: Why it happens: It’s tempting to dive into a warm loaf! How to fix it: Let the bread cool completely on a rack for at least 30-60 minutes. This allows the internal structure to set and prevents a gummy texture.
- Not preheating the Dutch oven: Why it happens: A cold Dutch oven won’t create that initial burst of steam needed for a great crust. How to fix it: Always preheat your Dutch oven inside the oven for at least 30 minutes before adding the dough.
How to Store Easy Artisan Bread Recipe (Yeast, Dutch Oven, Whole Wheat)
- Countertop: Up to 2-3 days in a bread bag or wrapped in a clean kitchen towel.
- Freezer: Up to 2-3 months. Slice the loaf and freeze in an airtight container or freezer bag. Thaw slices as needed or toast directly from frozen.
Frequently Asked Questions
While this recipe uses a mix, you can experiment with slightly more whole wheat if you like a denser loaf. The all-purpose flour helps keep it lighter.
A Dutch oven is ideal for the crust, but you can try using a heavy-bottomed pot with a tight-fitting lid, or even a pizza stone with a pan of water for steam. Results may vary slightly.
If your yeast and water mixture gets a little bubbly after a few minutes, your yeast is active! If not, it might be old and you should get new yeast.
Absolutely! After the initial rise, you can store the dough in the refrigerator for up to a week to a week and a half. This makes it super convenient for fresh bread anytime.
PrintEasy Artisan Bread Recipe (Yeast, Dutch Oven, Whole Wheat)
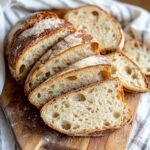
This simple recipe yields a beautiful, crusty artisan loaf with a soft, chewy interior, perfect for beginners and seasoned bakers alike.
- Prep Time: 15
- Cook Time: 34
- Total Time: 139
- Yield: 2 loaves 1x
- Category: Baking
- Method: Baking
- Cuisine: American
Ingredients
- 3 cups warm water
- 1 tablespoon yeast, both instant or active dry work
- 2½ teaspoon salt
- 3½ cups whole wheat flour
- 3 cups unbleached all-purpose flour
Instructions
- Place the yeast and salt in a large bowl.
- Add the warm water to the bowl.
- Add all the flour to the bowl with the wet ingredients.
- Mix until all ingredients are just combined.
- Mix at a higher speed for 30 seconds to 1 minute as a quick knead (or knead by hand for 1 minute).
- Transfer the dough to a very large bowl.
- Cover the bowl with plastic wrap or other non-porous cover (not airtight).
- Let the dough sit at room temperature for about 1½ hours, or until it has doubled in size.
- At this point, you can place the dough in the refrigerator for up to a week or week-and-a-half, or proceed to bake immediately.
- When ready to bake, place an enameled Dutch oven with its lid into a 450°F (232°C) oven to preheat.
- Dust the dough with flour.
- Grab half of the dough and cut it off with a serrated knife.
- Using well-floured hands, gently shape the dough into a ball.
- Place the shaped dough ball on a piece of parchment paper resting on a cookie sheet or in a small round skillet for shaping assistance.
- Dust the top of the dough ball with more flour.
- Let the shaped dough sit on the counter for 30 minutes if baking on the same day it was made.
- Let the shaped dough sit on the counter for 1 hour if the dough was refrigerated.
- Carefully slash the top of the loaf with a serrated knife.
- Transfer the loaf, using the edges of the parchment paper, into the hot Dutch oven.
- Replace the lid on the Dutch oven.
- Cook for 15 to 17 minutes with the lid on.
- Remove the lid from the Dutch oven.
- Continue to cook for another 15 to 17 minutes, or until the loaf is a golden brown.
- Remove the baked loaf from the Dutch oven.
- Transfer the loaf to a cooling rack.
- Allow the bread to cool for 30 to 60 minutes before cutting.
Notes
Ensure your water is warm, not hot, to properly activate the yeast.
For best results and consistency, use a kitchen scale to measure your flour.
Always allow the bread to cool completely on a rack before slicing to prevent a gummy texture.
Don’t forget to preheat your Dutch oven thoroughly for the best crust.
Nutrition
- Serving Size: 1 slice (approx. 1/12 loaf)
- Calories: 200
- Sugar: 0
- Sodium: 480
- Fat: 1
- Saturated Fat: 0
- Carbohydrates: 40
- Fiber: 4
- Protein: 7
- Cholesterol: 0