Hey bakers! Remember that first time you tried to bake something, and your heart pounded a little faster? Mine too! My first batch of cookies was… well, let’s just say they were more like hockey pucks than cookies. But then I found *the* recipe, the one that made me believe I could actually do this. And that recipe, my friends, was for these amazing Chocolate Chip Cookies. They are the ultimate confidence booster, I promise!
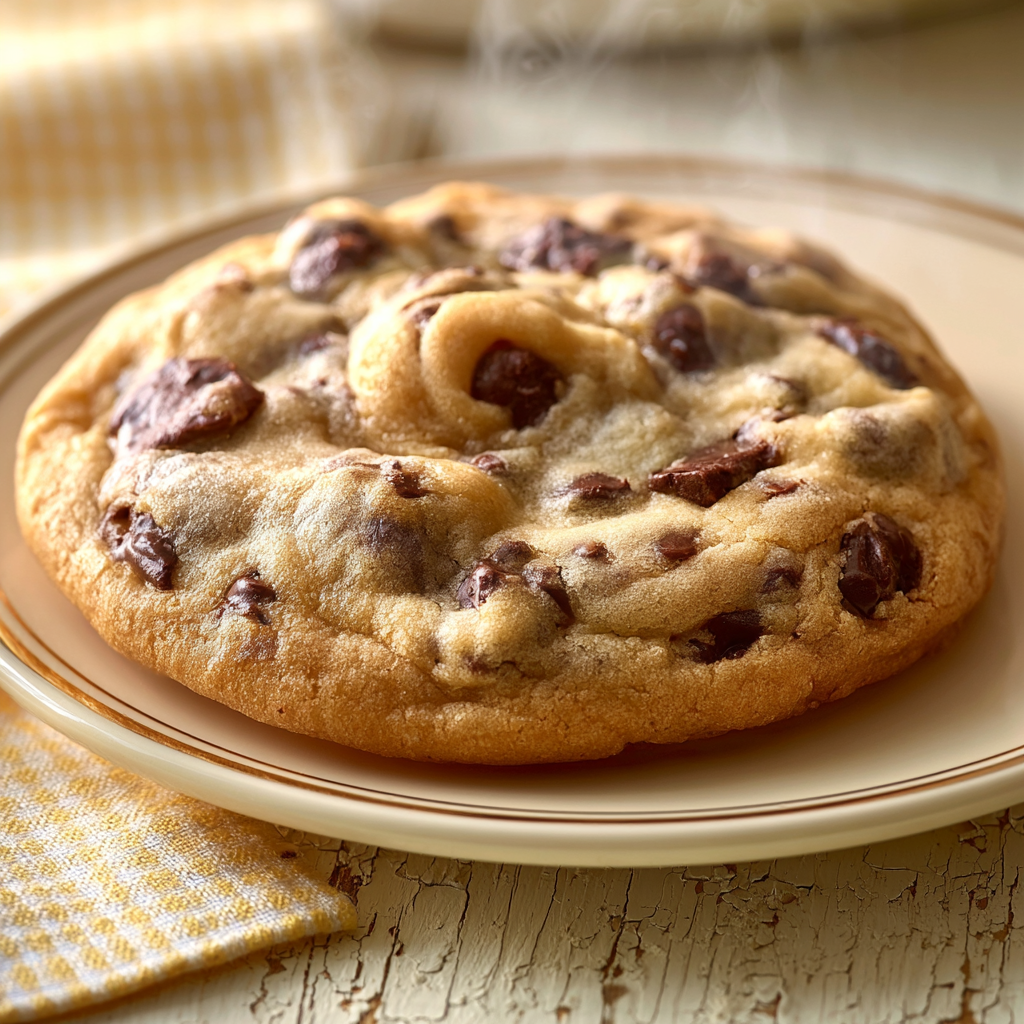
Why You’ll Love Baking This Chocolate Chip Cookies
You’ll love baking these cookies because they’re designed for success, even if you’re a total beginner.
- Achievable: This recipe breaks down every step into simple, manageable actions.
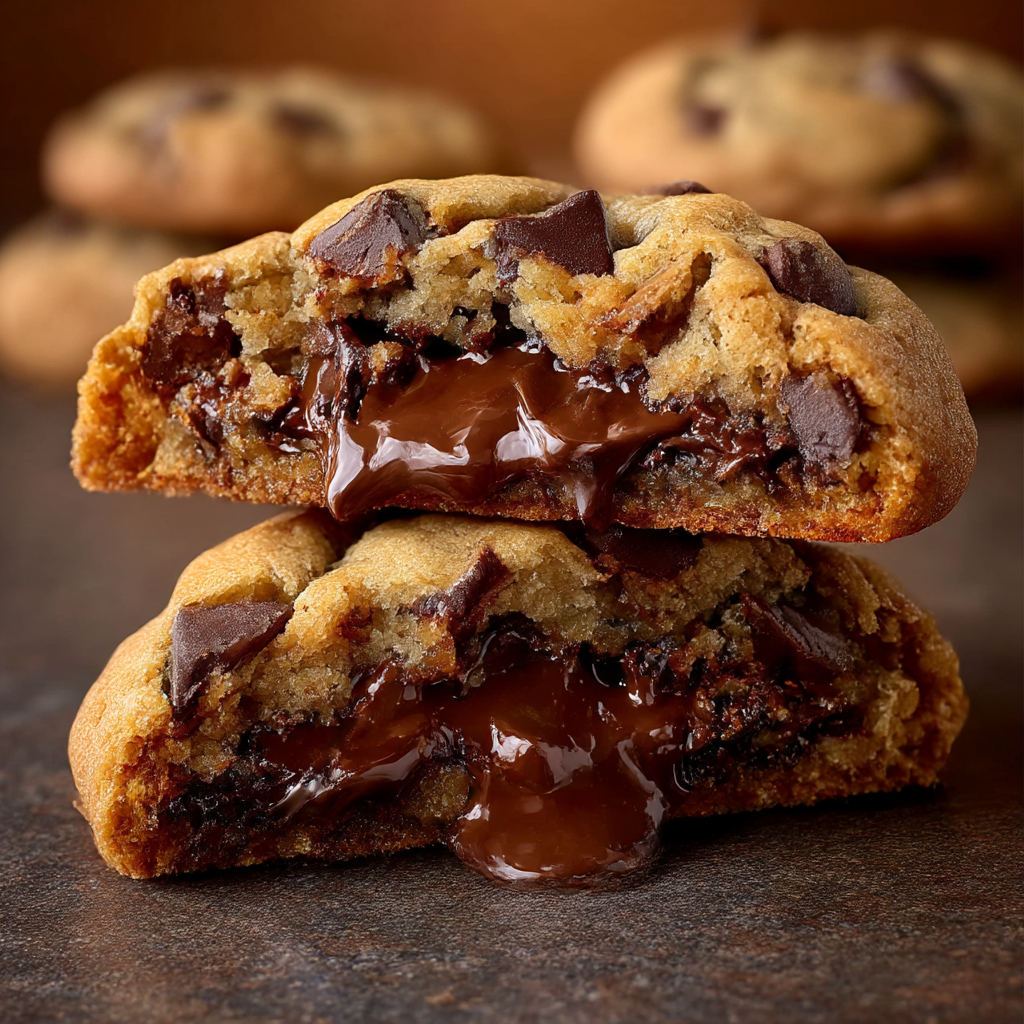
- Perfect Texture: Expect cookies that are soft and chewy on the inside, with just the right amount of golden crispness on the edges.
- Quick Reward: From mixing bowl to warm cookie in under 30 minutes!
- Proud Moment: You’ll feel so accomplished pulling these beautiful cookies from the oven.
Let’s Talk Ingredients
Understanding what each ingredient does helps you bake with confidence.
- Cornstarch: This secret ingredient helps keep your cookies wonderfully soft and chewy. Don’t skip it!
- Cold Butter: Using cold butter helps prevent the cookies from spreading too much in the oven, keeping them thick and lovely. If your butter is soft, pop it in the fridge for a bit.
- Brown Sugar: This adds moisture and a lovely caramel note to your cookies, contributing to that chewy texture. You can’t swap it for all white sugar without changing the texture.
- Semi-Sweet Chocolate Chips: These are classic for a reason, providing that perfect balance of sweetness and rich chocolate flavor. Feel free to use half a bag if you prefer less chocolate.
- Walnut Pieces: These are totally optional, but they add a nice crunch and nutty flavor if you like them. You can leave them out if nuts aren’t your thing.
How to Make Chocolate Chip Cookies (You’ve Got This)
Making these cookies is a straightforward process, and I’ll walk you through each step.
First, get your oven ready by preheating it to a toasty 475°F. This high initial heat helps create those perfectly crisp edges and soft centers. While the oven heats, line your baking sheets with parchment paper; this is a non-stick superhero and makes cleanup a breeze.
Next, grab your smaller mixing bowl and whisk together the flour, cornstarch, salt, and baking soda. Make sure it’s all evenly combined; this is your dry team! In your larger bowl, you’ll combine the cold butter (cut into smaller pieces – this helps it mix better!), both sugars, the egg, and vanilla extract. This is your wet team, and you’ll want to mix them until they’re nicely combined – it should look creamy and smooth.
Now for the magic! Gently stir your dry ingredients into the wet mixture. Don’t overmix here – just combine until you no longer see streaks of flour. Then, fold in your chocolate chips and those optional walnuts. Mix just until they are evenly distributed, and you’re ready to scoop! Don’t panic if the dough seems a little stiff; that’s perfectly normal for a dough that yields a thick, chewy cookie.
My Best Tips for First-Timers
These tips are straight from my own baking journey and will help you nail these cookies.
- I always read the entire recipe first before I even pull out an ingredient. It helps me visualize the process!
- My first batch taught me the importance of parchment paper – trust me, it’s a lifesaver for easy cookie removal.
- Promise me you won’t skip the cornstarch; it’s the secret to that amazing chewy texture.
- Don’t overmix your dough once the flour goes in; overmixing can lead to tough cookies. Just mix until combined!
- Keep a close eye on your cookies during the last minute of baking. Ovens can be tricky, and you want golden edges, not burnt ones.
- Let them cool on the baking sheet for a few minutes; they continue to bake and set up during this time.
Beginner Mistakes (I Made Them All)
Don’t worry if you run into these, I’ve been there!
- Overmixing the dough: If you mix too much after adding flour, your cookies can become tough. To fix this, mix until just combined, stopping as soon as no dry streaks remain.
- Not using cold butter: Using softened or melted butter can cause your cookies to spread too thin. Always use cold butter, cut into pieces, as specified in the recipe.
- Baking too long: If your cookies are hard, they might have baked for too long. To fix this, bake for the minimum time specified, watching for golden edges, and remember they set up more as they cool.
- Not lining the baking sheet: Cookies can stick to an unlined pan, making them hard to remove and clean up a mess. Always use parchment paper for easy removal and cleanup.
How to Store Chocolate Chip Cookies
These cookies stay fresh and delicious for several days at room temperature.
- Countertop: Up to 3-4 days in an airtight container.
- Freezer (Dough): Up to 2-3 months. Scoop dough balls, freeze on a tray, then transfer to a freezer-safe bag. Bake from frozen, adding a couple of minutes to the bake time.
- Freezer (Baked Cookies): Up to 1 month. Once completely cooled, place in a freezer-safe bag or container with parchment paper between layers. Thaw at room temperature.
Frequently Asked Questions
Can I use all white sugar instead of brown sugar?
You can, but I don’t recommend it for this recipe. Brown sugar adds moisture and chewiness, and using all white sugar will result in a crispier, flatter cookie. Stick with the brown sugar for the best results!
My cookies spread too much. What happened?
Cookies usually spread too much if the butter was too warm, or if your oven temperature wasn’t accurate. Make sure your butter is cold and cut into pieces, as specified in the recipe.
Can I add other mix-ins besides walnuts?
Absolutely! This recipe is wonderful with other additions. Feel free to try M&Ms, white chocolate chips, or even a sprinkle of sea salt on top after baking.
Why is the oven temperature so high?
The high initial temperature helps the cookies puff up quickly and set their edges before they spread too much. This creates that perfect balance of chewy center and slightly crispy edge. It’s a little trick for amazing texture!
You did it! You just baked a batch of incredible Chocolate Chip Cookies. I knew you could! Take a moment to admire your work, enjoy that warm, gooey goodness, and remember this feeling of accomplishment. Baking is about joy, and you just created some. Come back and tell me all about your cookies!
PrintChocolate Chip Cookies
The perfect beginner-friendly recipe for classic soft and chewy chocolate chip cookies, made with simple ingredients and clear instructions.
- Prep Time: 15
- Cook Time: 7
- Total Time: 22
- Yield: 18-20 cookies 1x
- Category: Dessert
- Method: Baking
- Cuisine: American
- Diet: Vegetarian
Ingredients
- 1¼ cups flour
- 3 tablespoons cornstarch
- ½ teaspoon salt
- ½ teaspoon baking soda
- ½ cup cold butter
- 6 tablespoons granulated sugar
- 6 tablespoons brown sugar
- 1 egg
- ½ teaspoon vanilla extract
- 1 bag semi-sweet chocolate chips (10–11 oz)
- ¼ cup walnut pieces (optional)
Instructions
- Preheat your oven to 475°F (245°C).
- Line baking sheets with parchment paper.
- In a smaller mixing bowl, whisk together the flour, cornstarch, salt, and baking soda.
- Cut the cold butter into smaller pieces.
- In a larger mixing bowl, combine the butter, granulated sugar, brown sugar, egg, and vanilla extract.
- Gently stir the dry ingredients into the butter and sugar mixture until just combined.
- Add in the chocolate chips and optional walnuts.
- Mix gently until the mix-ins are fully combined.
- Using a full-sized spoon (tablespoon), scoop cookie dough balls onto the prepared baking sheets.
- Bake for 6-7 minutes, or until the tops of the cookies are golden brown.
- Remove the cookies from the oven.
- Let the cookies cool on the baking sheet for a few minutes.
- Serve warm for the softest cookies.
Notes
Do not overmix the dough after adding flour; mix until just combined.
Use cold butter, cut into pieces, to prevent cookies from spreading too much.
Keep a close eye on your cookies during the last minute of baking to avoid overbaking.
For easy cleanup and non-stick results, always use parchment paper on your baking sheets.
Nutrition
- Serving Size: 1 cookie
- Calories: 180
- Sugar: 15
- Sodium: 100
- Fat: 10
- Saturated Fat: 6
- Carbohydrates: 20
- Fiber: 1
- Protein: 2
- Cholesterol: 30